-
Posts
3,062 -
Joined
-
Last visited
-
Days Won
16
Content Type
Profiles
Forums
Gallery
Events
Blogs
BMT Wiki
Collections
Store
Everything posted by thomastractorsvc
-
I went on the chase for tank strap rubber insulators, the rubber place that I was told about here in KC, went the way of the economy so I stopped by harbor freight, then wal-mart to check the prices on straps since I had already checked the other big box stores over the weekend. I bought a 30 ft x 2 inch yellow 10,000 strap and cut my pieces needed. While at wal-mart thought about getting the dye but changed my mind since my truck cab is yellow probably wont look that bad. I also got a call from Cleveland Tank they had 10 ft by 1.75 inch rubber for $27.++ plus shipping. I asked if they had it in a continuous length they said no so that's why I passed, I would have liked the rubber but I am on a budget build. My wife is getting tired of me spending money on the truck, she wants me to refocus the effort and funds to finishing the basement.
-

Parade of Power at Mack Trucktoberfest
thomastractorsvc replied to 39 Baby Mack's topic in Truck Shows and Events
Thanks for posting, some nice trucks, I wish I had that kind of money to put into mine. -
Mike I need four for the half dogs, you can put it in that box of other goodies if you want. Today I was out and about with the Mrs and I went by my parts supplier and picked up an exhaust coupler he gave me a lead on a rubber supplier here in KC I am going to contact them if they dont have what I need I guess it will be Tractor Supply ratchet straps.
-

Making New Exhaust Pipes
thomastractorsvc replied to doubleclutchinweasel's topic in Exterior, Cab, Accessories and Detailing
Looks like that will work good, I am waiting on an adapter for my B from 3.5 to 4 inch, I bought some flex to run down the rail but after looking at yours I think I will pick up another elbow and do some thing like you it looks factory and clean. -

Installing Windshield B61
thomastractorsvc replied to thomastractorsvc's topic in Exterior, Cab, Accessories and Detailing
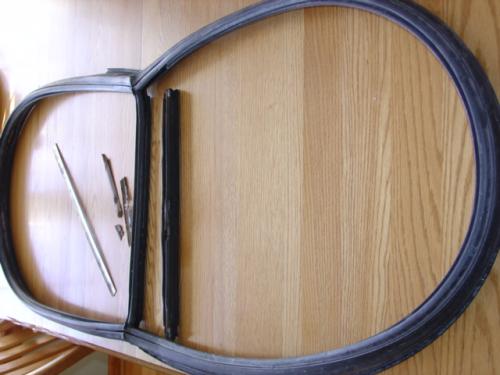
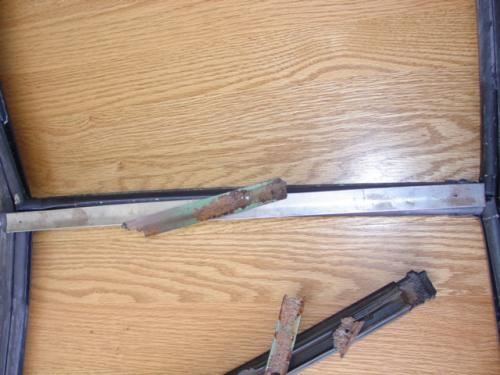
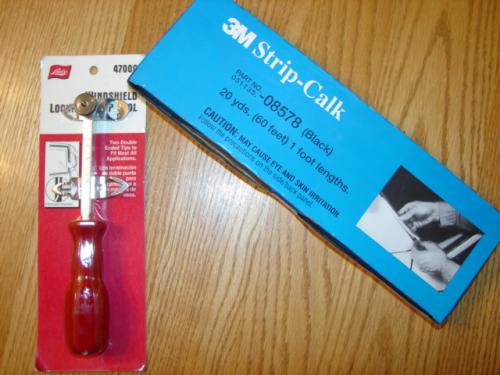
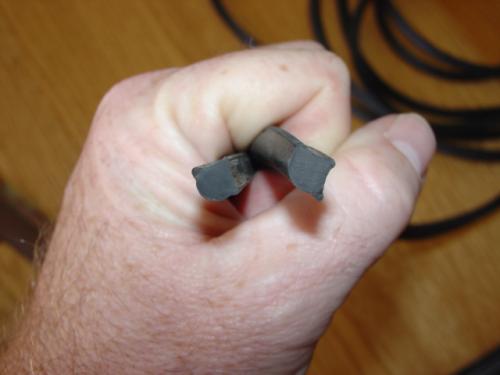
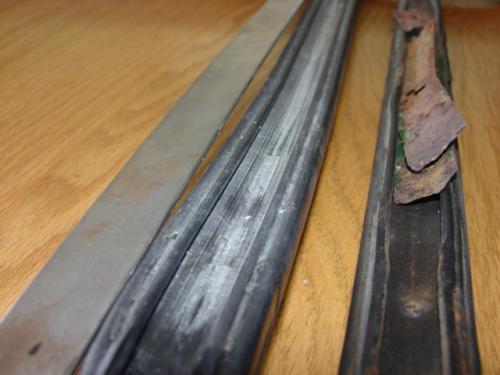
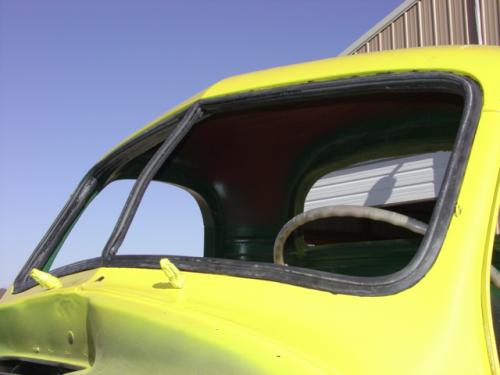
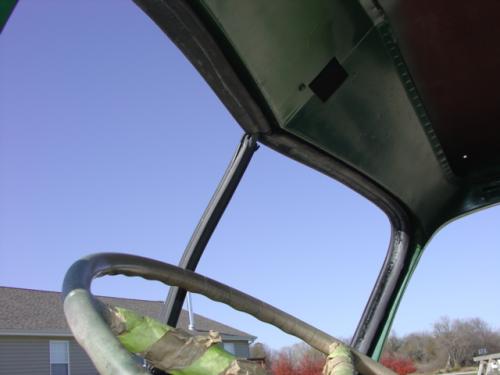
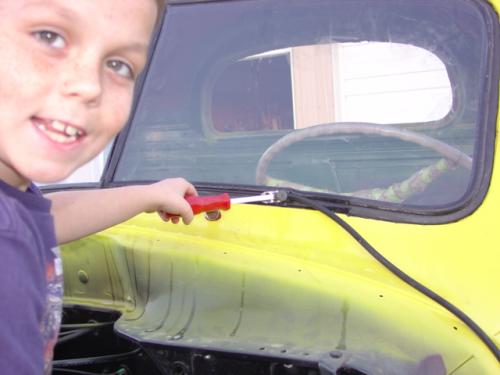
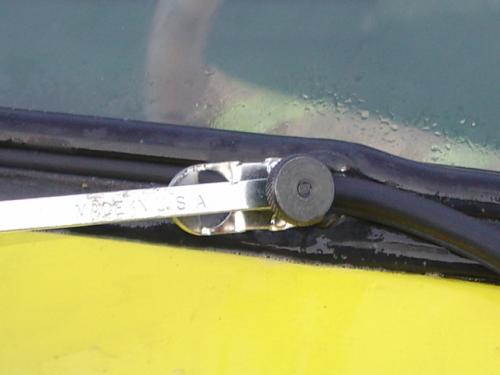
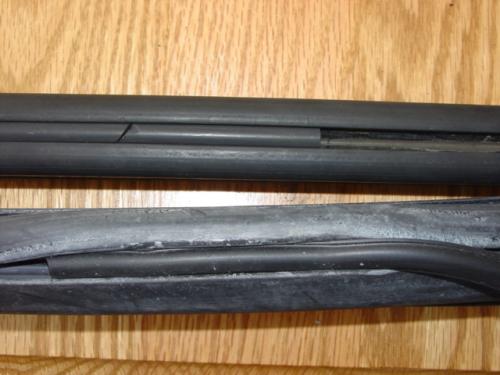
Ok here we go installing a windshield for a Mack B61. This project costs approximately $425 I had one side of the windshield that was still intact so when I removed everything this past spring I set the glass aside. Went to the local glass shop and had two new pieces cut and a side door glass total $159 with tax. New gasket from Watts $268 with shipping ( used my BMT discount) Stopped back by the glass shop after got the gasket to match up locking strip I bought 12 feet for $7 old one looks smaller just dried out. Old center strip as you can see not much left to it. Had new one made cost $10, Mike put the bend in it same as the old one. Stopped by Orileys and spent $15 on the tool and $23 on 3m Strips Getting started- I applied the butyl strips along the pinch welds, this stuff is really sticky so watch out. Put the gasket on starting in the top center working your way around both the left and right sides. Don't get carried away take you time, as you need the center bar to be centered and with the 3M strips it is hard to move the gasket once it is pushed on. I think a person would catch heck trying to remove and reset. Also with the stick strips you need to be careful as the gasket has a tendency to stick closed. I used a flat tip screw driver that is bent like a J to assist with keeping it open. After setting the gasket make sure the center strip and the cap/cover strip is in place. I loosely screwed it together to help with moving for when I slide in the glass. TIP --You can install and remove the center strip that goes in the gasket before the glass is installed and it actually makes it easier to set the perimeter gasket. I used bubble juice as the lubricant in a spray bottle, it sprays and works well, best of all it is cheap we buy it by the gallon at the dollar store for the kids maybe a $1gallon. It works way better than trying to mix dish soap and water like I have done in the past. I used about half a spray bottle. Wet the gasket on which ever side you want to start on, my fenders are still off so it was easy access. Carefully climb up and orientate the glass to match the opening push the glass into the center strip. Using a wide dull screwdriver or similar tool start near the center and push the gasket out from the inside. The gasket will catch on the edge of the glass and hold it. I installed both sides of the windshield by myself. I held the glass at the lower corner and pushed into the center and flat to the gasket. Make sure to keep the gasket lube during this process. Once the gasket is around the piece of glass you can apply slight pressure to adjust the glass and push into the opening. Repeat the same process on the other side. Once the glass is installed tighten up the center strip screws. Start at the top center using your tool or screw driver, lube the gasket and start the install of the locking strip. As you move all the way around gasket it will go smoothly if you keep it well lubed and rotating or twisting the tool back and forth while maintaining about a 40 degree angle pushing forward. Once at the end or start point again trim, I used my razor knife and cut at an angle and but it up to the other end. Move to the center strip now and with a square end start at the top just below were the other ends are and using the same technique work the locking strip down. The gasket has a pocket at the bottom end and once there cut off at an angle and push the end in the the pocket. That's it other than clean up and wiping the windows. By now my son was home so he gave it a shot and helped me with the rest of the install. I used the Lisle tool model 47000. I picked that tool because it came with additional tips. A single tip tool can cost the same as this one or more. I have done it both ways with a modified screw driver and the tool and by far the tool is worth the expense.- 20 replies
-
- 4
-

-

-

-
- Glass
- windshield
-
(and 1 more)
Tagged with:
-

no contest
thomastractorsvc replied to BOB DINGSDALE's topic in Antique and Classic Mack Trucks General Discussion
that loader operator should have had the driver ground guide him in that tight of an operating area! -
Check the air intake all the way to the motor, may have a rats nest or birds nest. Make sure the fuel shut off is in the right postion to allow fuel to the injectors, if you can get it to crank over crack the fuel lines to make sure its getting fuel, the filters, tank pick up, fuel lines could be bad etc.. make sure to bleed the air out of the system all the way to the injectors If you do all that and still nothing, try very small shot of either just enough to see if it will catch.
- 7 replies
-
- Injection pump
- engine
-
(and 3 more)
Tagged with:
-
Hey I was going to say that!! I got my sticker this morning but my 5 year old got to wear it today
-

Installing Windshield B61
thomastractorsvc replied to thomastractorsvc's topic in Exterior, Cab, Accessories and Detailing
I was going to reuse the center metal strip (slides into the gasket with three holes) from the old gasket but it is to far gone for reuse so I asked my neighbor who does custom fabrication and sheet metal work to see if he can come up with something. He said it is close to 18 gage sheet metal.- 20 replies
-
- Glass
- windshield
-
(and 1 more)
Tagged with:
-
I now have the new windshield gasket and my new cut glass. I did not put the fenders on yet like I was hoping, so I decided I am going to try to install the windshield. I asked at the glass shop what it would be for the install and they want more than what I paid for all the cut glass and rear window gasket. So I will give it a try. I have installed flat glass and Chevy windshields so I will take my time and keep my fingers crossed. What are your all's tips like where to start, where to put sealant etc.. Thanks in advance and I will document the install for posterity.
- 20 replies
-
- Glass
- windshield
-
(and 1 more)
Tagged with:
-
That is what I have been thinking, the more questions I ask the more I am unselling myself on the truck, at this point I think I would rather put more money out up front then try and rebuild something that is worn out. I was looking at an 86 GMC General with a 3406B and 9 speed but the interior was missing or broke, it was less money but after calling around for some basic door and dash board stuff it would have been pretty expenisive just to get the doors to latch and windows to role up.
-
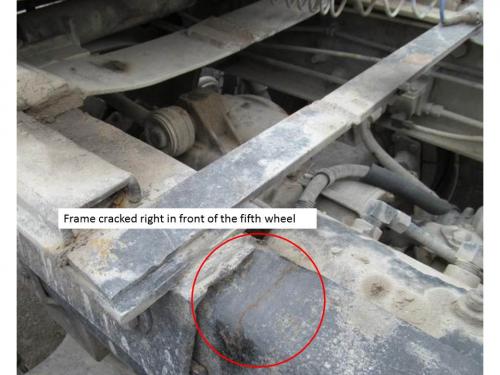
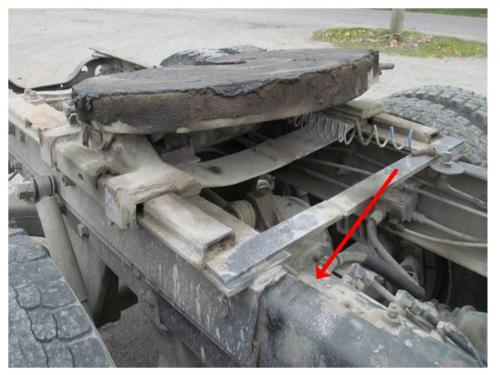
to pull dump trailer or low boy local. Its single framed and the frame is cracked on the top right behind the fifth wheel rail mount on the drivers side, not sure if it was a heavy trailer or that the fith wheel frame is damaged and jamed. The cracl appears to to go to about where it starts to roll down. I thought it was alot of miles on the drive train and due to be redone, just cant afford to due all at once.
-
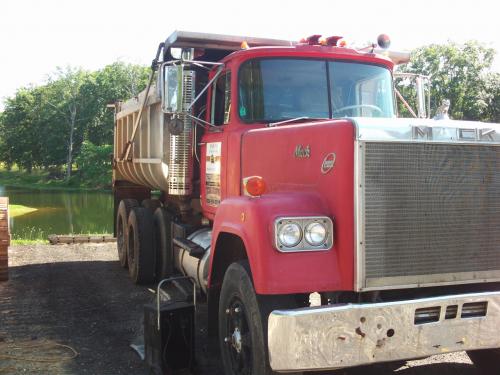
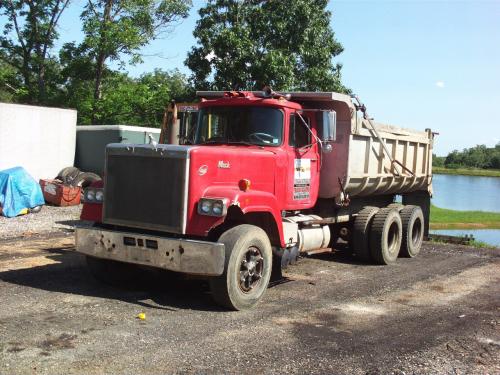
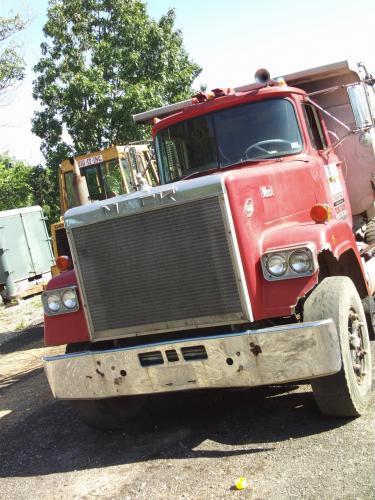
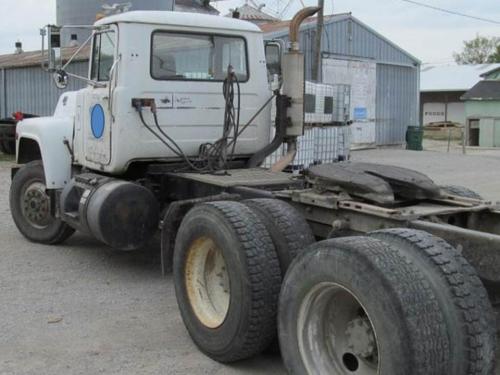
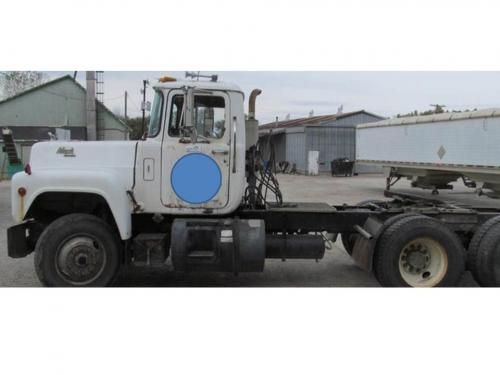
I am still looking for a newer truck to work part time and restore. I found a 87 R688ST, E6 with 9 speed, unknown over all miles but supposedly engine was rebuilt and clutch done about 750000 miles ago, transmission and rears never done. Some frame cracks. Fifth wheel needs replaced. Drivers seat is worn out. Most of the tire it is being sold with will need replaced. Cab and hood is in good shape a little surface rust, brakes and front end are good and brakes were done about a year ago. Interior is worn but complete. Runs and drives and passed DOT inspection this year. Am I looking at money pit? I dont want to put more into it than it would be worth as it wont be considered a hobby truck but needs to earn its keep. All opinions appreciated. Thanks Rob
-

Your First Mack?
thomastractorsvc replied to rsb502's topic in Antique and Classic Mack Trucks General Discussion
Yard drove a B61 tandem dump at my uncles was 6 +/ -, he had 3 or 4 of them, I used to ride sometimes with him in an R model in the winter sitting on a milk crate full of coveralls and rags. We would haul tatermeal out of Presque Isle, ME I remember I was glad that I got to set in front of the heater.
BigMackTrucks.com
BigMackTrucks.com is a support forum for antique, classic and modern Mack Trucks! The forum is owned and maintained by Watt's Truck Center, Inc. an independent, full service Mack dealer. The forums are not affiliated with Mack Trucks, Inc.
Our Vendors and Advertisers
Thank you for your support!


