

doubleclutchinweasel
-
Posts
2,618 -
Joined
-
Last visited
-
Days Won
37
Content Type
Profiles
Forums
Gallery
Events
Blogs
BMT Wiki
Collections
Store
Everything posted by doubleclutchinweasel
-
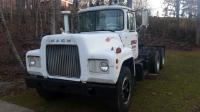
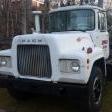 Here's one for U.
-
What I was told by Mack, is that the rails were primed, bolted together, then painted as a unit. So, no, there would not be any real paint between the rails...which does aggravate the rust problem.
-
cab mounts
doubleclutchinweasel replied to doubleclutchinweasel's topic in Exterior, Cab, Accessories and Detailing
Idunno. Still searching... -
Is this correct for my old 1970 R600? Upper cab mounts - 20QL250 Lower cab mounts - 20QL1144 Same on all 4 points. Anybody got the numbers for the radiator mounts?
-
R model hood guides
doubleclutchinweasel replied to dennishutto51's topic in Exterior, Cab, Accessories and Detailing
https://www.paiindustries.com/parts/catalogtoc.php?catalog_id=2&ID=12108 -
Just Curious...
doubleclutchinweasel replied to doubleclutchinweasel's topic in Exterior, Cab, Accessories and Detailing
What model? How long was the cable? -
Just Curious...
doubleclutchinweasel replied to doubleclutchinweasel's topic in Exterior, Cab, Accessories and Detailing
Looks like the tachometer drive is turning 1/2 the speed of the engine. The only tachometers I can find are either 1:1 ratio or .5:1 ratio. So, I'm guessing this is the .5:1! I've found the PAI FTA-0550, as well as the Stewart-Warner 82688 & 82689. I know the S-W units are .5:1ratio. I think the PAI is. None of these has the cool, old-style needle. My empty tachometer cable sheath is 96" long. But, I can tell it is not original. There are multiple places where a different cable has rubbed various things over the years. And, this sheath has been spliced on the drive end. I guess someone had the wrong threads? The build sheet shows an 80 or 88" cable. But, there's no way that would work. Looks like the 96 will work, as routed. Or, a 92 might work, if routed to the other side of the intake pipe. Sure like to see how an original was routed, and the original length. Anybody ever pulled an original cable off an R611? -
Curious. Was looking around at tachometers (and cables). Noticed some older mechanical tachometers on other trucks and even on farm tractors. Seemed to be made by the same folks who made the broken one in my R. Maybe Stewart-Warner??? Does anybody know for certain what the ratio is on the OEM tach that would be found on these old Rs or even Bs? 1:1? .5:1? Something else?
-
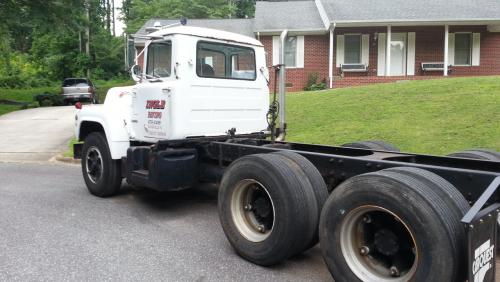
Thought about a wrecker body, without the booms. Just like the way they look. I'm really having trouble making myself work on it lately. Very tired. Try to use it for stress relief after work, but work leaves me little energy to work on it. If anybody would be seriously interested in buying this toy, I might be tempted to sell it...but I will not give it away!
-
Been thinking about that too...
-
Just took it off! Cobbled up old frame, and a worn out fifth wheel. Still trying to decide what to put on it.
-
New battery box lid & 2 latches...


-
Wow! Awfully nice of you! What would I have to pay you?!!!
-
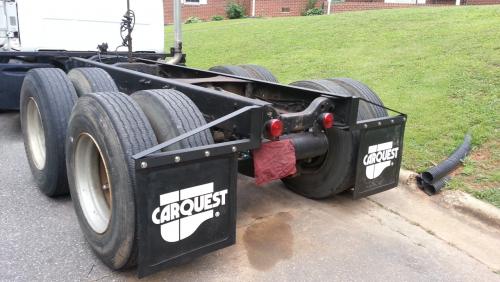
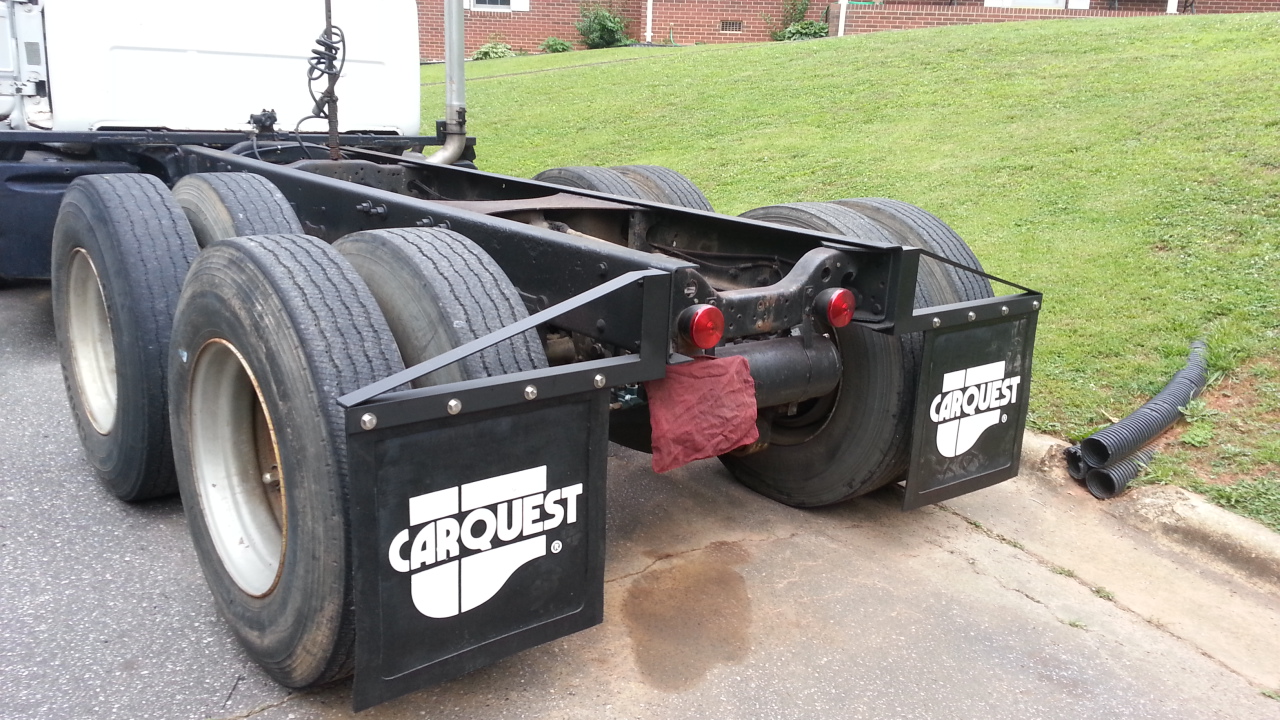
Yeah. Need Dog flaps. These were available & cheap.
-
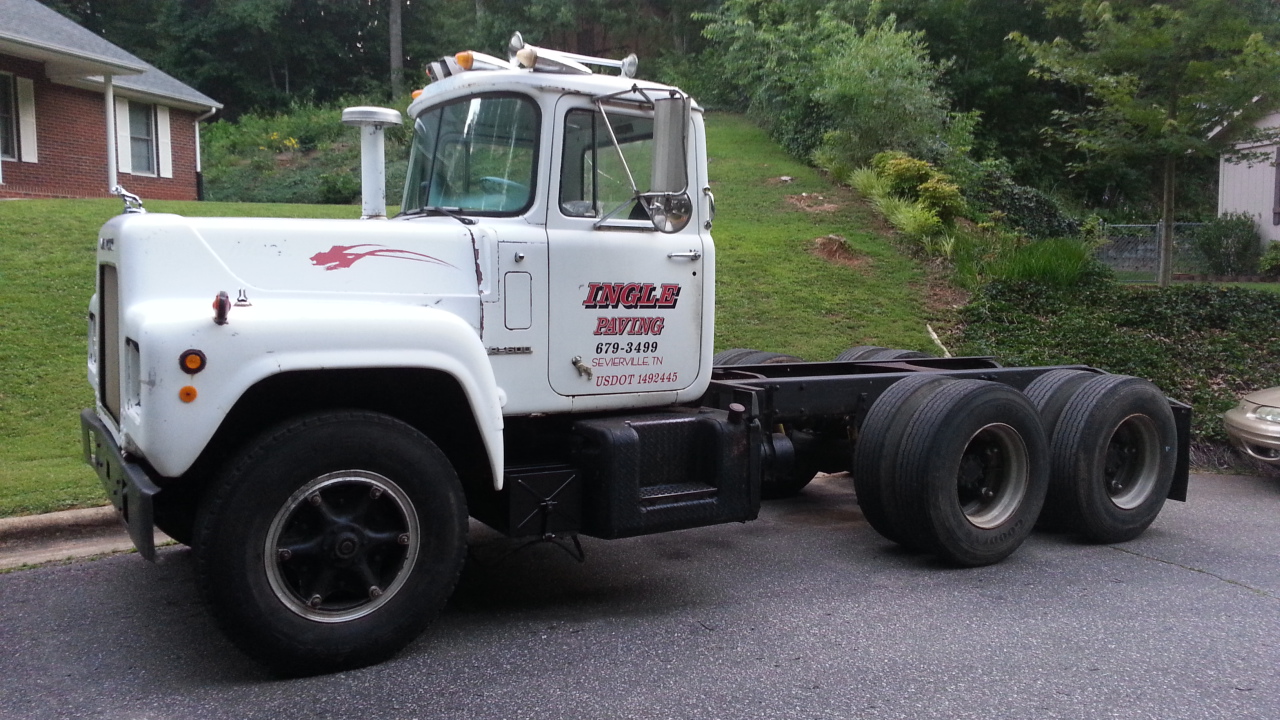
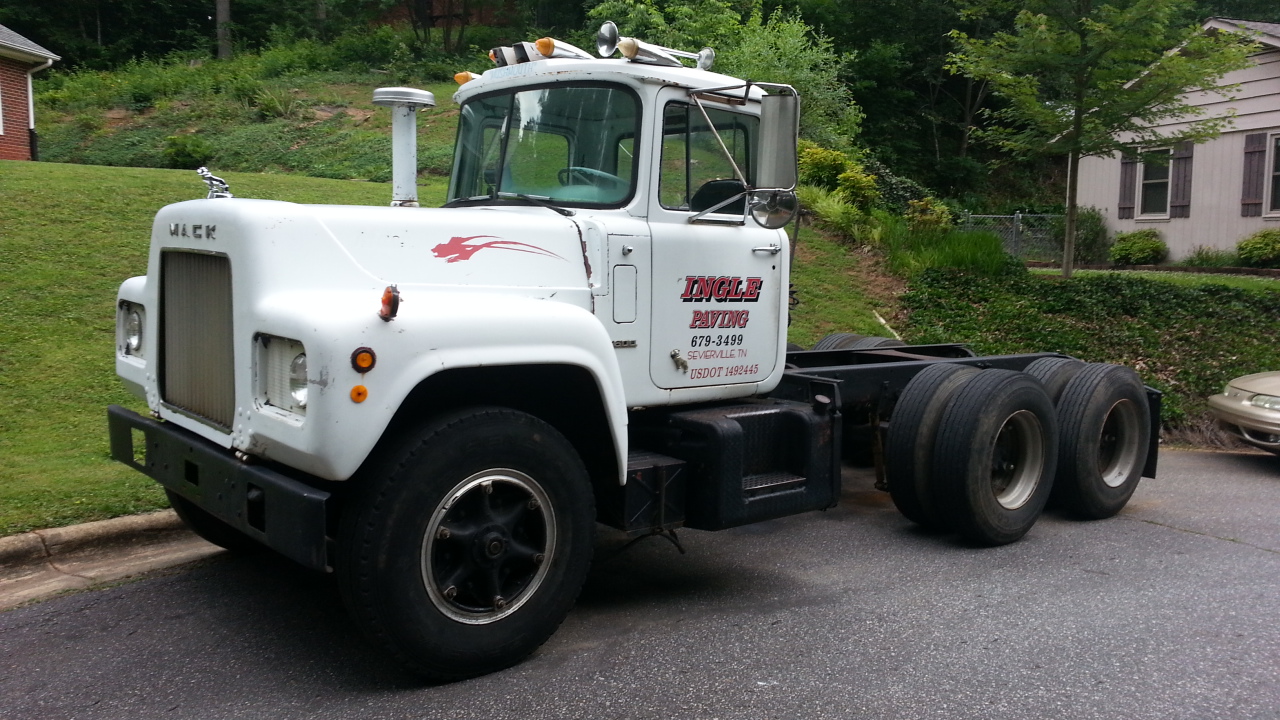
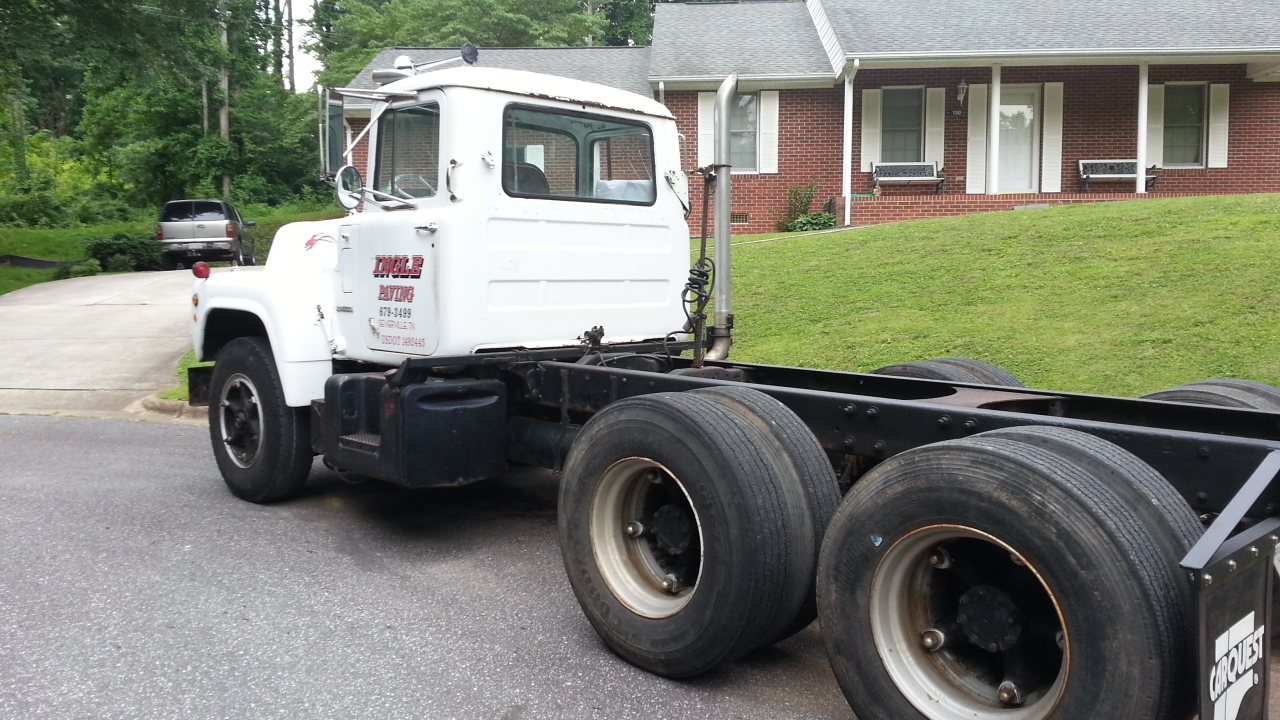
What does anybody think about my home-made mudflap hangers? Wanted something different, that looked "Mack-ish".
-
Well, it needs a little body work...a little RH rocker panel work & maybe a RH door (or lower patch). The hood needs replaced, but that's an easy part, & the last thing. Body work is where I don't really have the equipment, facilities, skills, or interest! It's just an evil necessity! Unfortunately, it's also what makes it pretty.
-
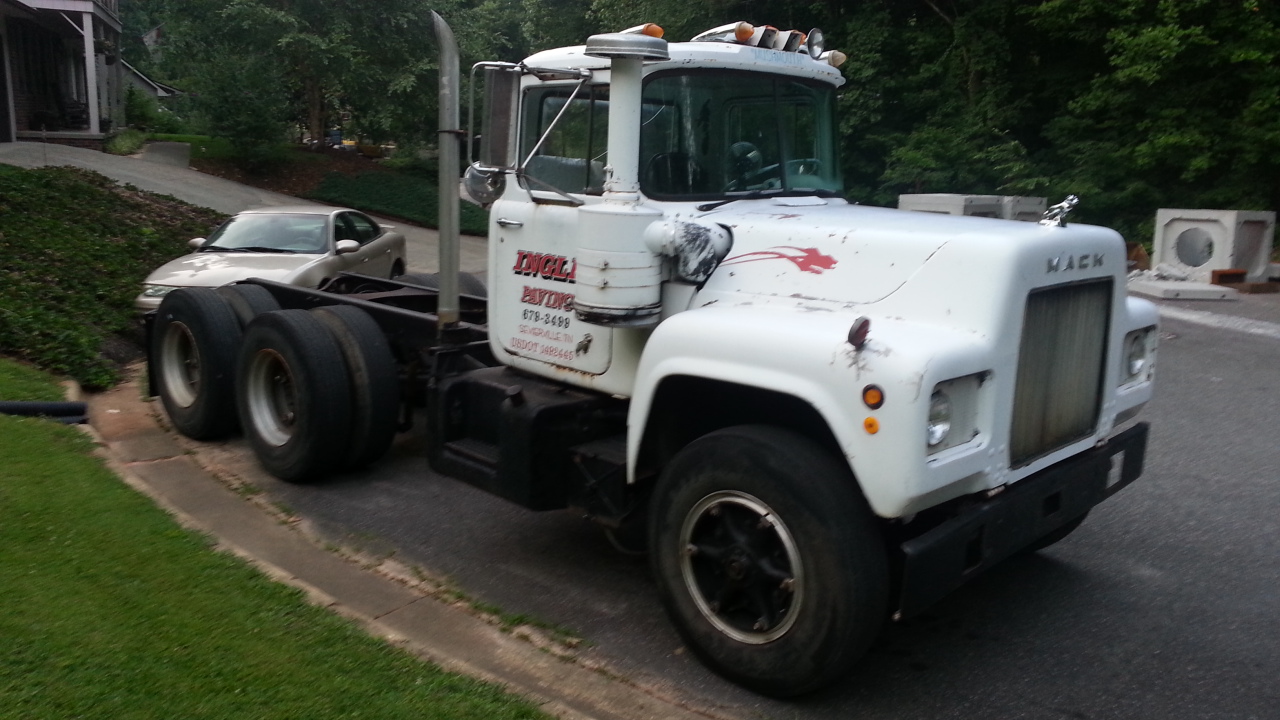
I drive it regularly. Go get pizza in it sometimes. Reliable, but not too pretty.
-
And new wiper blades. Can't forget the new wiper blades!
-
Sometimes I wonder if I've lost my mind! I was just going over the "to do" and "already done" lists, and I wonder if I've taken a walk off the deep end. When I found it, it had almost new brake linings on it. And, someone had already swapped in a single-wire alternator and switched it over to negative ground. Since I drove this thing home from the salvage yard in which I found it, here is what I have already fixed/replaced: new rear slack adjusters new rear brake actuators converted from DD3 to spring brakes all new rubber air hoses from frame to axles all old frame-mounted air hoses replaced with DOT poly new parking brake valve (with built-in anti-compounding) new trailer brake valve new limiting Q/R valve for front axle new brake light air pressure switch new radiator hoses new fan belts new water filter supply hose new RoadRanger range shift synchro kit new range shift valve new transmission air lines replaced 3 spring leaves in LF (2 broken and the next one) new kingpins & bushings 8 "newer" recap tires & better tubeless rims (rears) new bulldog & base (easier to open hood!) new fuel filters rebuilt fuel primer pump new air intake hose new tail lights new front fender marker lights 1 new battery (all it's ever needed!) new negative ground volt meter new exhaust s-pipe new exhaust stack new wiring to tail lights new wiring to brake light switch new tie rod new tie rod ends new mudflap brackets & flaps removed worn-out 5th wheel and cobbled-up mount removed wires that went nowhere Sometimes I wonder what the #$%@ I'm doing out there, working and sweating over this thing! I don't know...maybe it needs a new home??? Sometimes I wonder...

-
Bmodel front end repair question
doubleclutchinweasel replied to Bobby j's topic in Driveline and Suspension
Just changed my bent R model coarse/fine setup for a lh/rh setup. The original had super fine adjustments. The new one has super common parts! Hope you recover quickly from the surgery. -
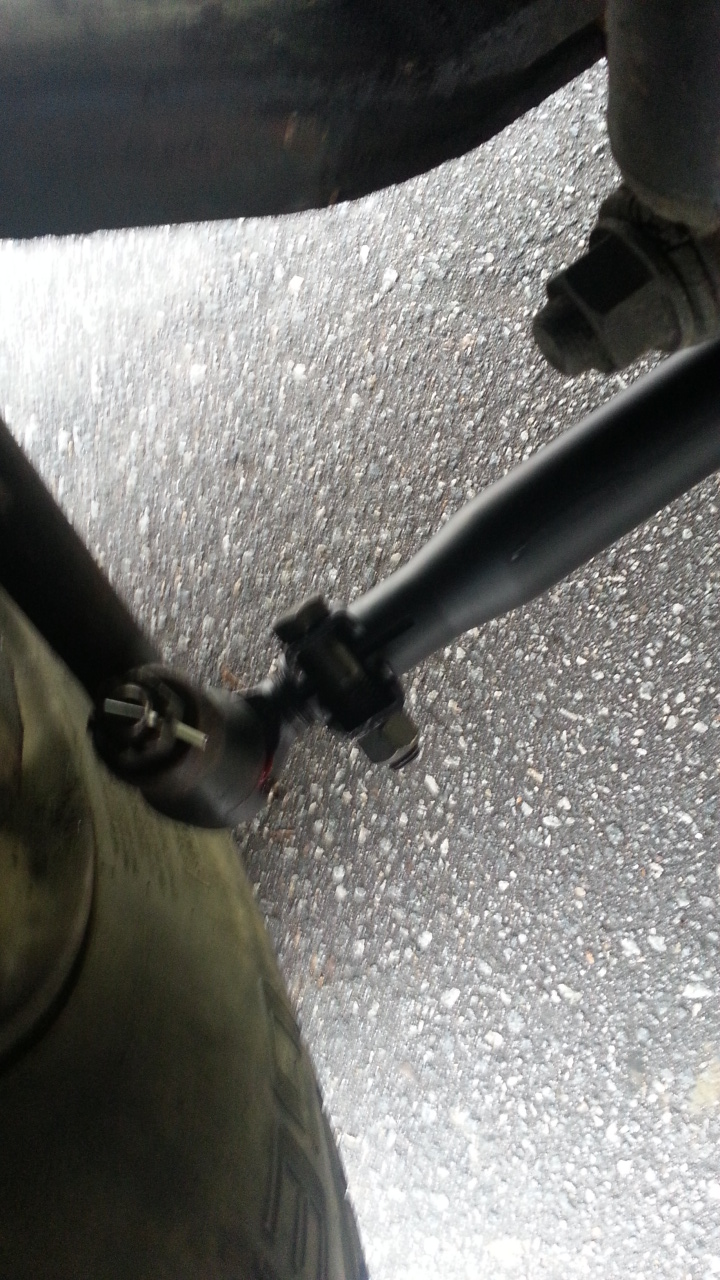
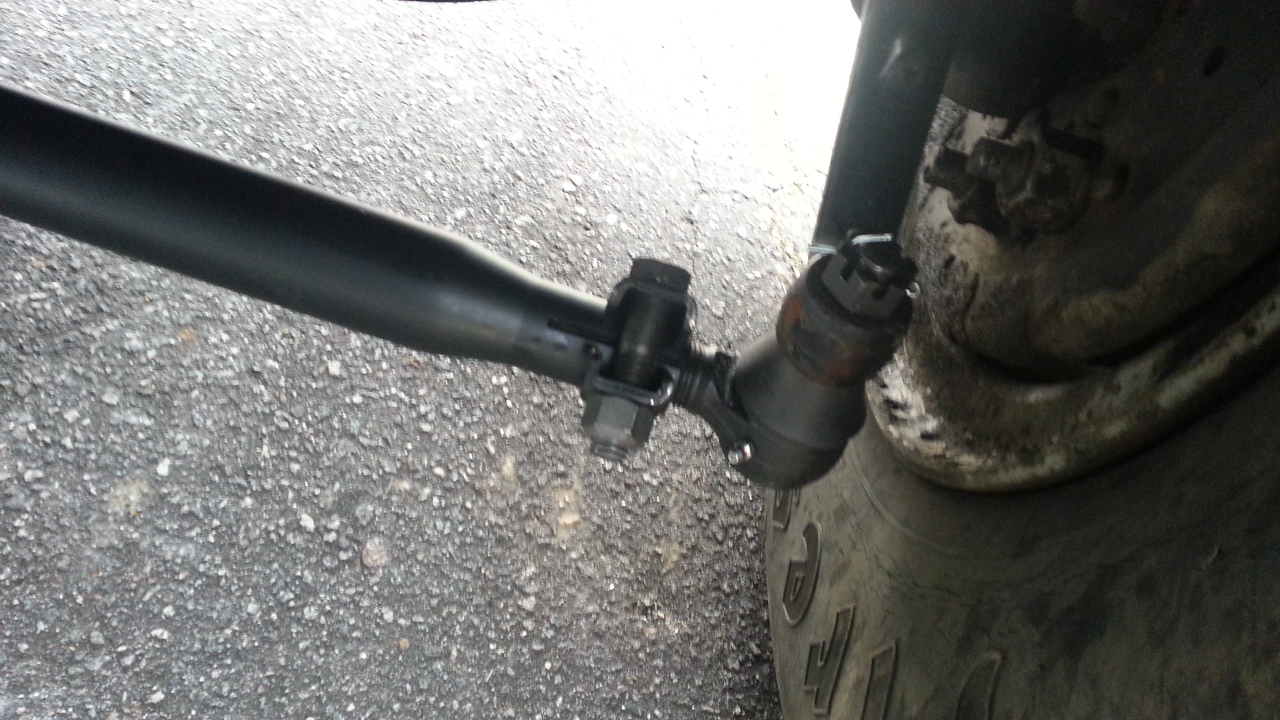
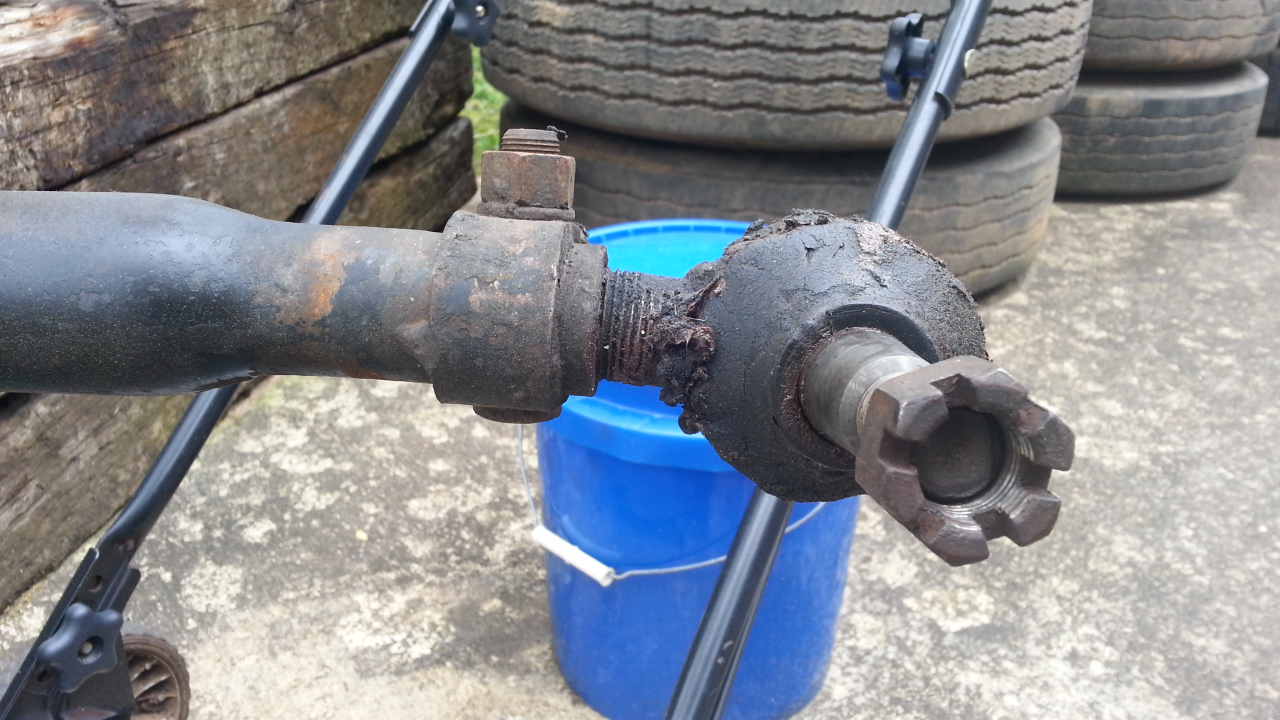
More Tie Rod Stuff
doubleclutchinweasel replied to doubleclutchinweasel's topic in Driveline and Suspension
Tie rod came in. Cleaned it up and sprayed a little black paint on it. Swapping it out took about 10 minutes, using the rod end knocker I made some time back. Tie rod is a CT100D from Triangle/Flagg. Ends are TRW/Raybestos, with standard 1-1/8 - 12 LH/RH threads. Alignment went something like this... 1. Jacked up both front tires. Spray-painted a silver stripe around them. Spun each tire, and scribed a line around each, near the center, with a scribe supported on a block of wood. 2. Set truck back down. 3. Measured from the ground to the centerline of the hub. Marked each tire, front and back, with this same dimension. The intersection of the scribe marks are the measurement points. 4. Used a scrap piece of aluminum framing (about 2" X 2") as a base, sitting behind the tires, supported on a couple of 4 X 4s. 5. Used a framing square to transfer the measurement points to the aluminum base. 6. Used a small square to scribe these lines across the aluminum base. 7. Repeat measurement at front of tires, starting with left tire witness mark on previous scribe mark. 8. Difference between front and rear of tires is toe. I set it at about 1/16" toe-in. Drove it down the road. Much less shimmy in the front end, and much tighter steering. Some pictures of the new rod in place...and one of the old, bent one.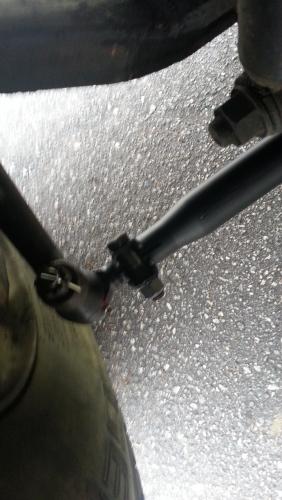


-
That's about the most helpful thing anybody ever did! Thanks for the pic.
-
Tearing into the fronts springs of my B
doubleclutchinweasel replied to Freightrain's topic in Driveline and Suspension
Hard to hold the wrench on the nut, ratchet it up, pull on it, & not drag yourself across the floor! Fun! -
Tearing into the fronts springs of my B
doubleclutchinweasel replied to Freightrain's topic in Driveline and Suspension
Like this?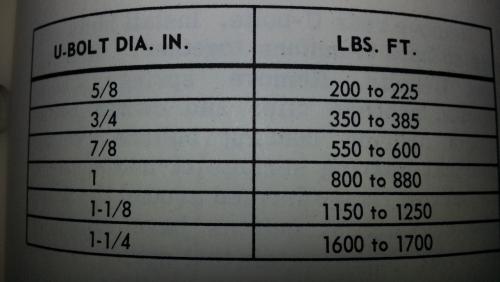
-
More Tie Rod Stuff
doubleclutchinweasel replied to doubleclutchinweasel's topic in Driveline and Suspension
Tie rod & ends on the way. Hope to have them in my hands tomorrow evening. Anybody wanna bet it starts raining?

BMT Forum Logo
