


mattb73lt
-
Posts
1,422 -
Joined
-
Last visited
-
Days Won
146
Content Type
Profiles
Forums
Gallery
Events
Blogs
BMT Wiki
Collections
Store
Everything posted by mattb73lt
-

B-73 Restoration
mattb73lt replied to mattb73lt's topic in Antique and Classic Mack Trucks General Discussion
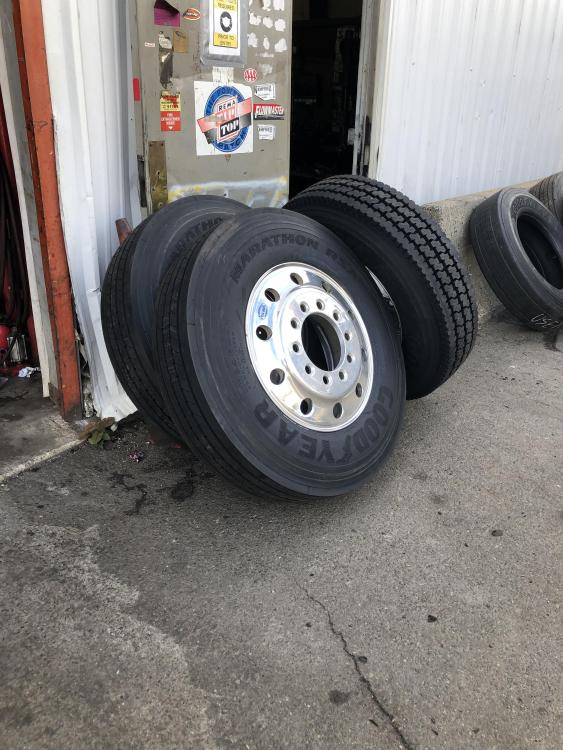
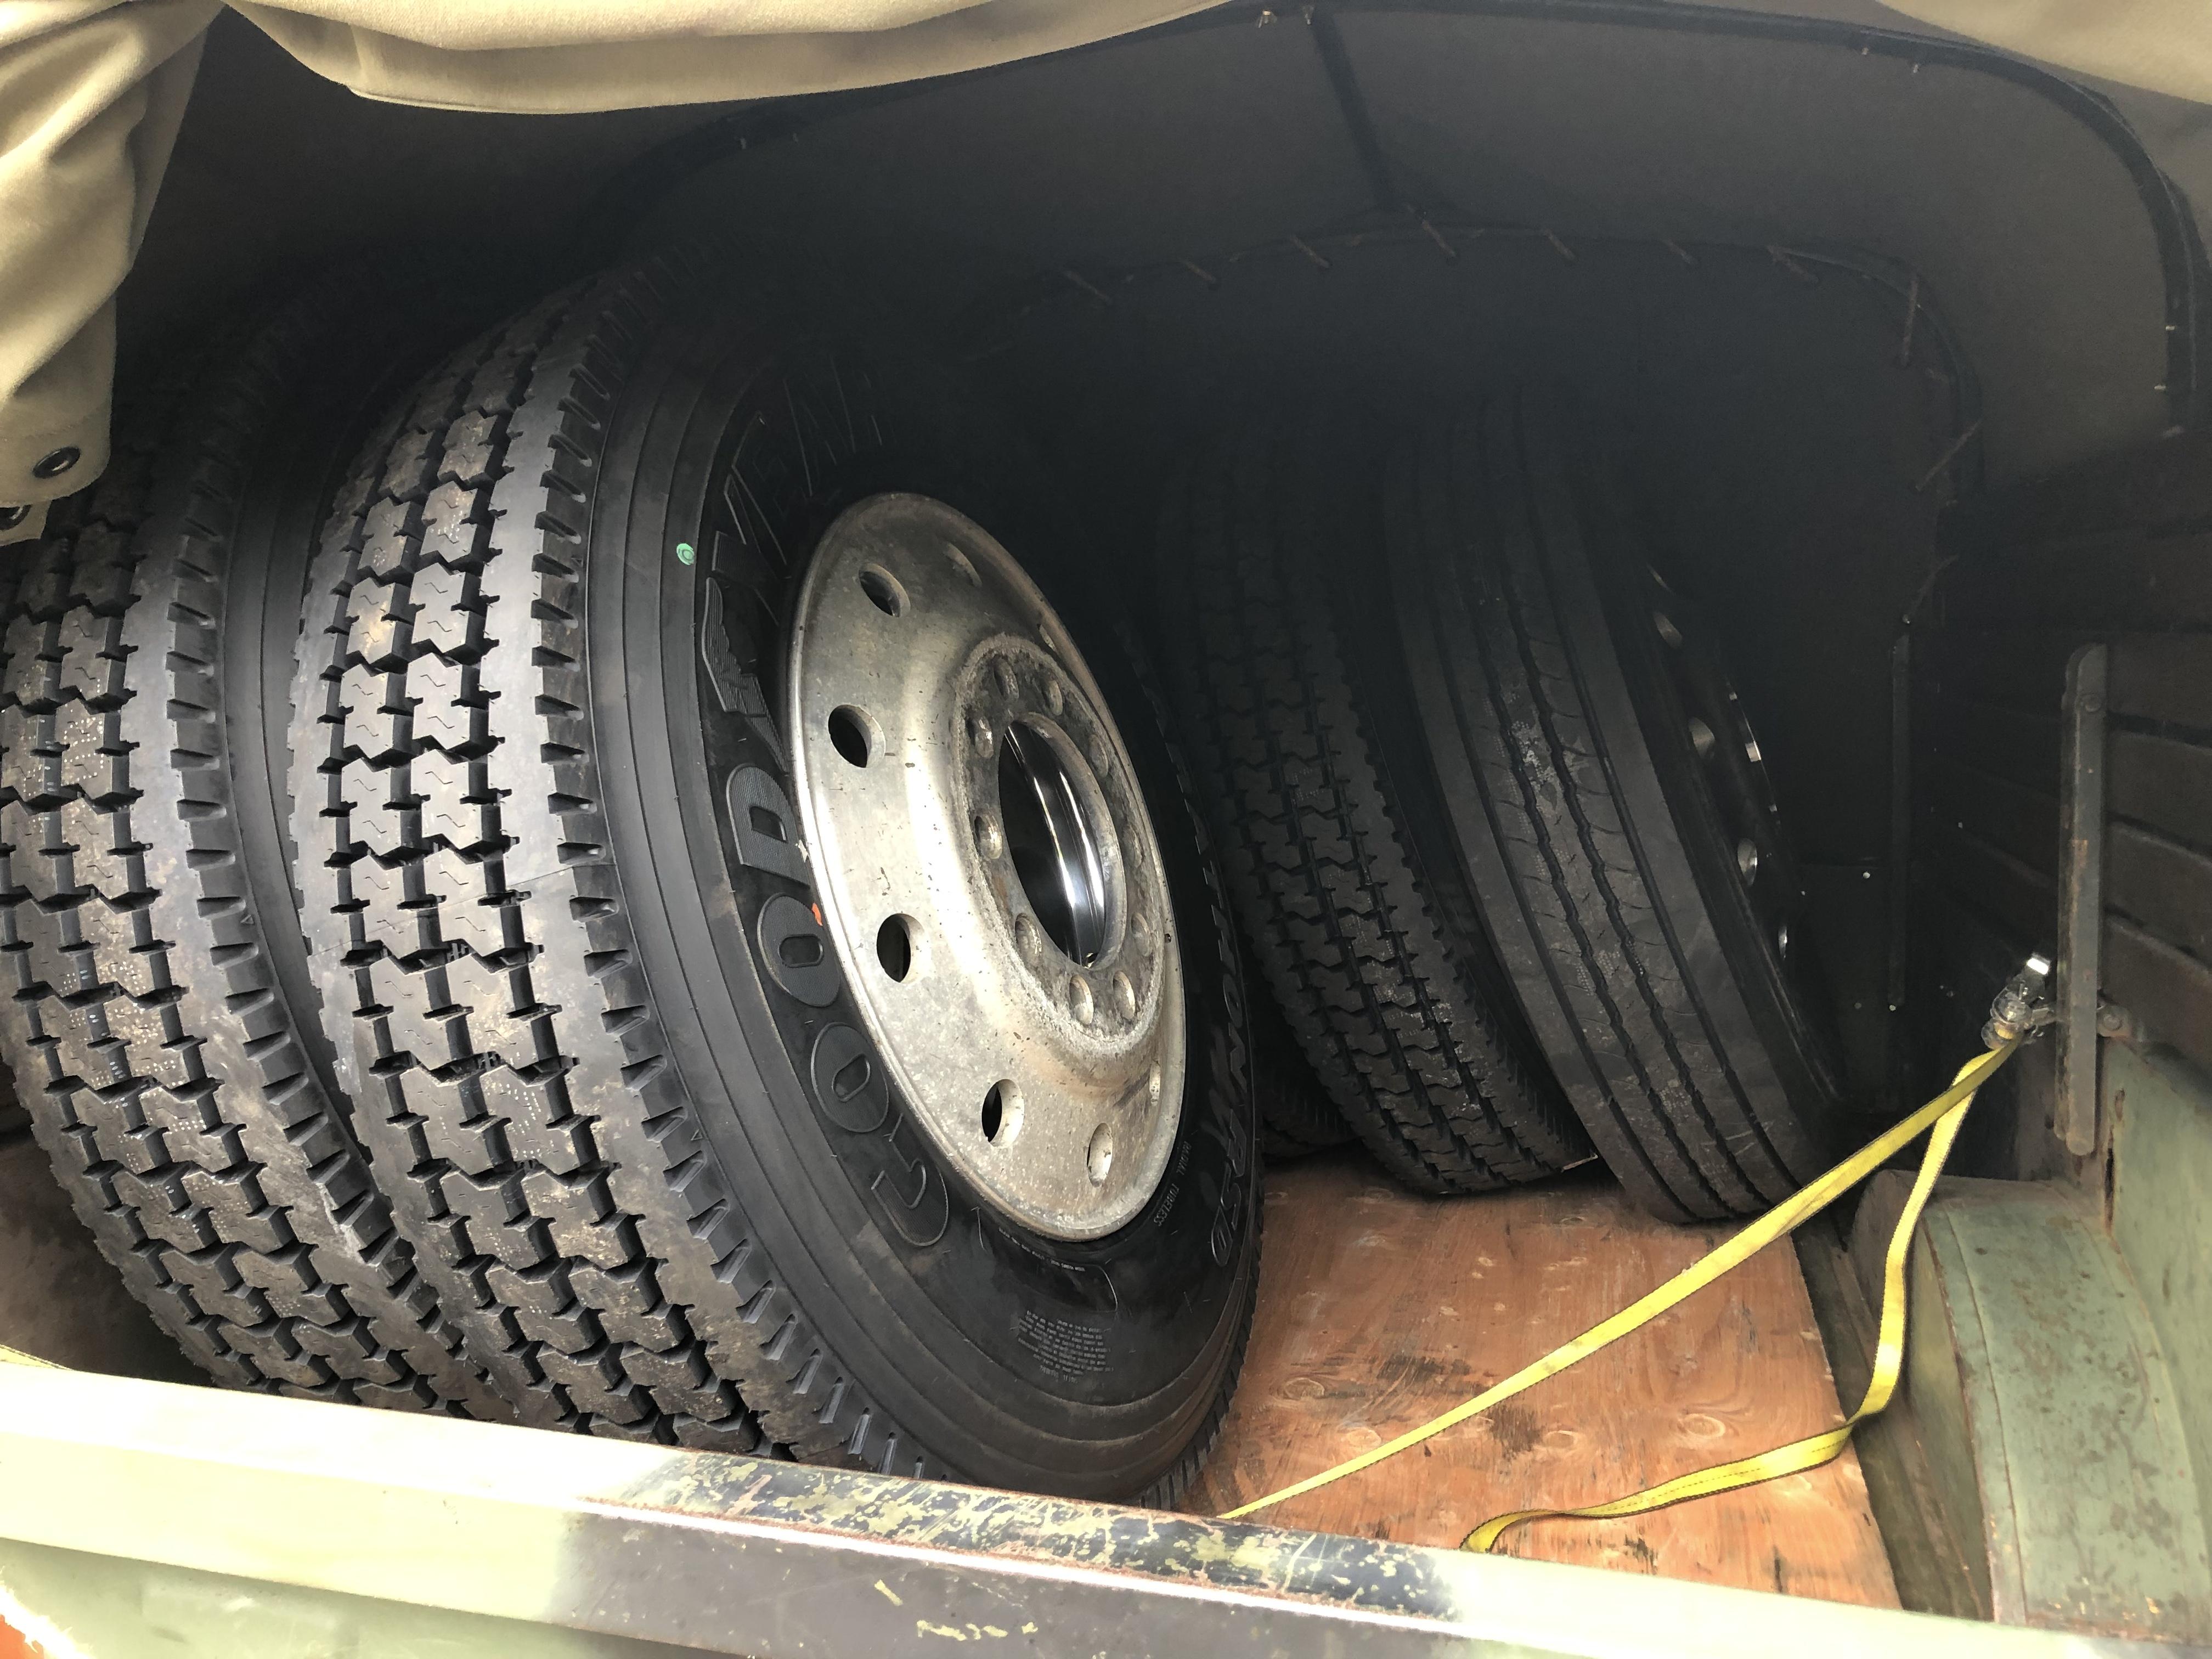
24.5 stud piloted. -
B-73 Restoration
mattb73lt replied to mattb73lt's topic in Antique and Classic Mack Trucks General Discussion
Well, that was expensive!!! But, it’s done and they’re ready to go in a few weeks when the frame is done.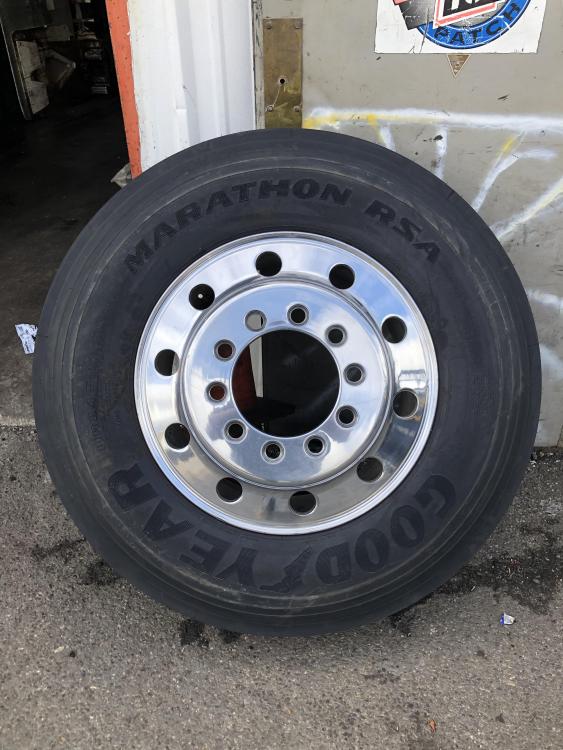

-
H Model Restoration
mattb73lt replied to h67st's topic in Antique and Classic Mack Trucks General Discussion
Nice work. That cab does go up pretty high!! I would be nervous, too!! -
B-73 Restoration
mattb73lt replied to mattb73lt's topic in Antique and Classic Mack Trucks General Discussion
I did that for corrosion. A lot of the frame parts are aluminum and had to be repaired. I etch primed and then painted the mating surfaces to try and prevent that, along with greasing the bolt holes. I'll shoot the whole frame as a unit, now. -
B-73 Restoration
mattb73lt replied to mattb73lt's topic in Antique and Classic Mack Trucks General Discussion
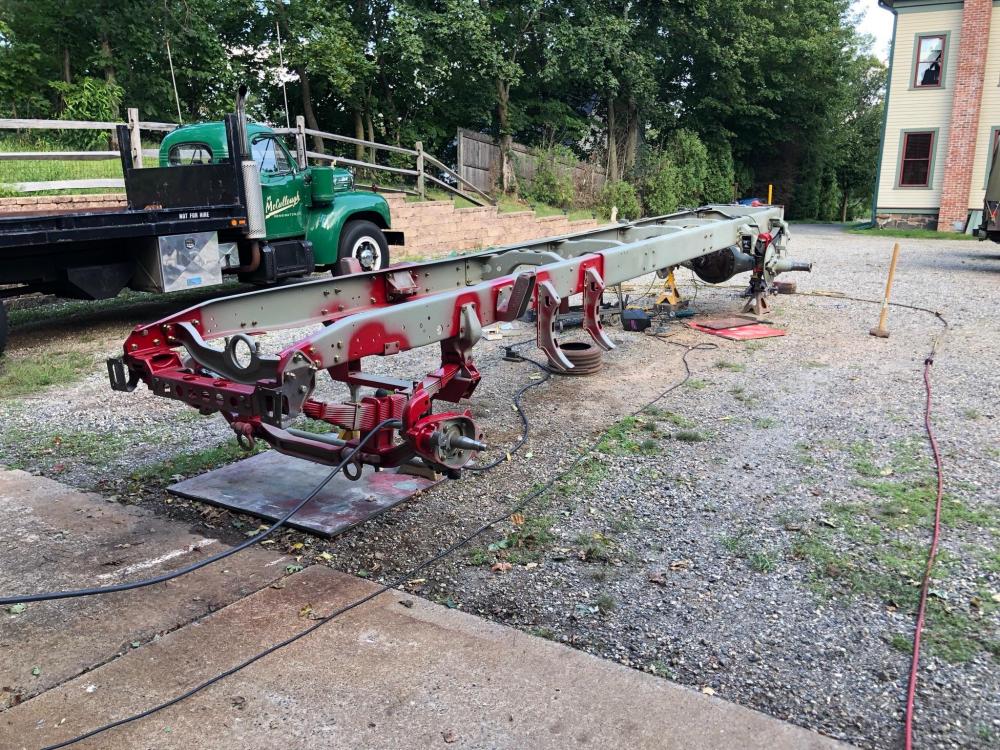
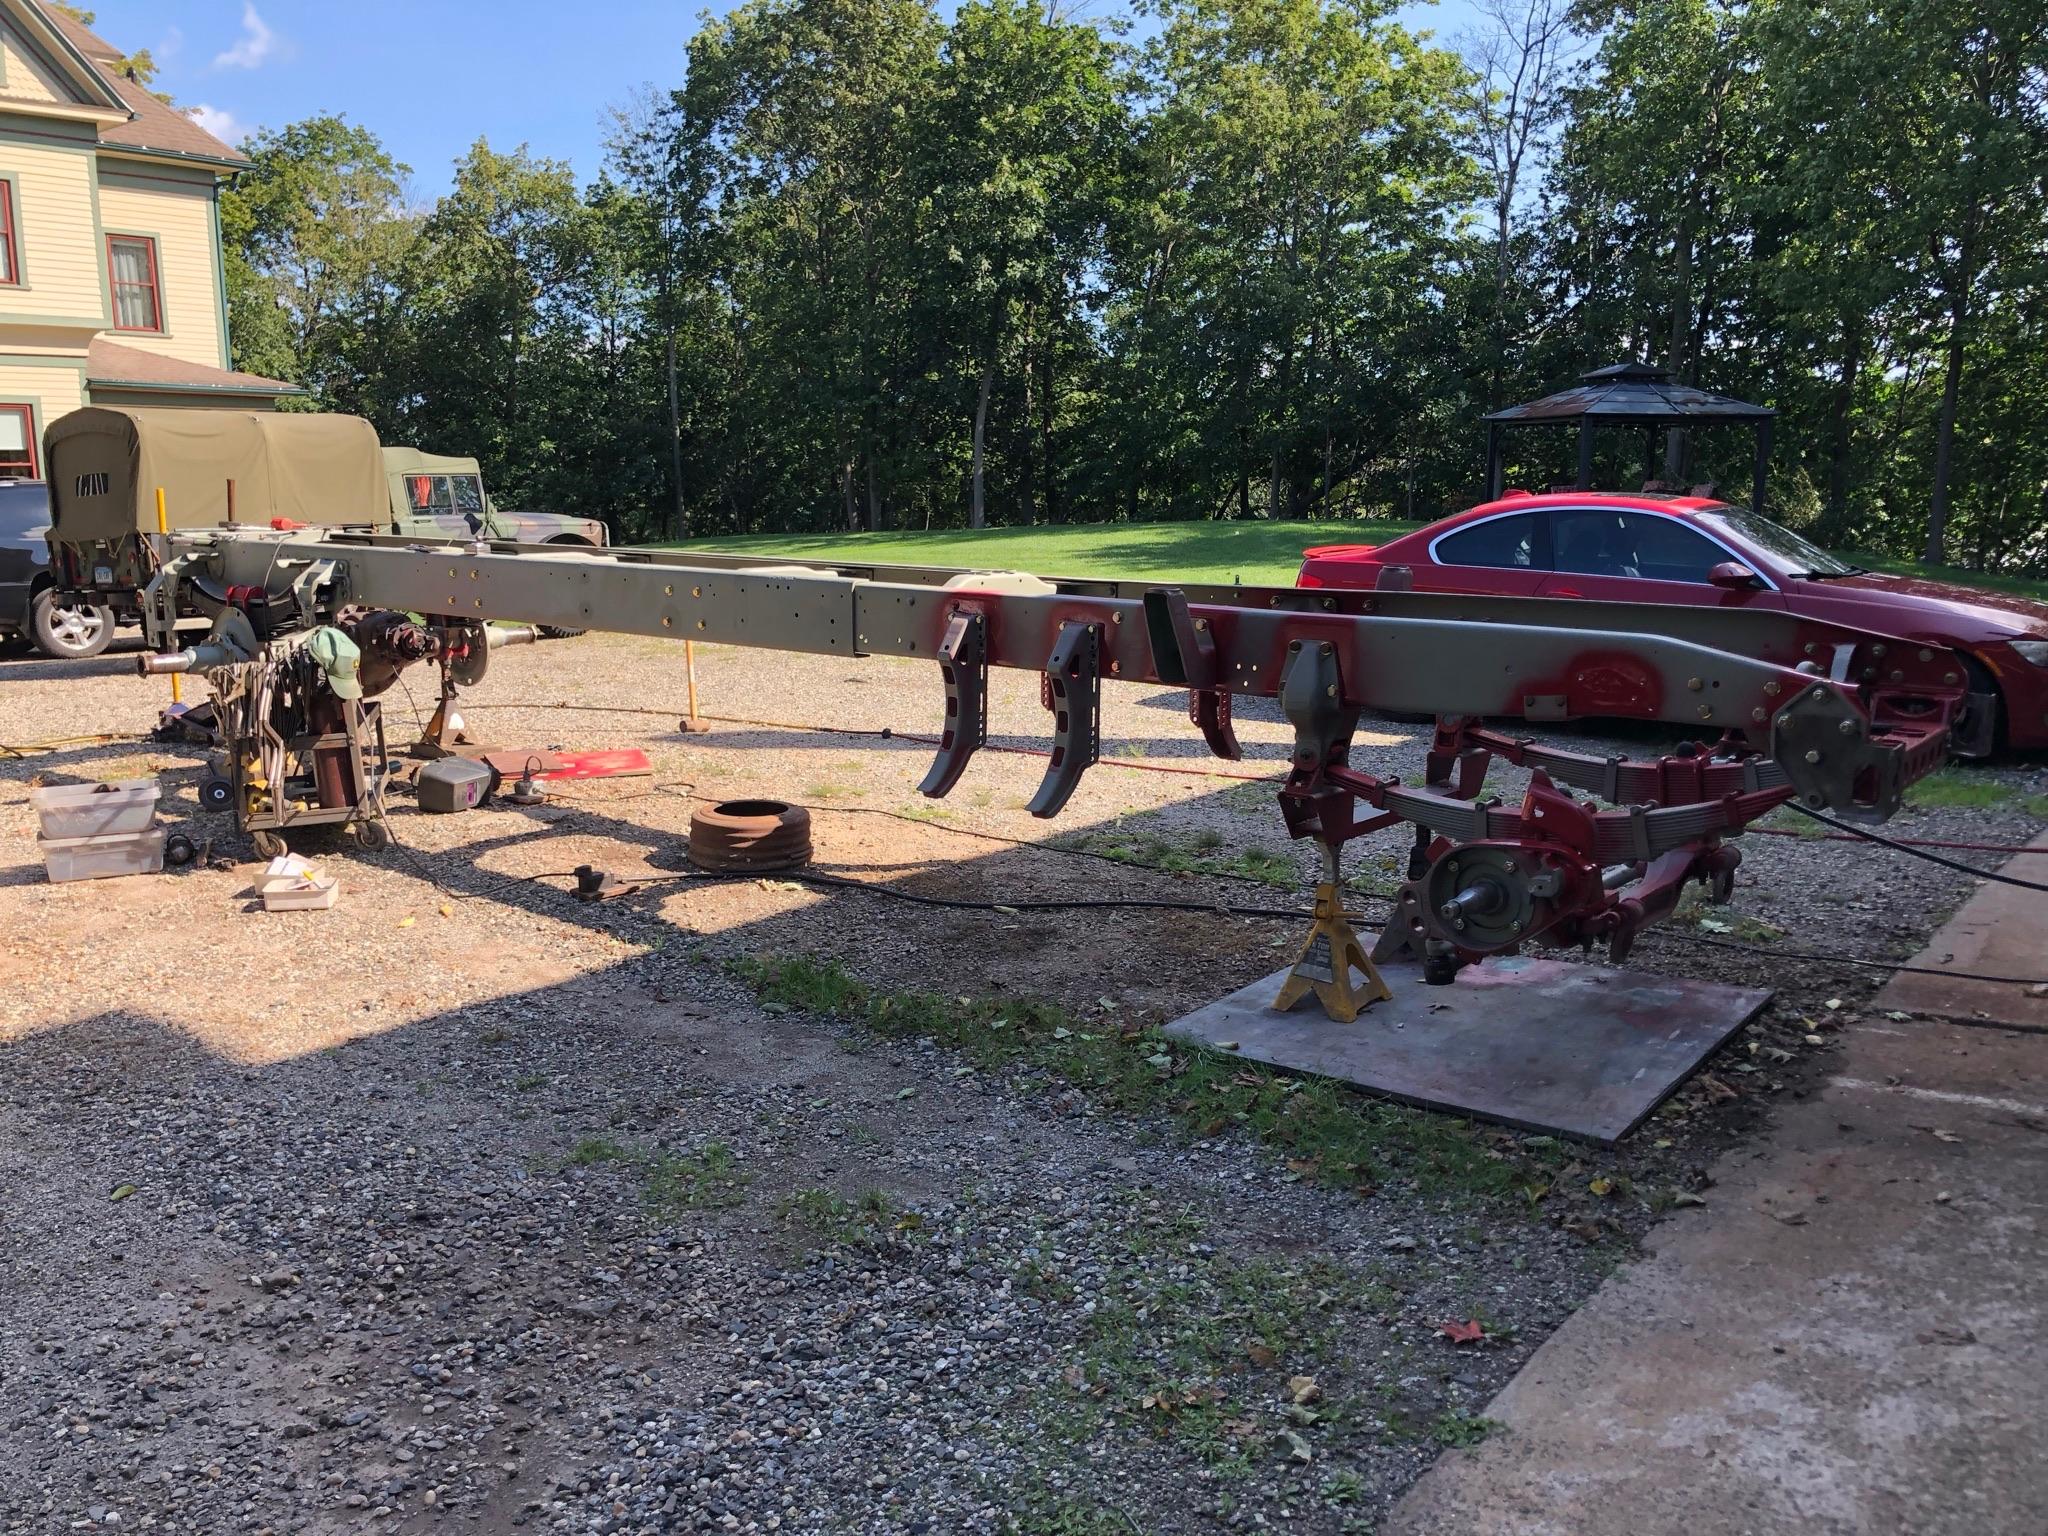
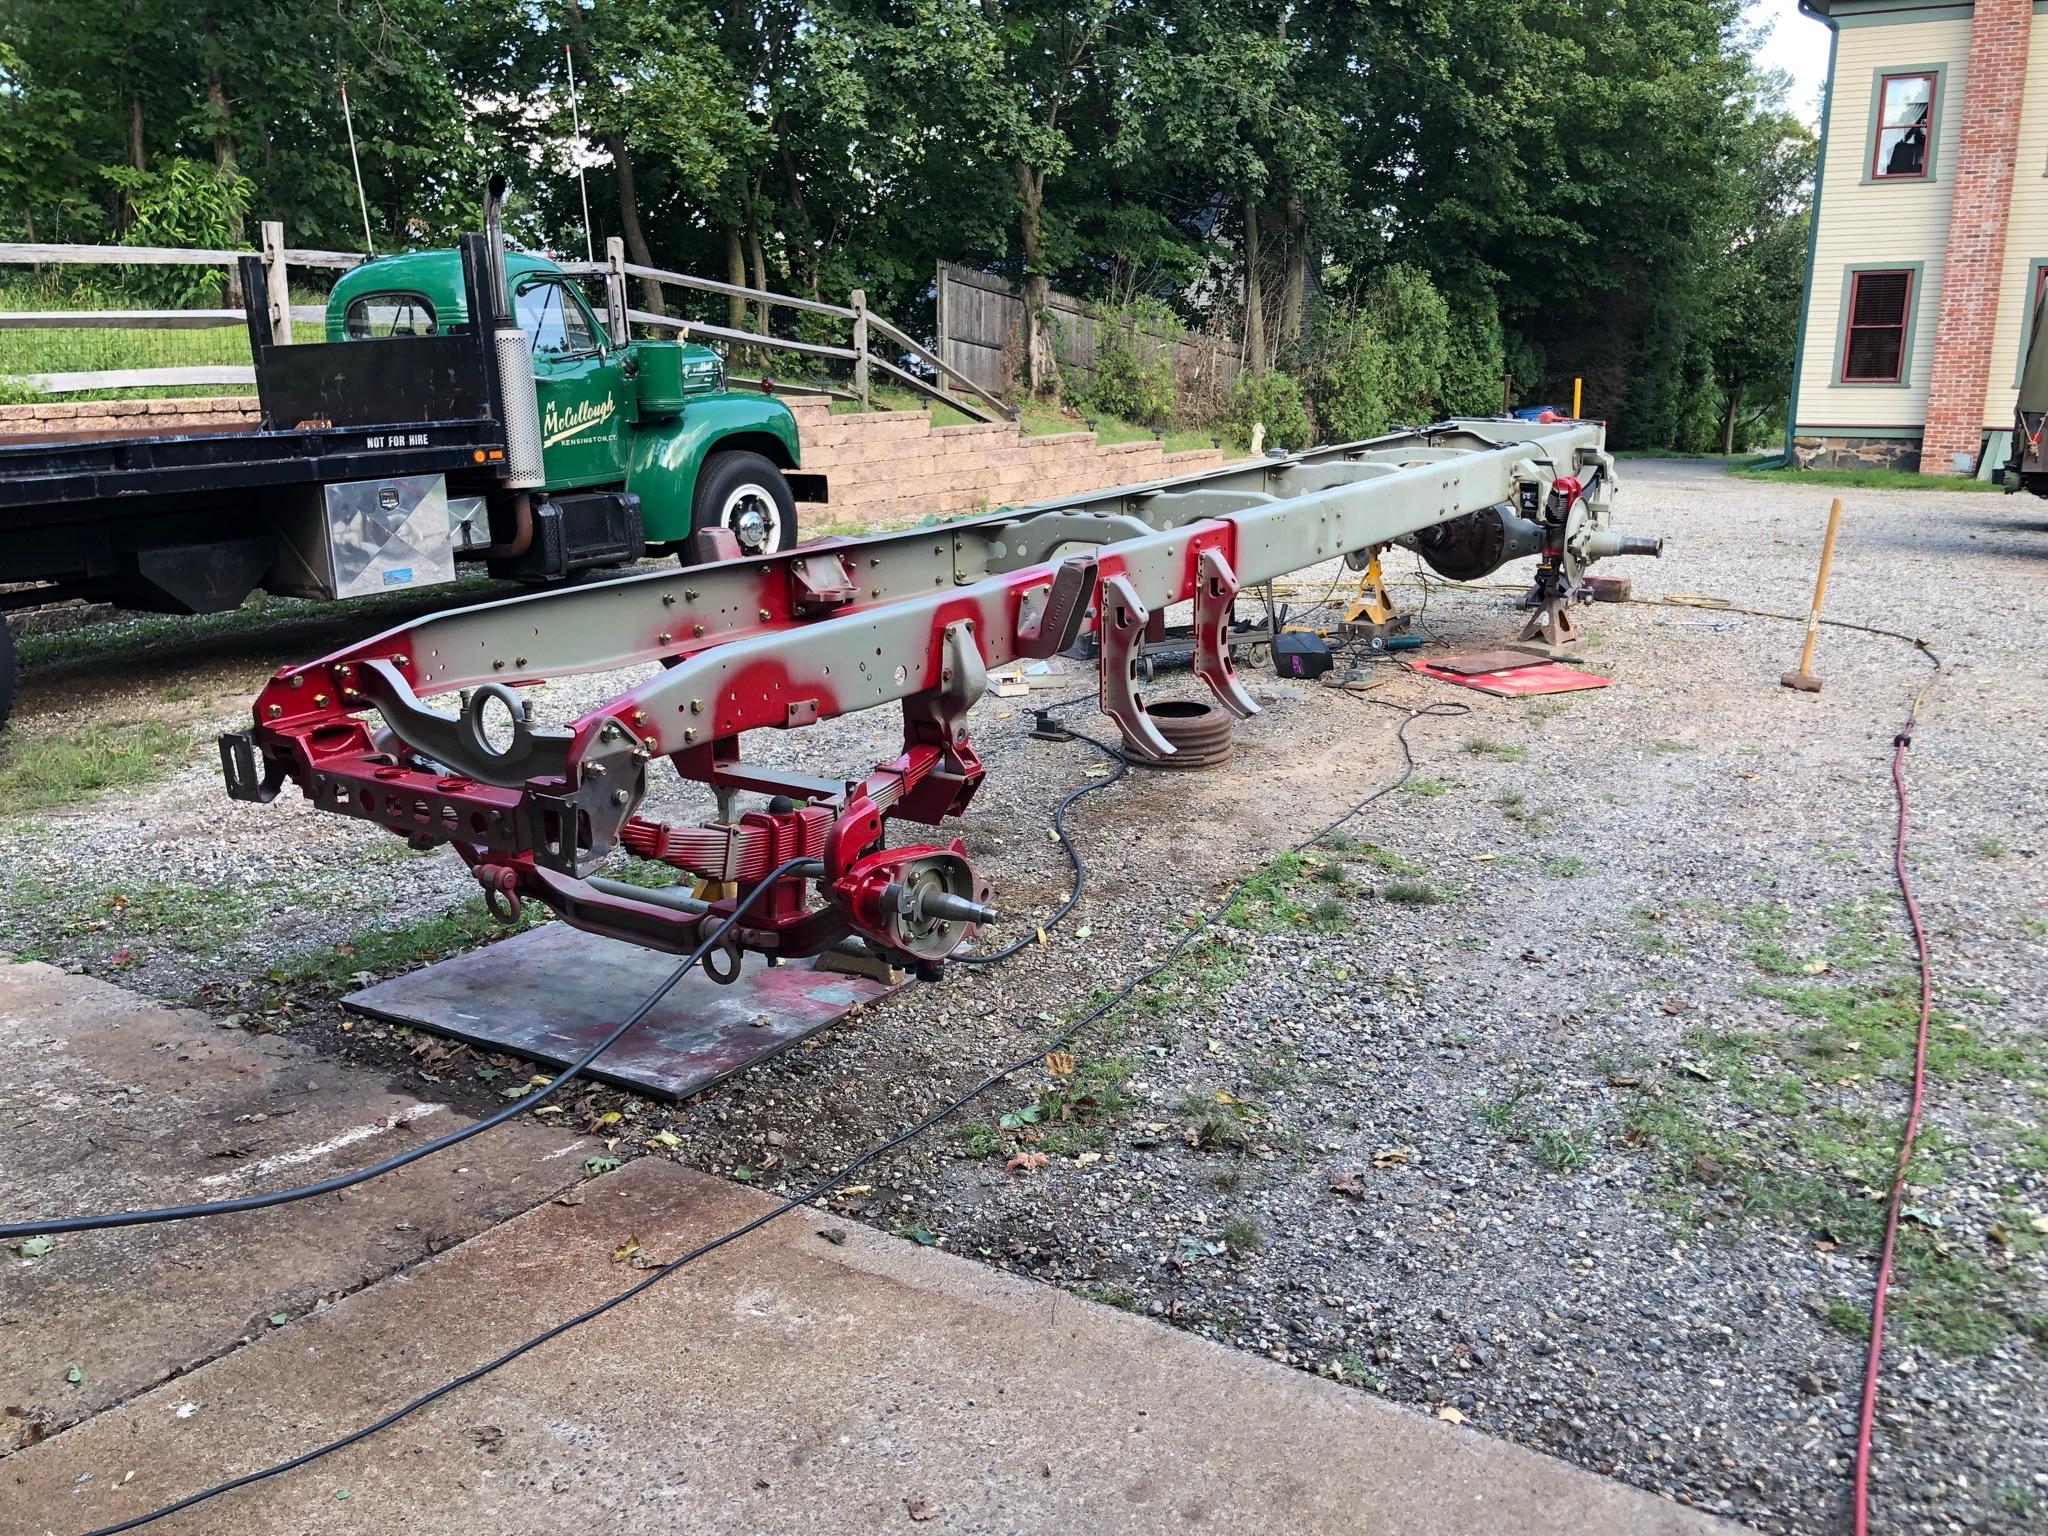
Did some repair work to one of the donor cross members and been adding more parts back to the frame. With some help, I aligned the axles to within 1/16”. The rear axle was out by over a 1/2” when we started. I’ll have the whole thing aligned at a local shop when it’s back on the road. I’m figuring a few days of work then I can paint the whole thing. Weather is improving and I’ll have to do this part out side. Trying to aim for late September/early October for stacking it back together, then I’ll get the front end done. Edging closer!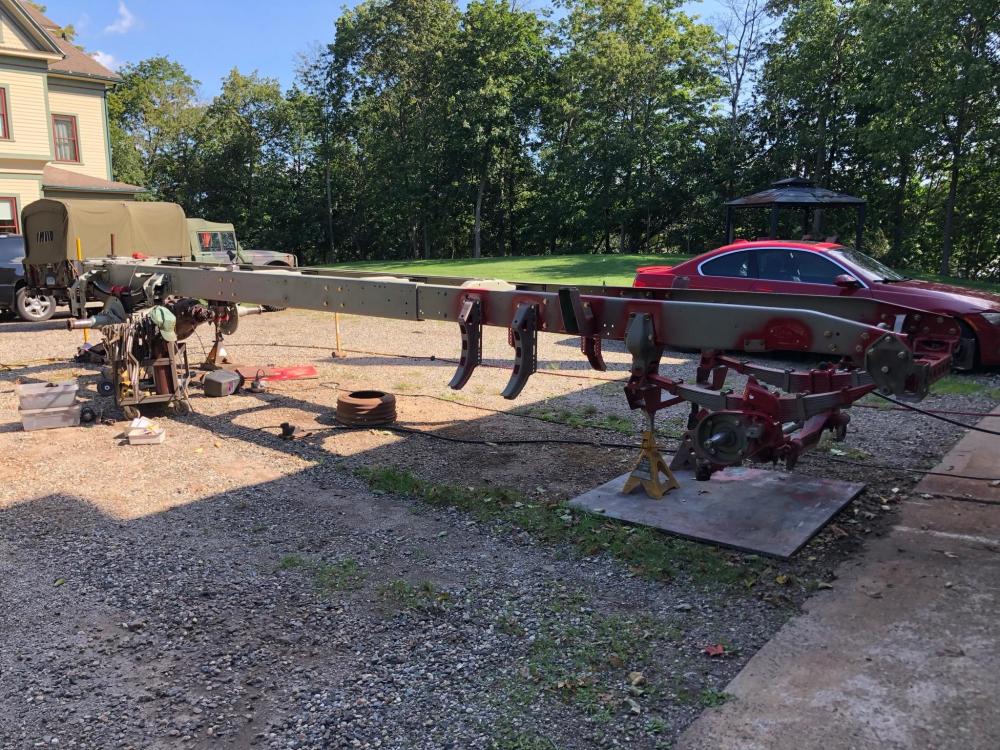
-
B-73 Restoration
mattb73lt replied to mattb73lt's topic in Antique and Classic Mack Trucks General Discussion
Plugging away, a little bit every day, some more than others. Doing some frame work tomorrow and hopefully some more red paint in the next two weeks. -
B-73 Restoration
mattb73lt replied to mattb73lt's topic in Antique and Classic Mack Trucks General Discussion
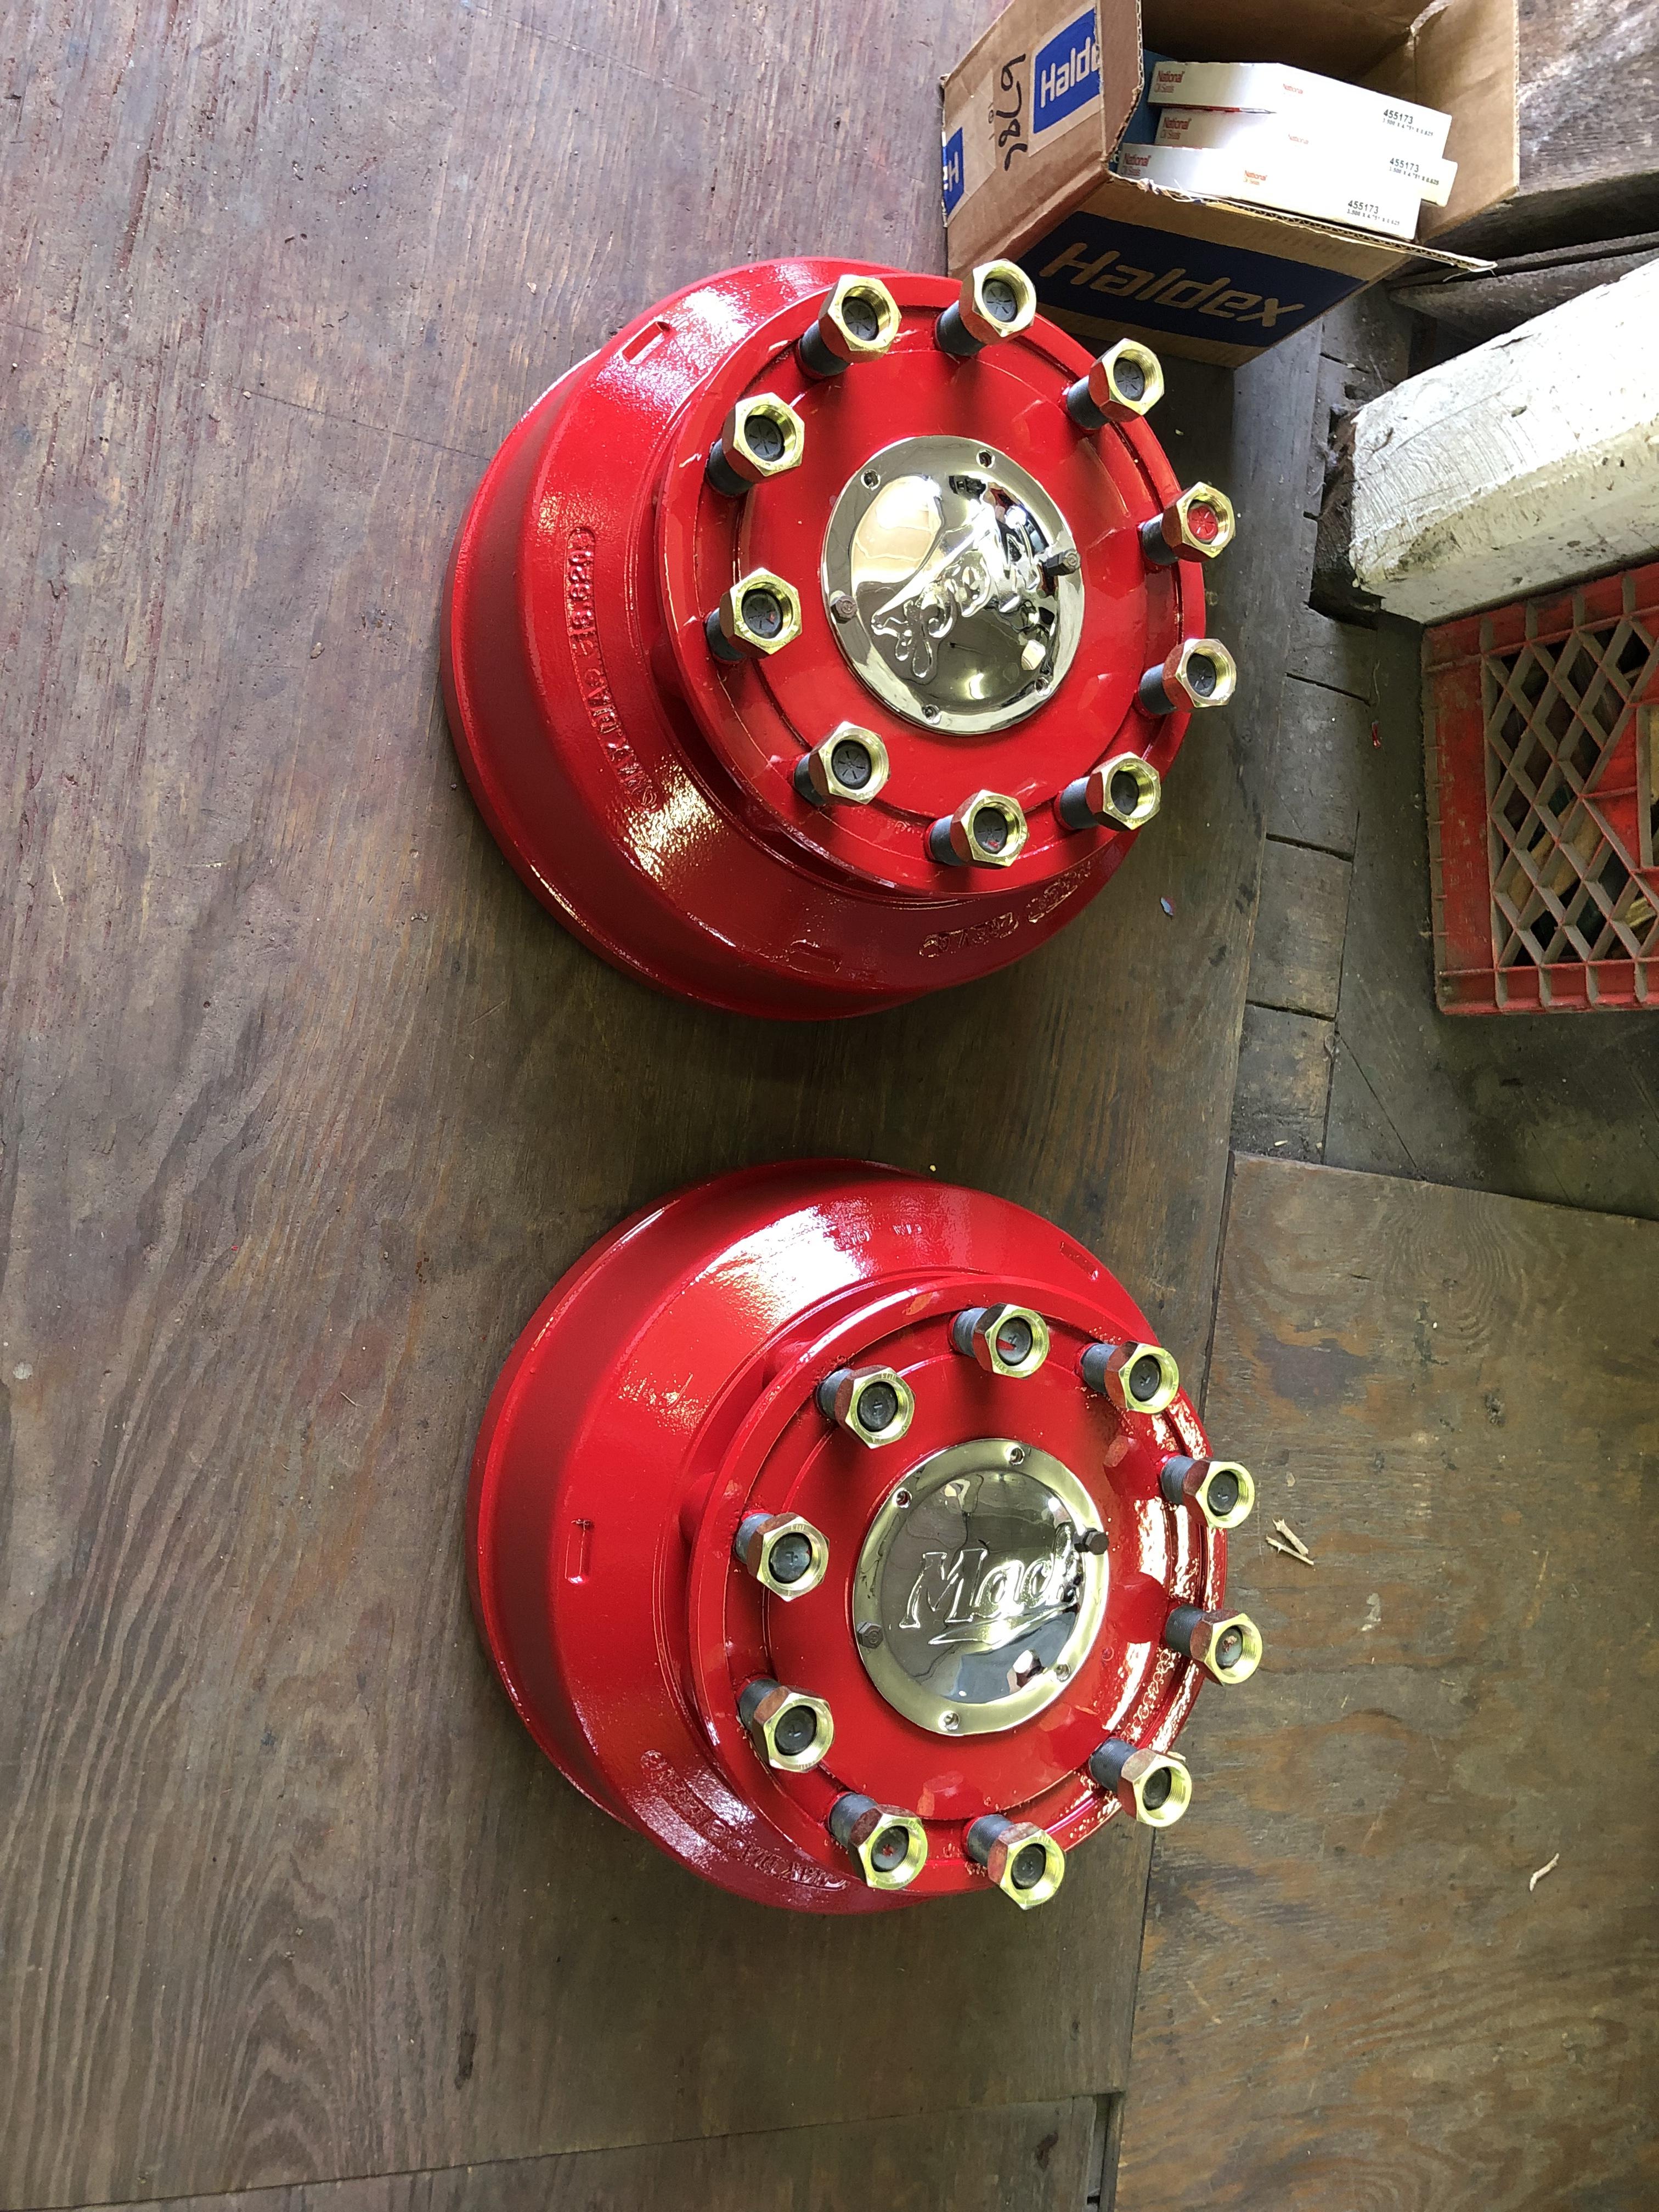
…and now the back hubs are done. All kinds of new parts and a lot of wrench work.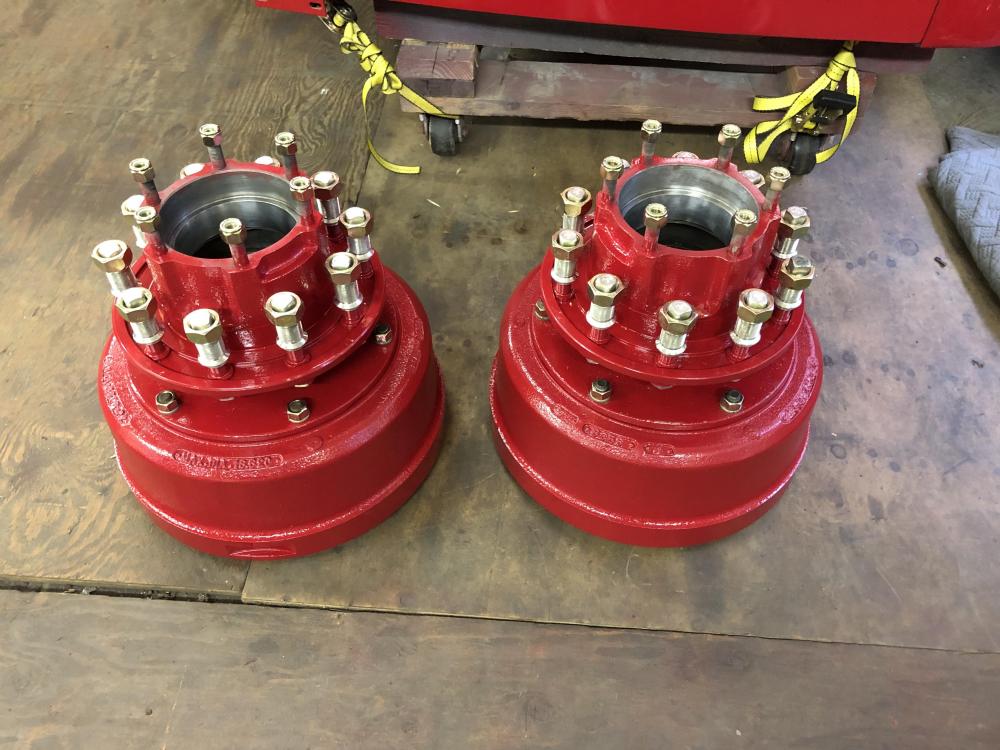
-
B-73 Restoration
mattb73lt replied to mattb73lt's topic in Antique and Classic Mack Trucks General Discussion
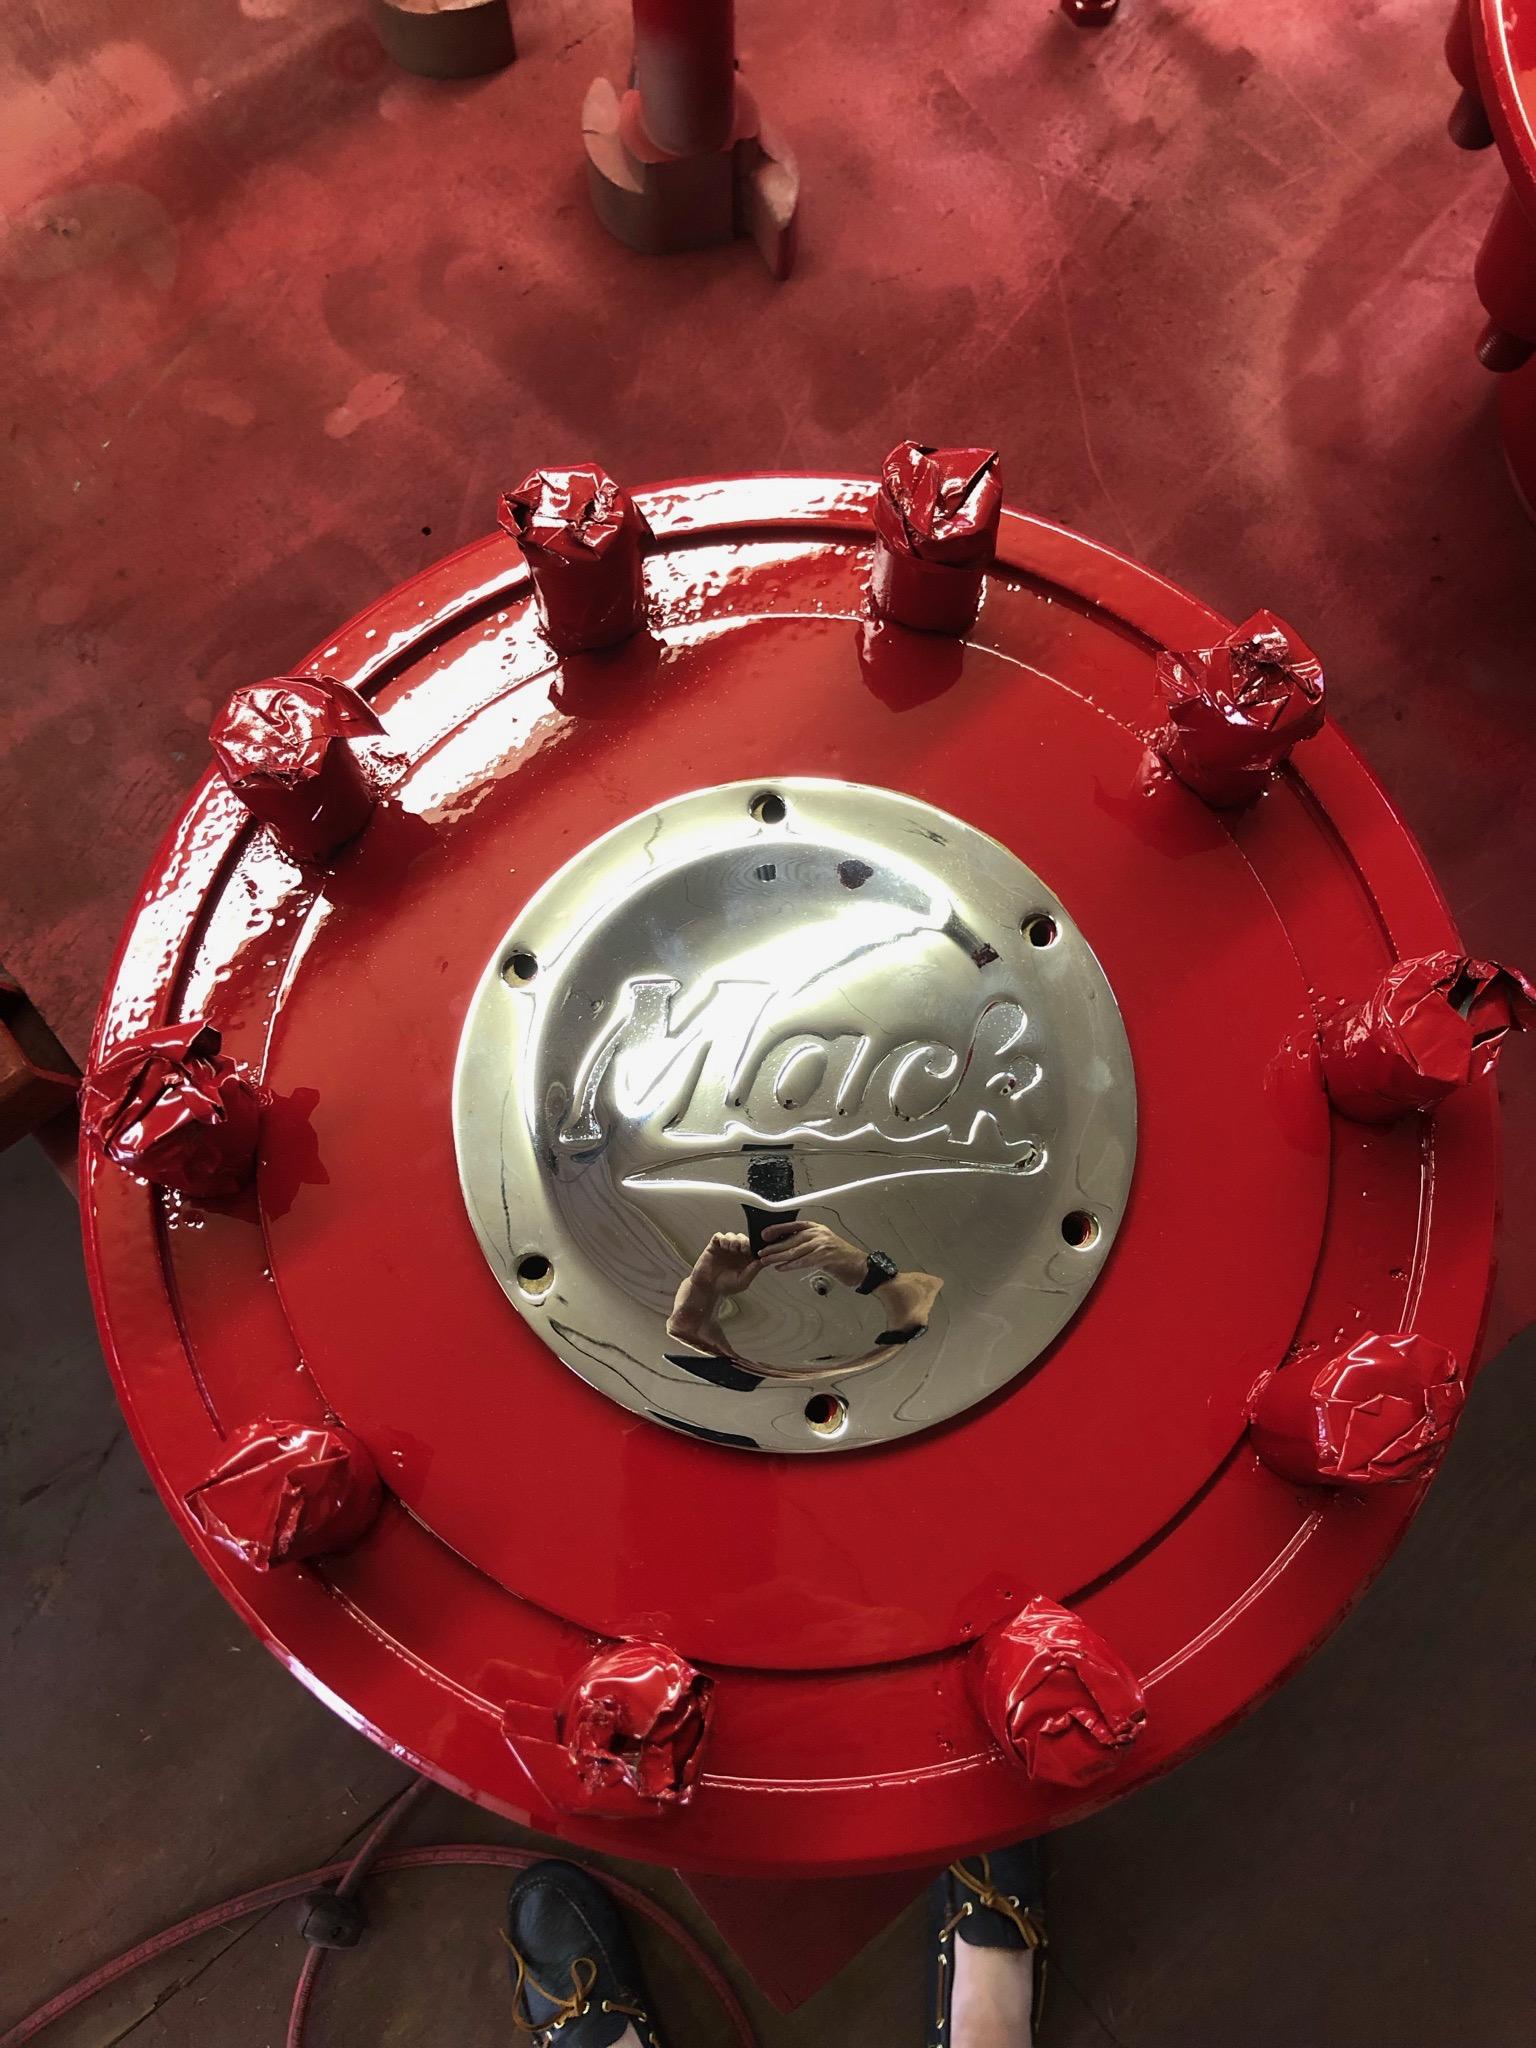
They’re the early heavy style domed ones I sent out a while back for chroming. The later style are flat with a lip all the way around and a bit thinner. -
B-73 Restoration
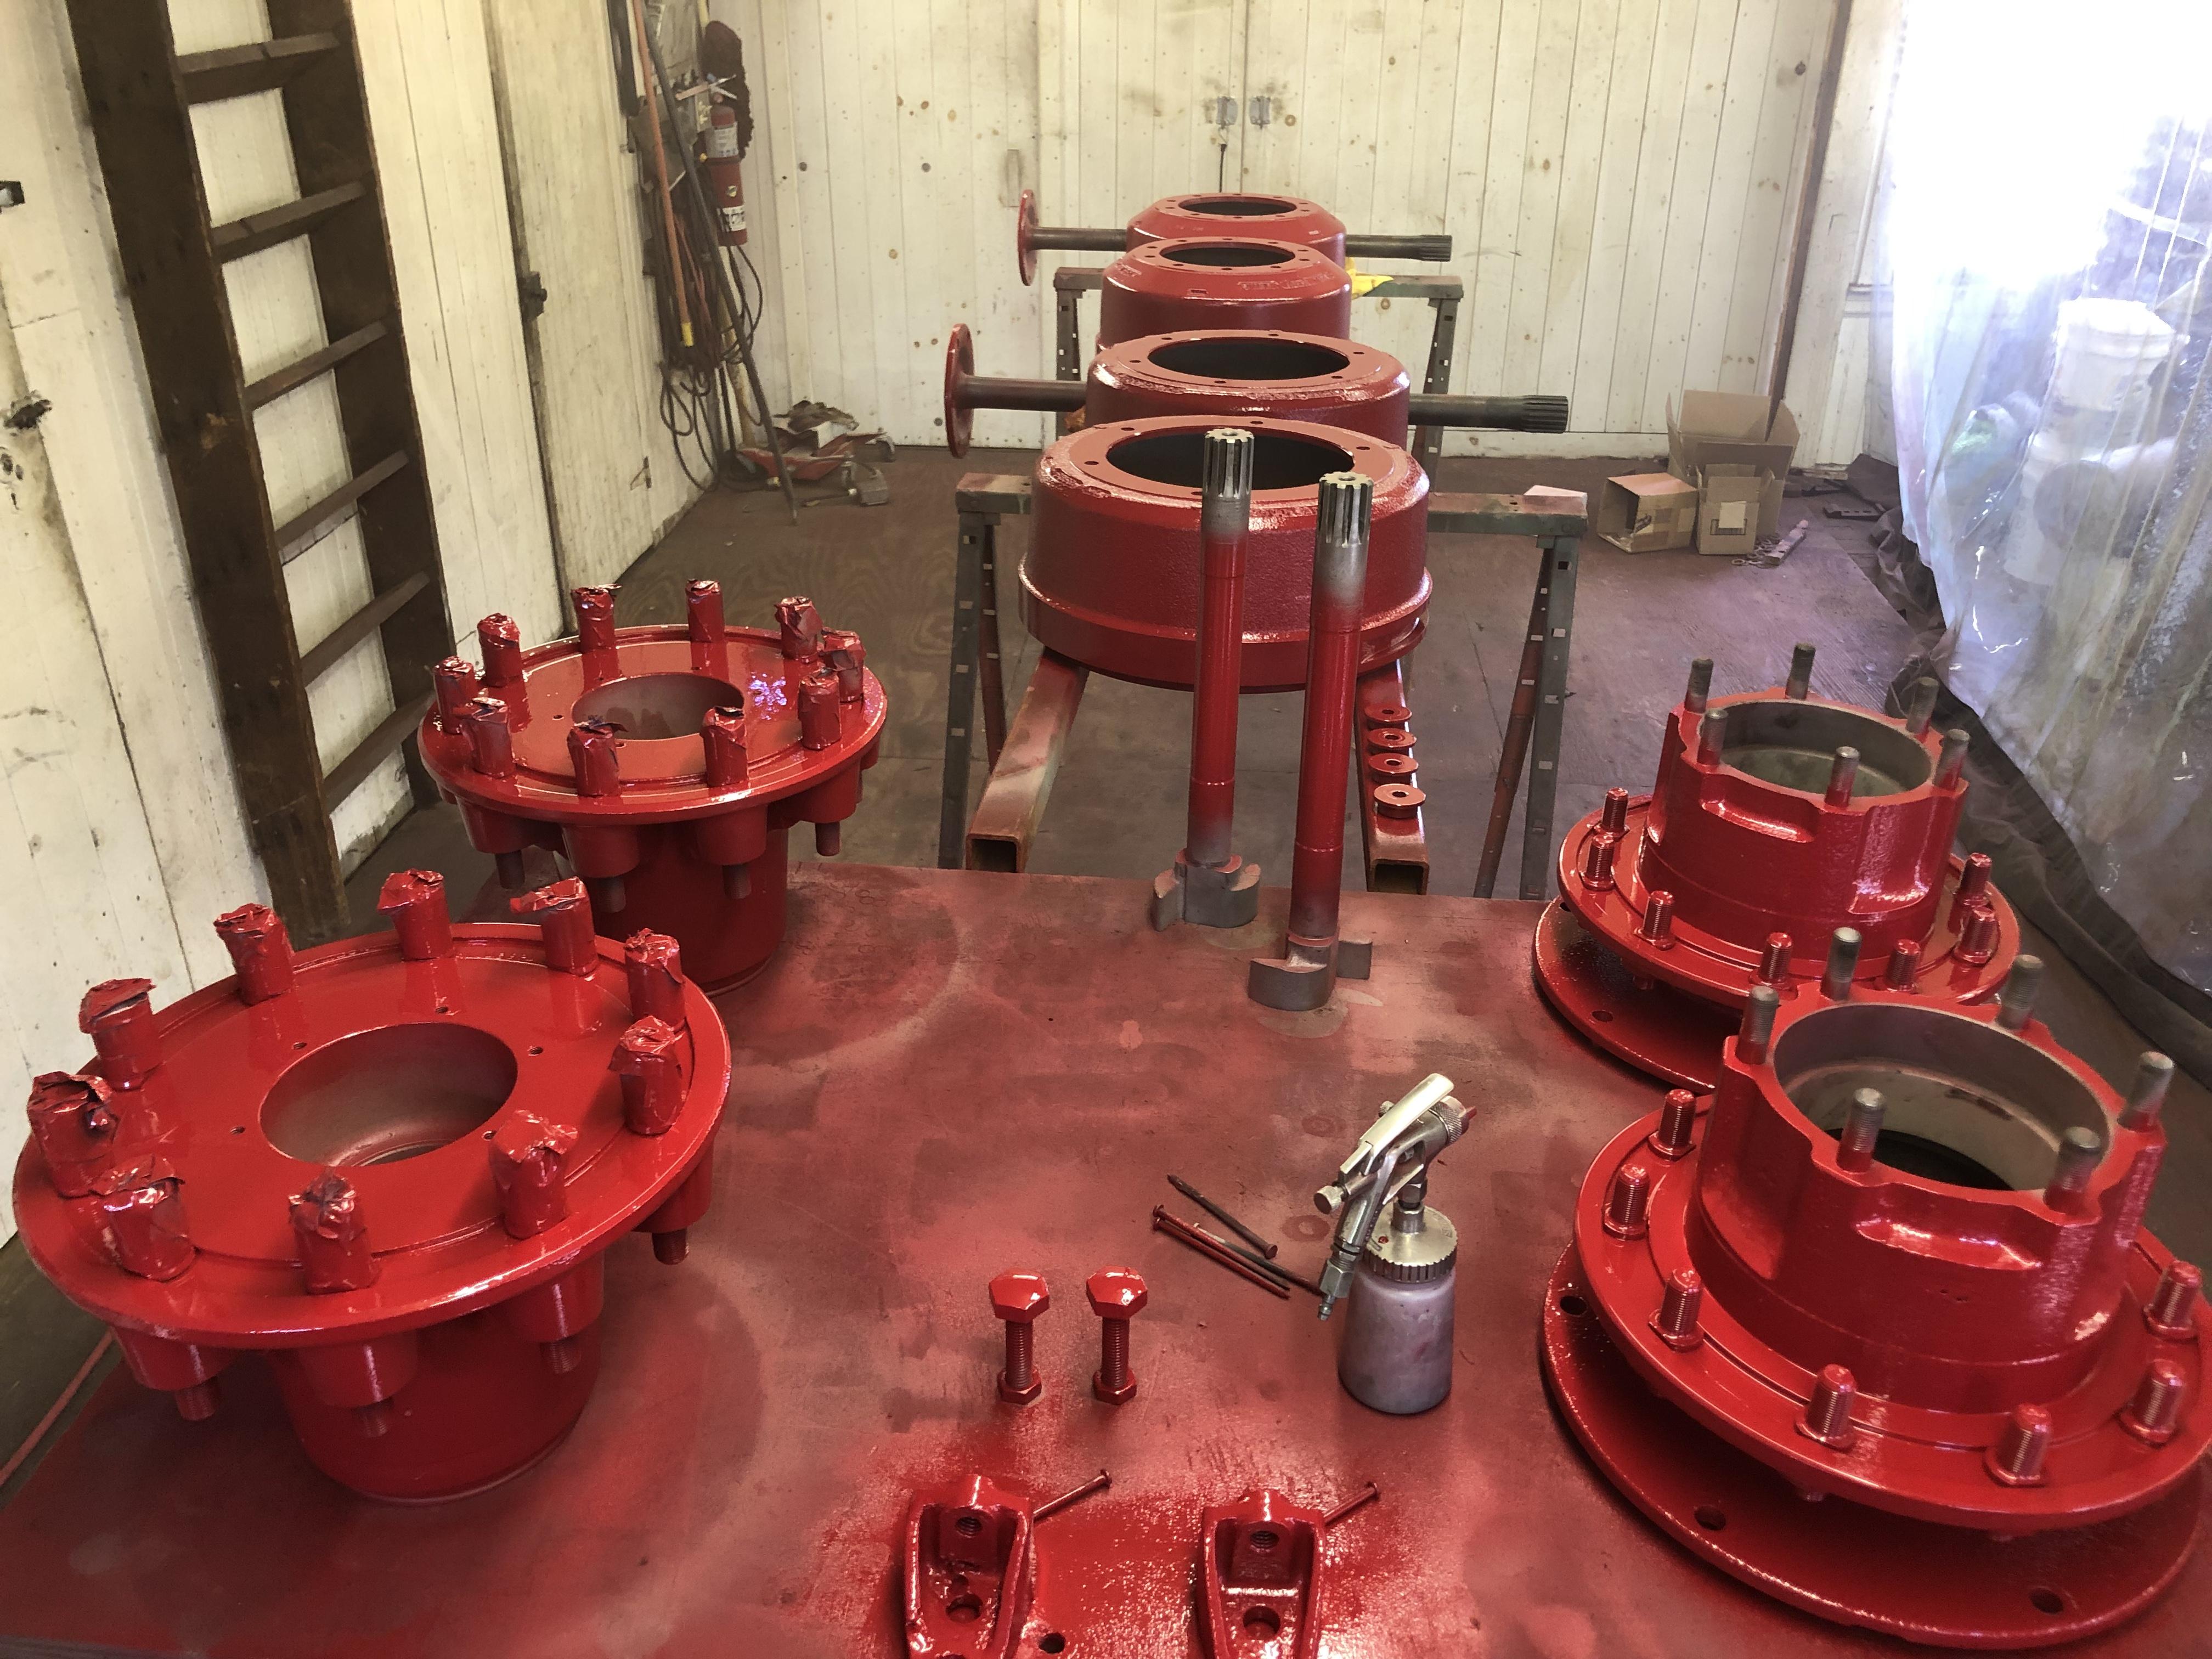
mattb73lt replied to mattb73lt's topic in Antique and Classic Mack Trucks General Discussion
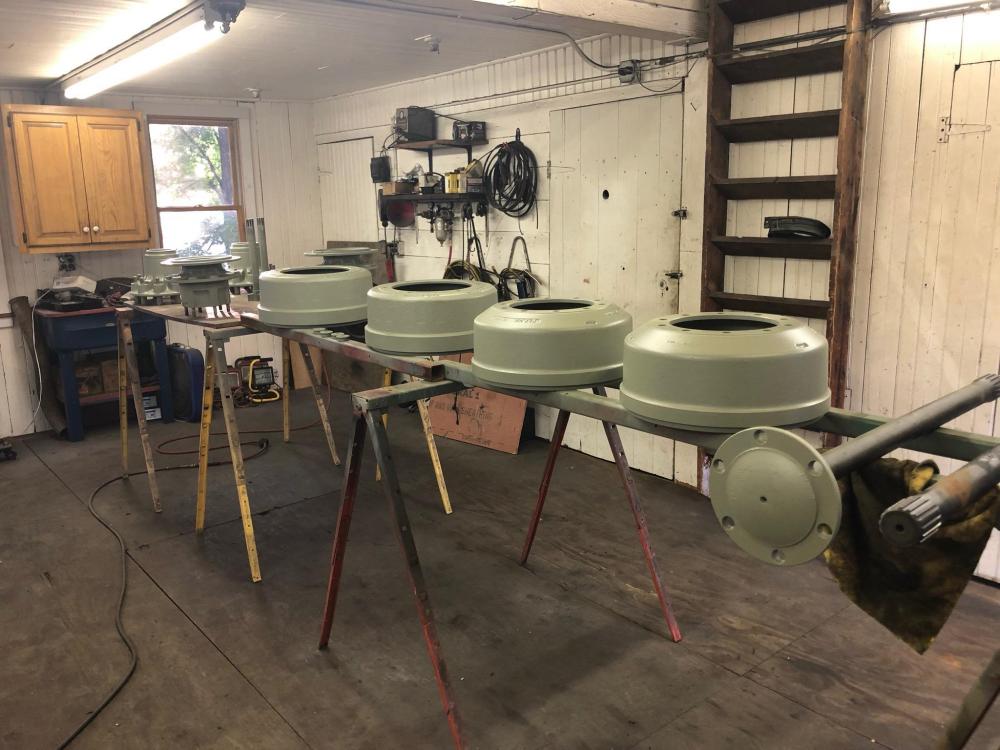
A little bit of bling for yesterday's efforts. Now all assembled, bearings packed, new seals, new wheel studs and nuts, new drums and ready to go on!!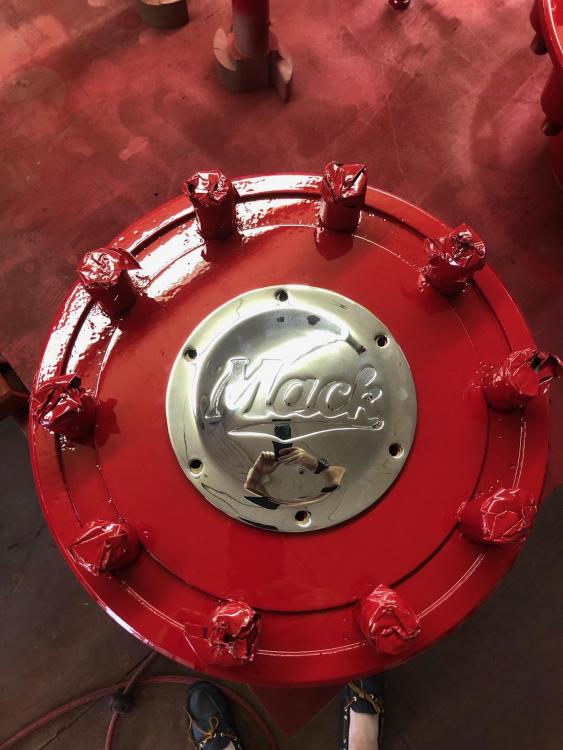

-
B-73 Restoration
mattb73lt replied to mattb73lt's topic in Antique and Classic Mack Trucks General Discussion
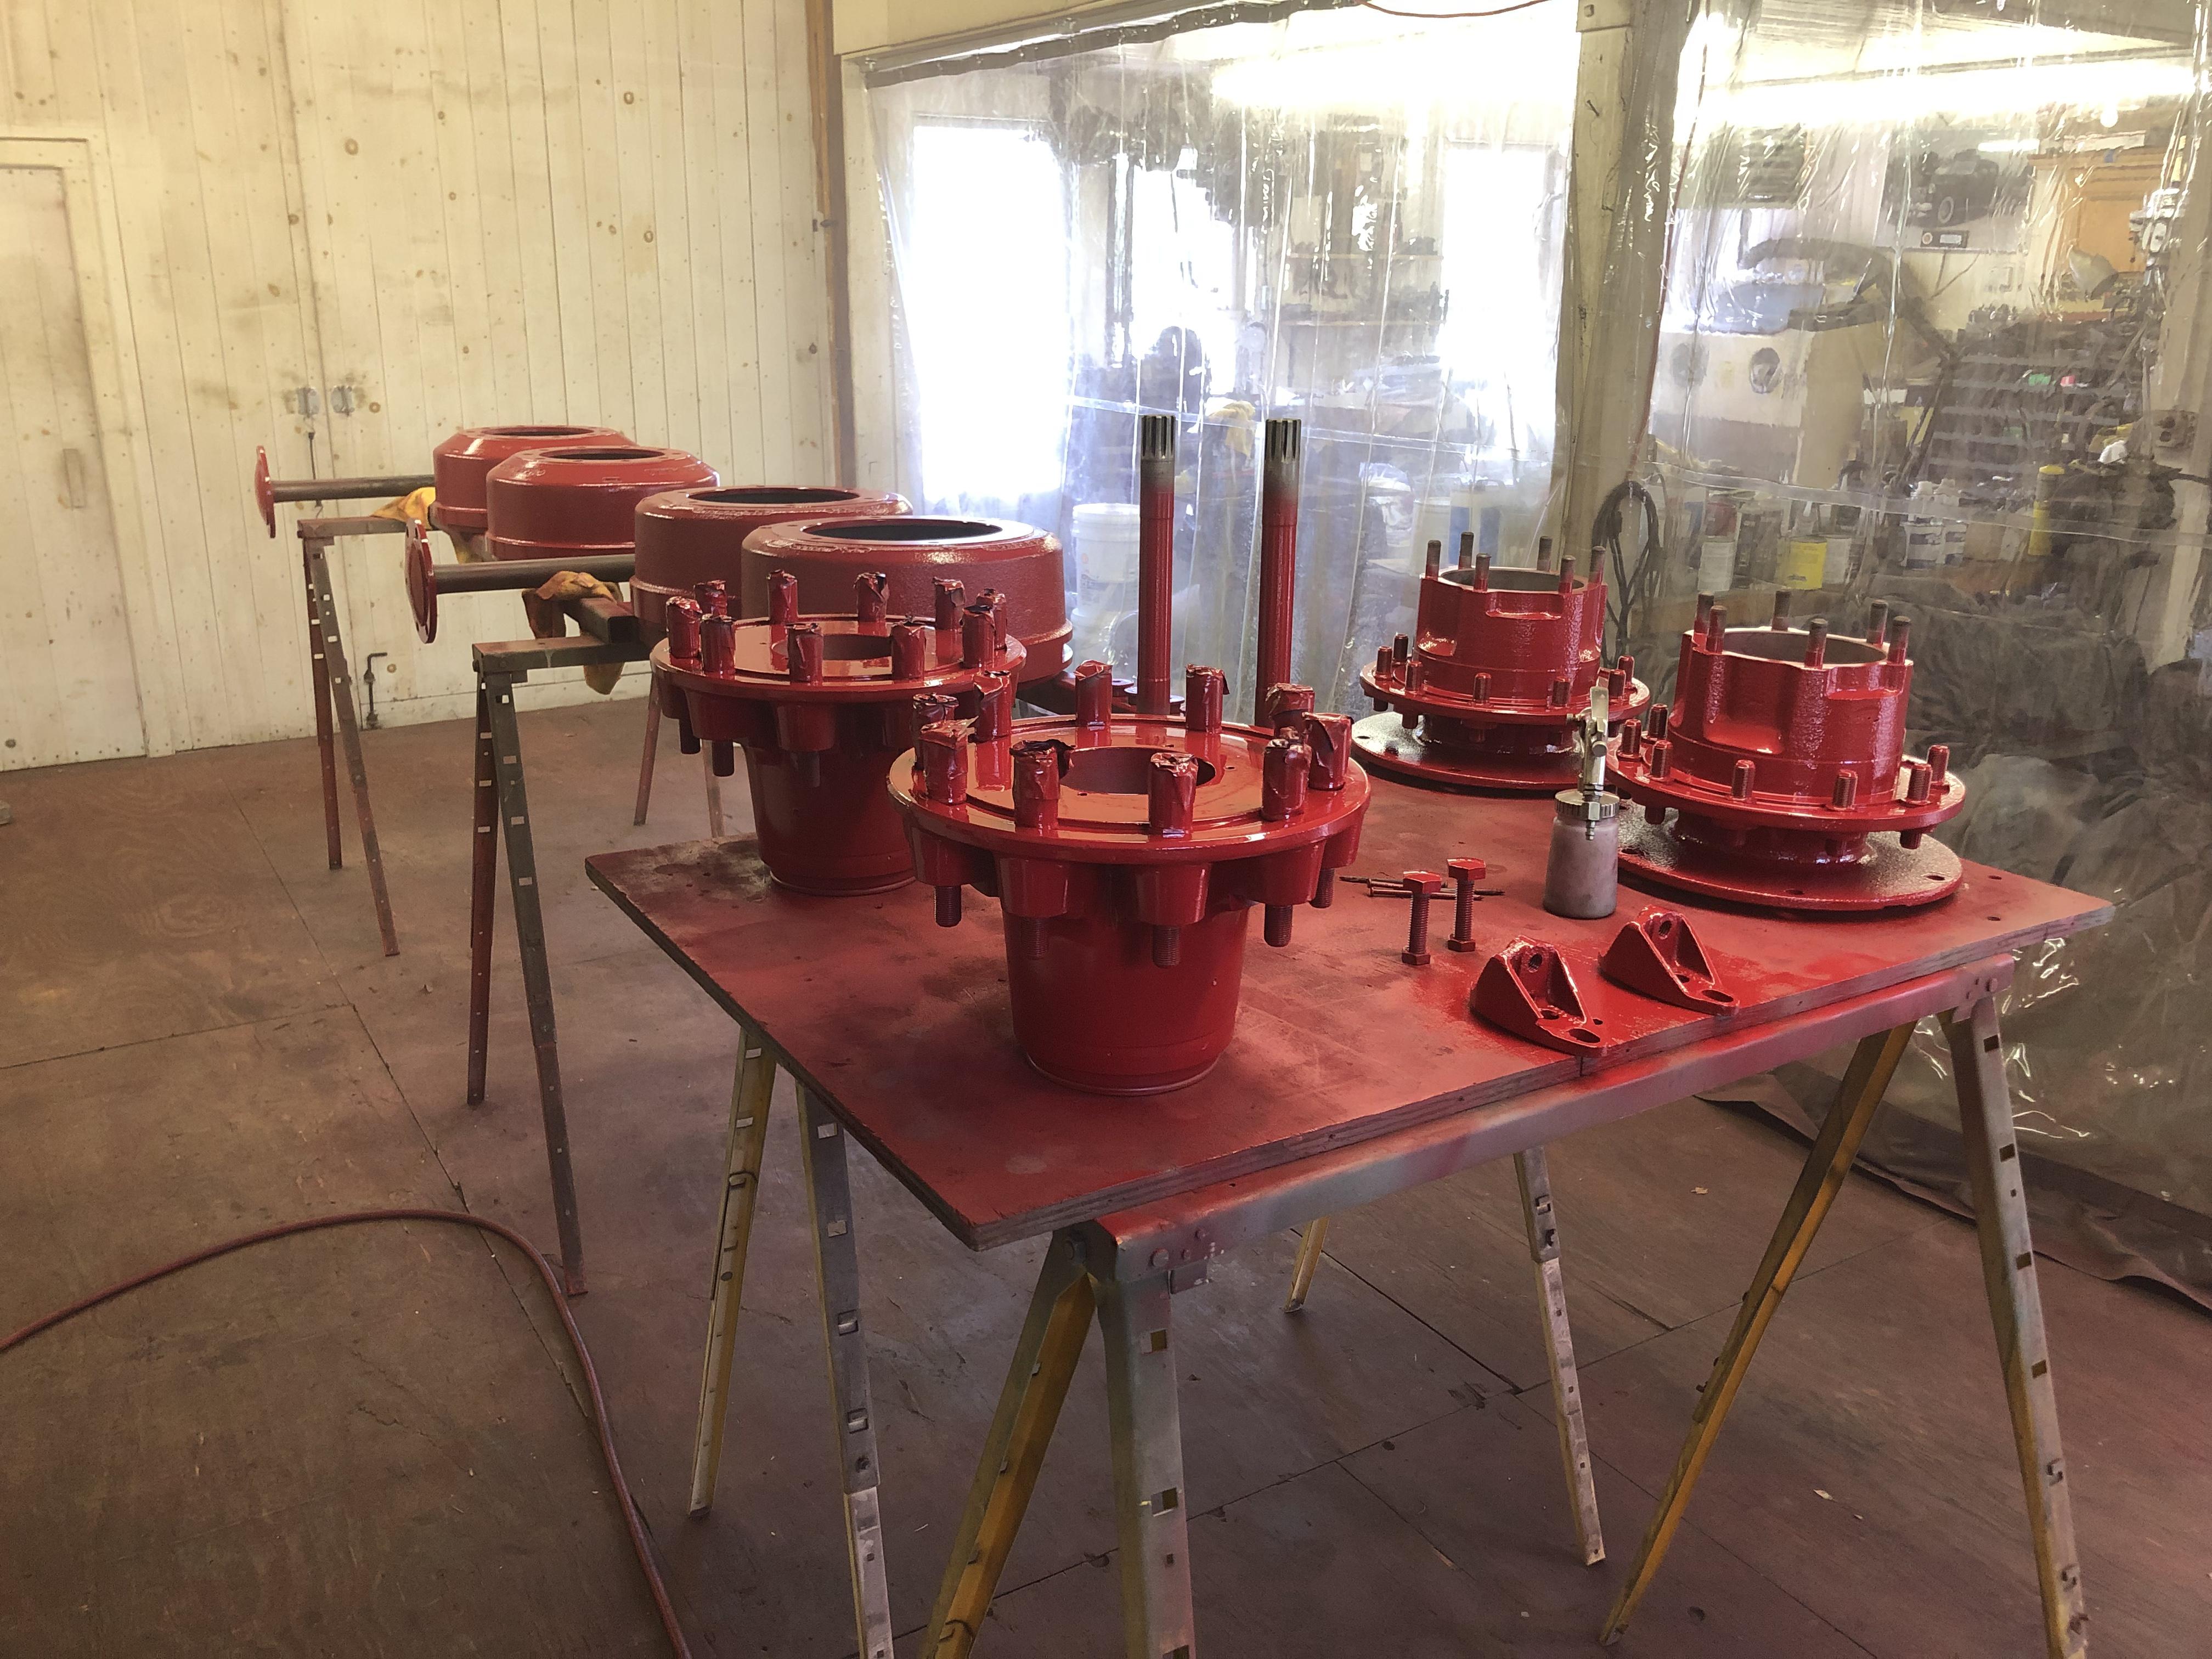
Red, red and more red. Still fixin’ and paintin’, but making progress!!!
-
Good to see you, again, Bob!!
-
M551 Sheridan tank on the low bed. Heading to a museum?
-
B-73 Restoration
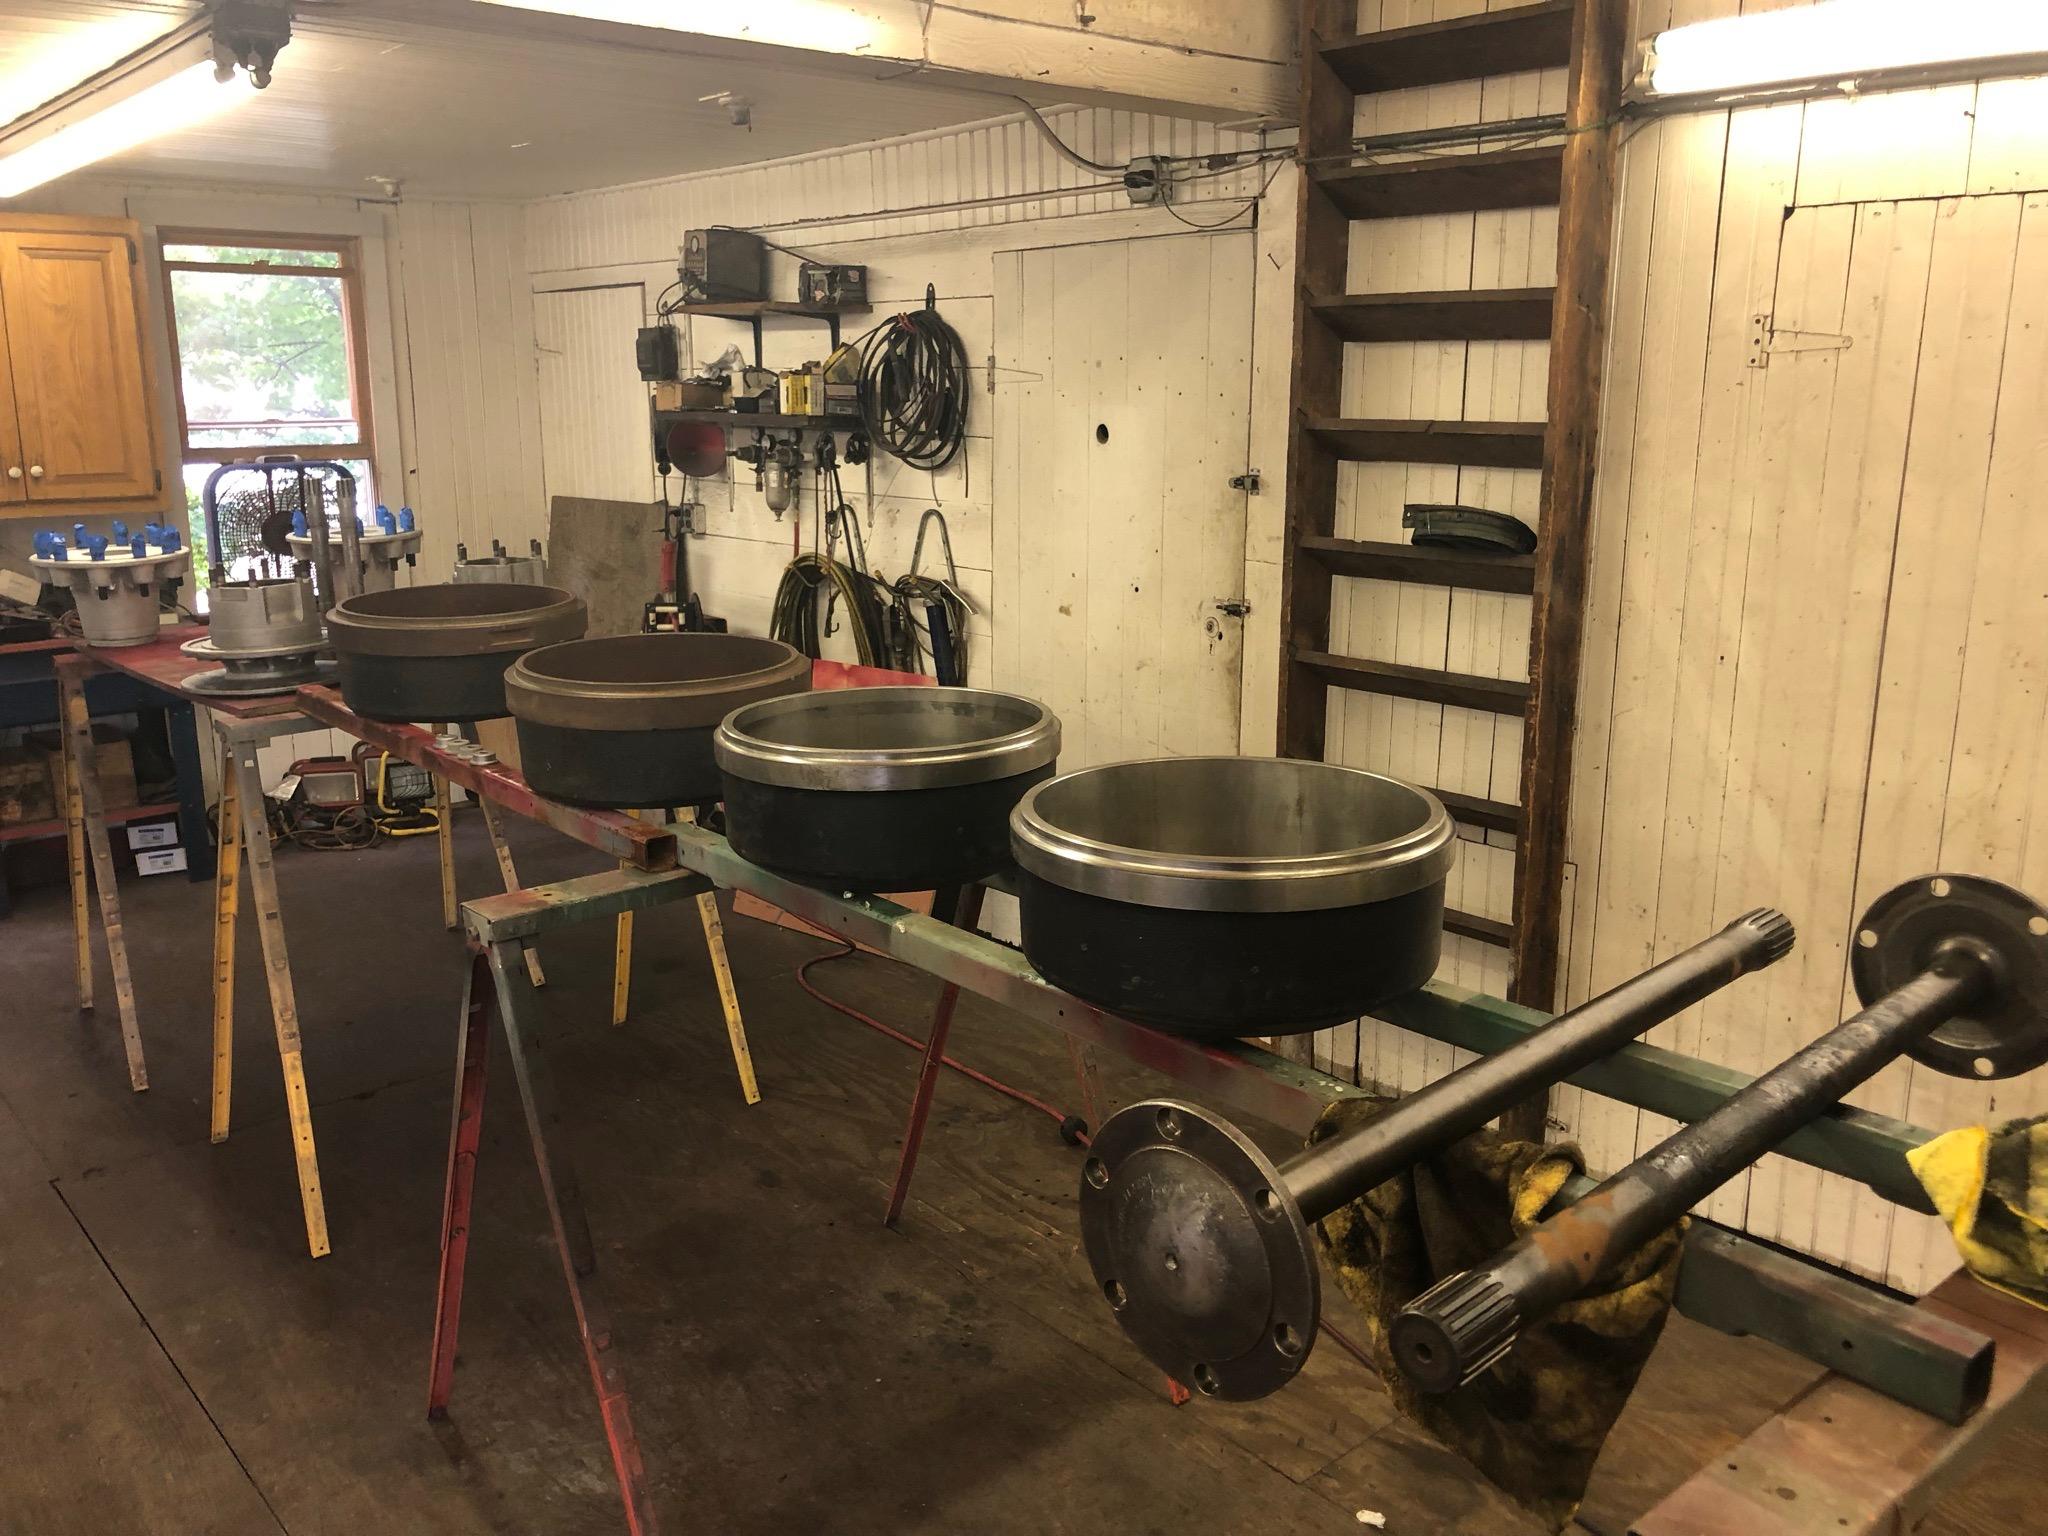
mattb73lt replied to mattb73lt's topic in Antique and Classic Mack Trucks General Discussion
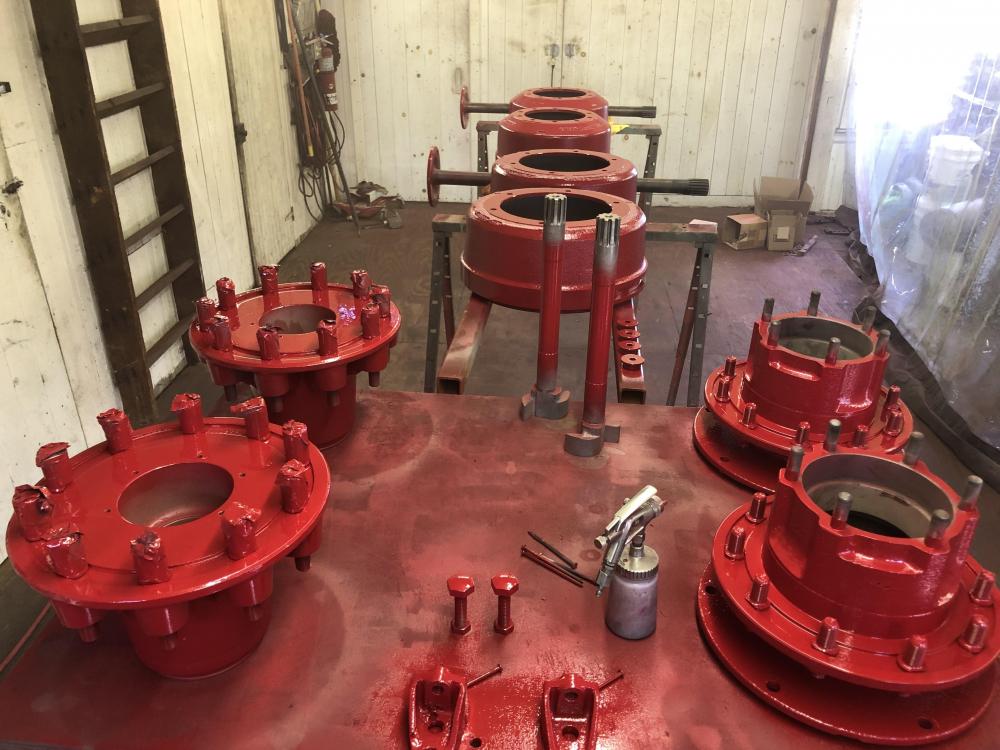
Still plugging away. Work has been busy and parts have been slow in coming, but getting stuff done. Hub and drum time, all the parts are cleaned and now primed. I still have to press in the new rear wheel studs and then paint the parts prior to assembly. I need to freshen up the primer on the frame, but it's not far off from turning red. Well into my fourth gallon of primer, which is really eight when you reduce it. That's a a lot of primer!! I'm thinking I may be stacking the main components together in late September/early October. Also need a driveshaft built, connect everything up.... The time is coming where I'll be trying to start it and then moving it under it's own power for the first time ever.
-
H Model Restoration
mattb73lt replied to h67st's topic in Antique and Classic Mack Trucks General Discussion
Great update and more progress!! -
B-73 Restoration
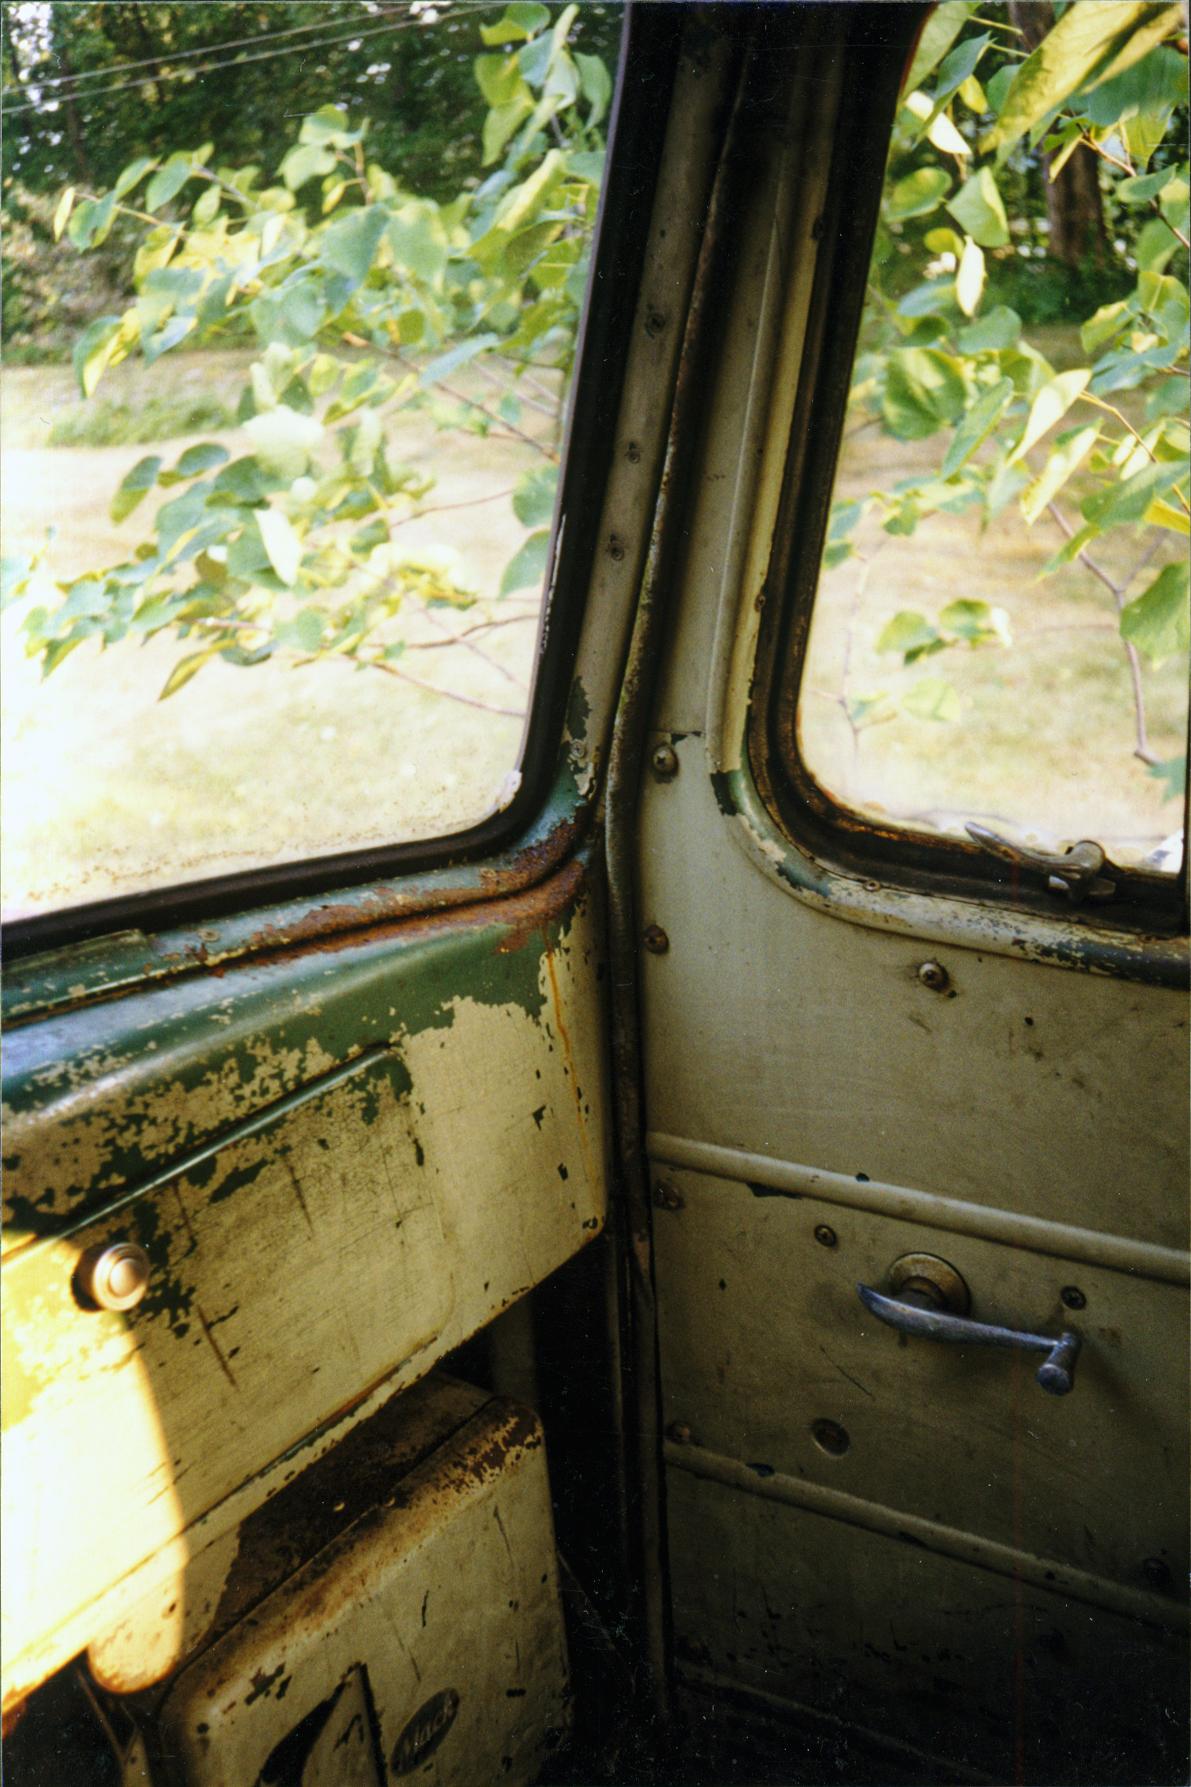
mattb73lt replied to mattb73lt's topic in Antique and Classic Mack Trucks General Discussion
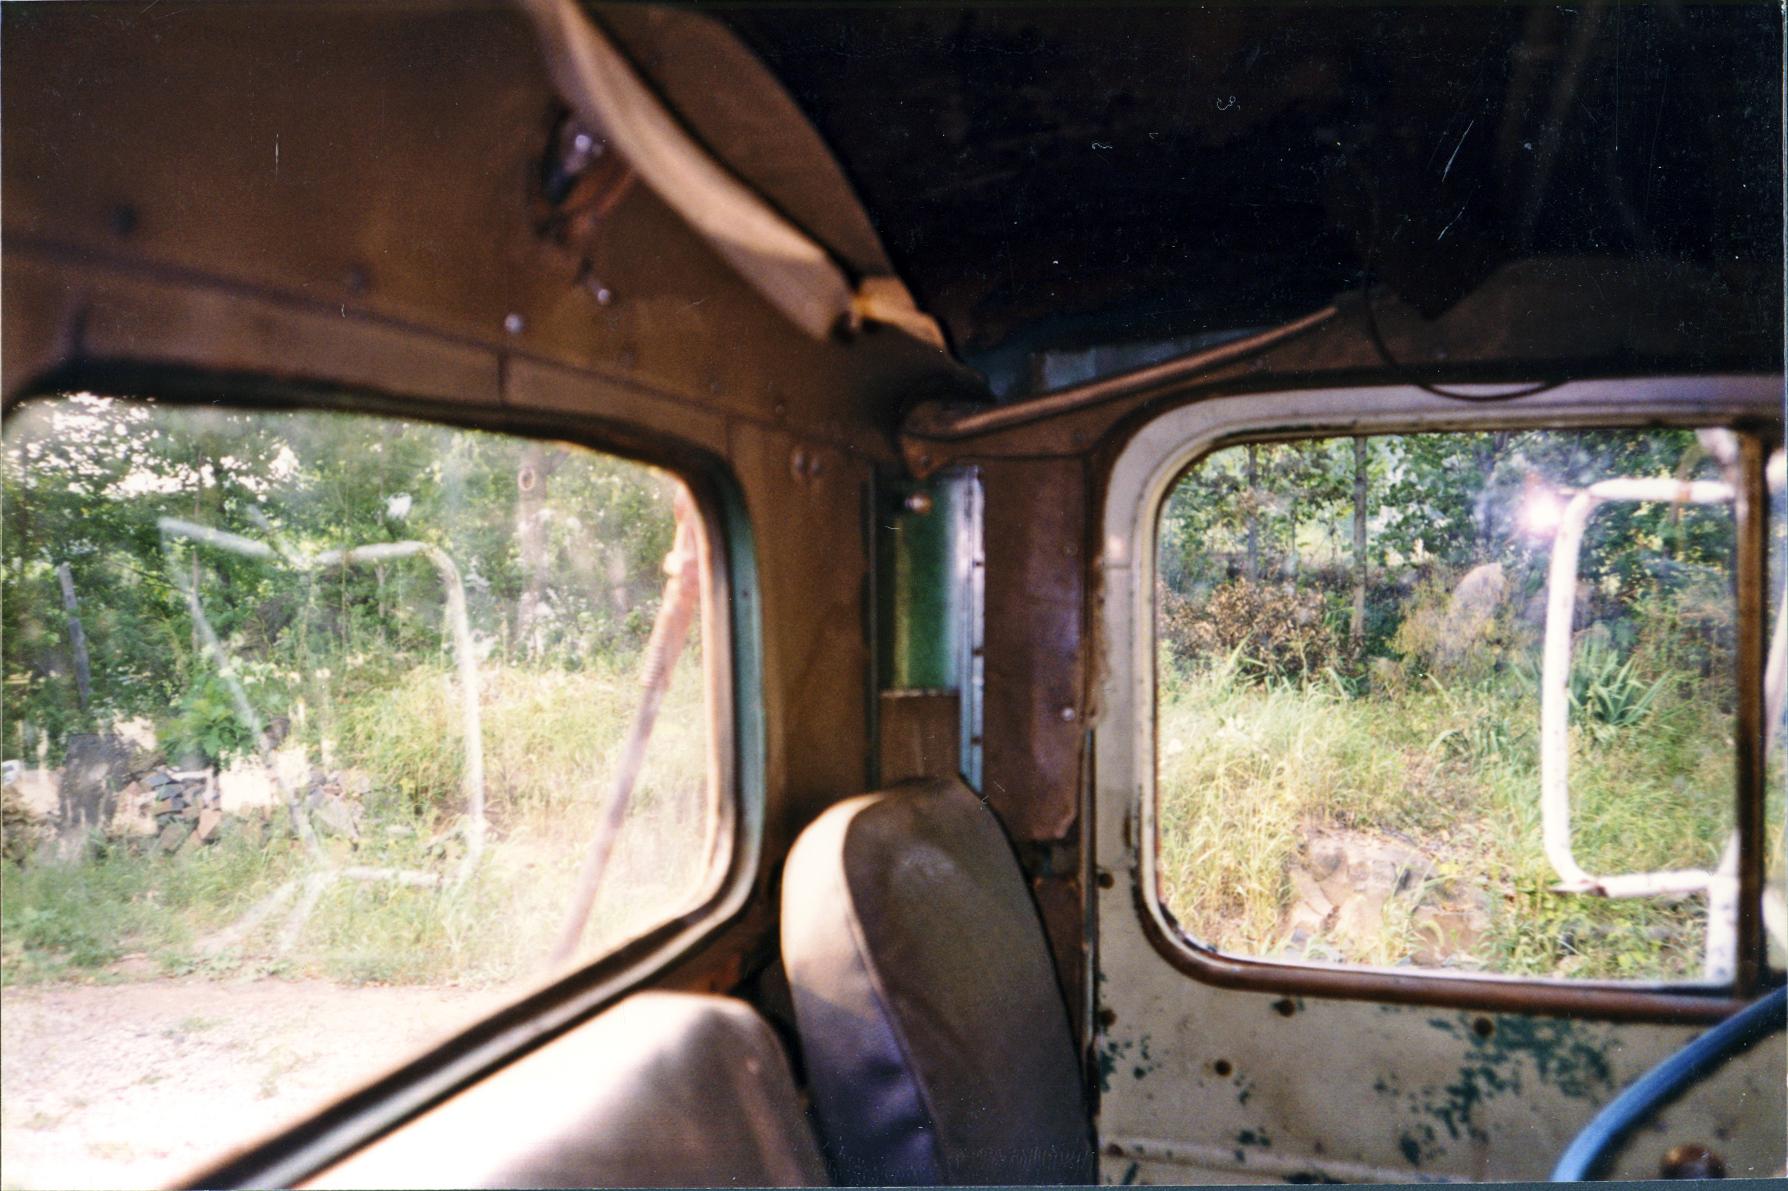
I wish I had a smart phone back then. I would have documented a lot more of the truck. The photos seem a lot clearer than the old 35mm I used, plus no wait to get the photos back. Manipulating them, zooming in or sending them to someone is so easy. I photograph everything, especially disassembly. It's like a color notebook. -
B-73 Restoration
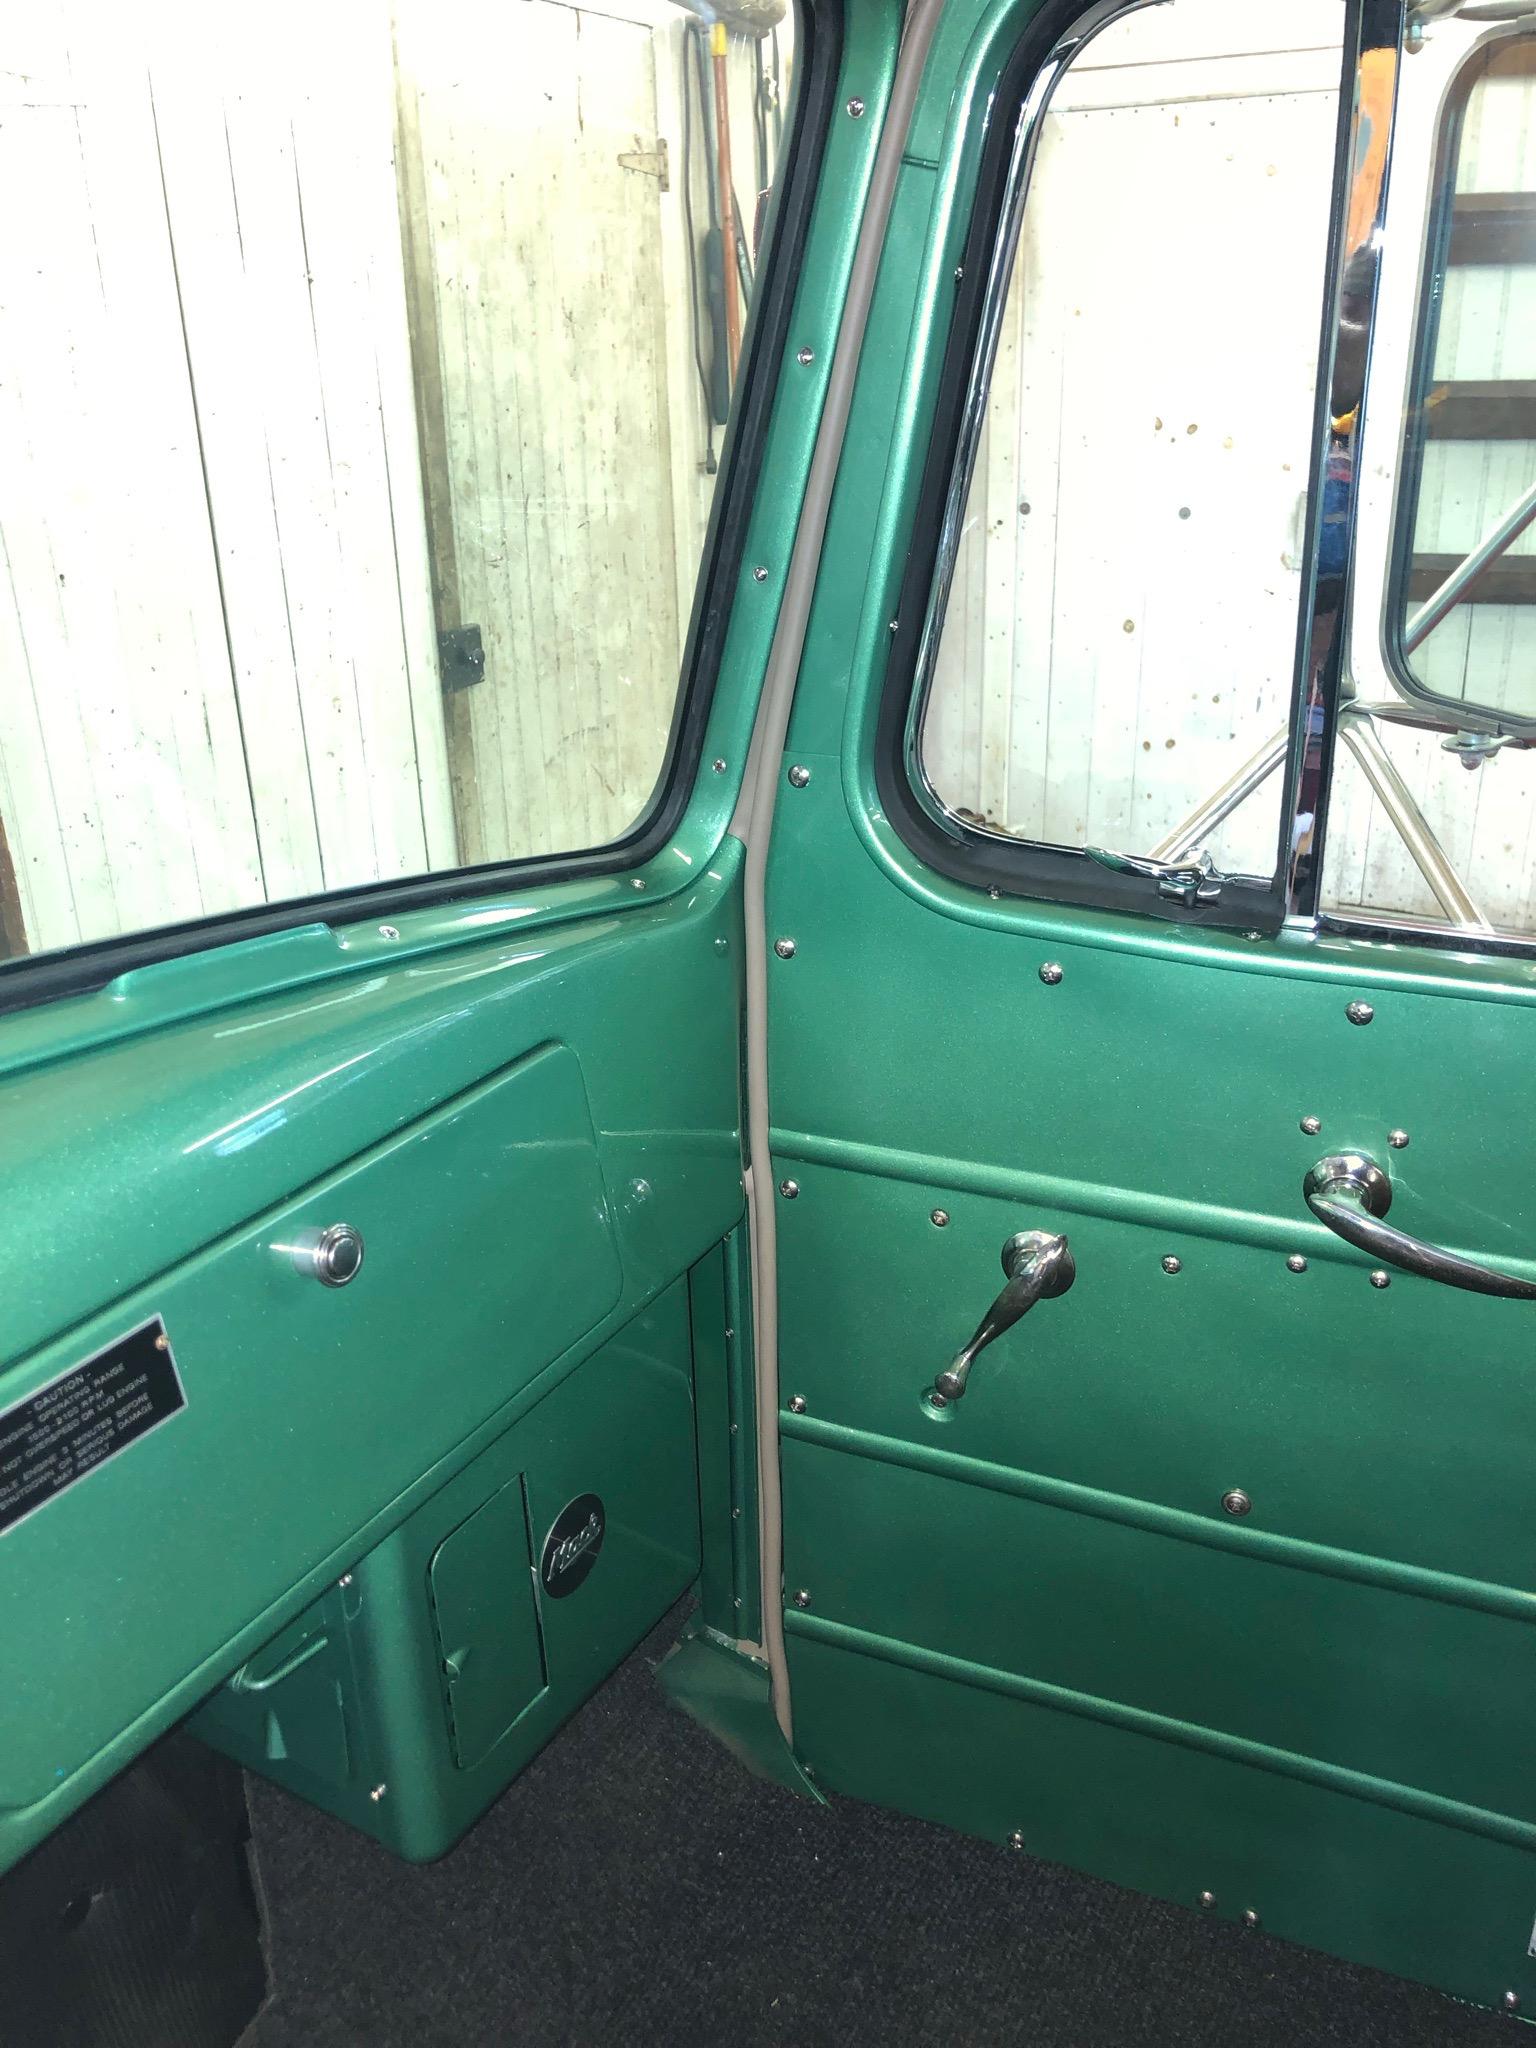
mattb73lt replied to mattb73lt's topic in Antique and Classic Mack Trucks General Discussion
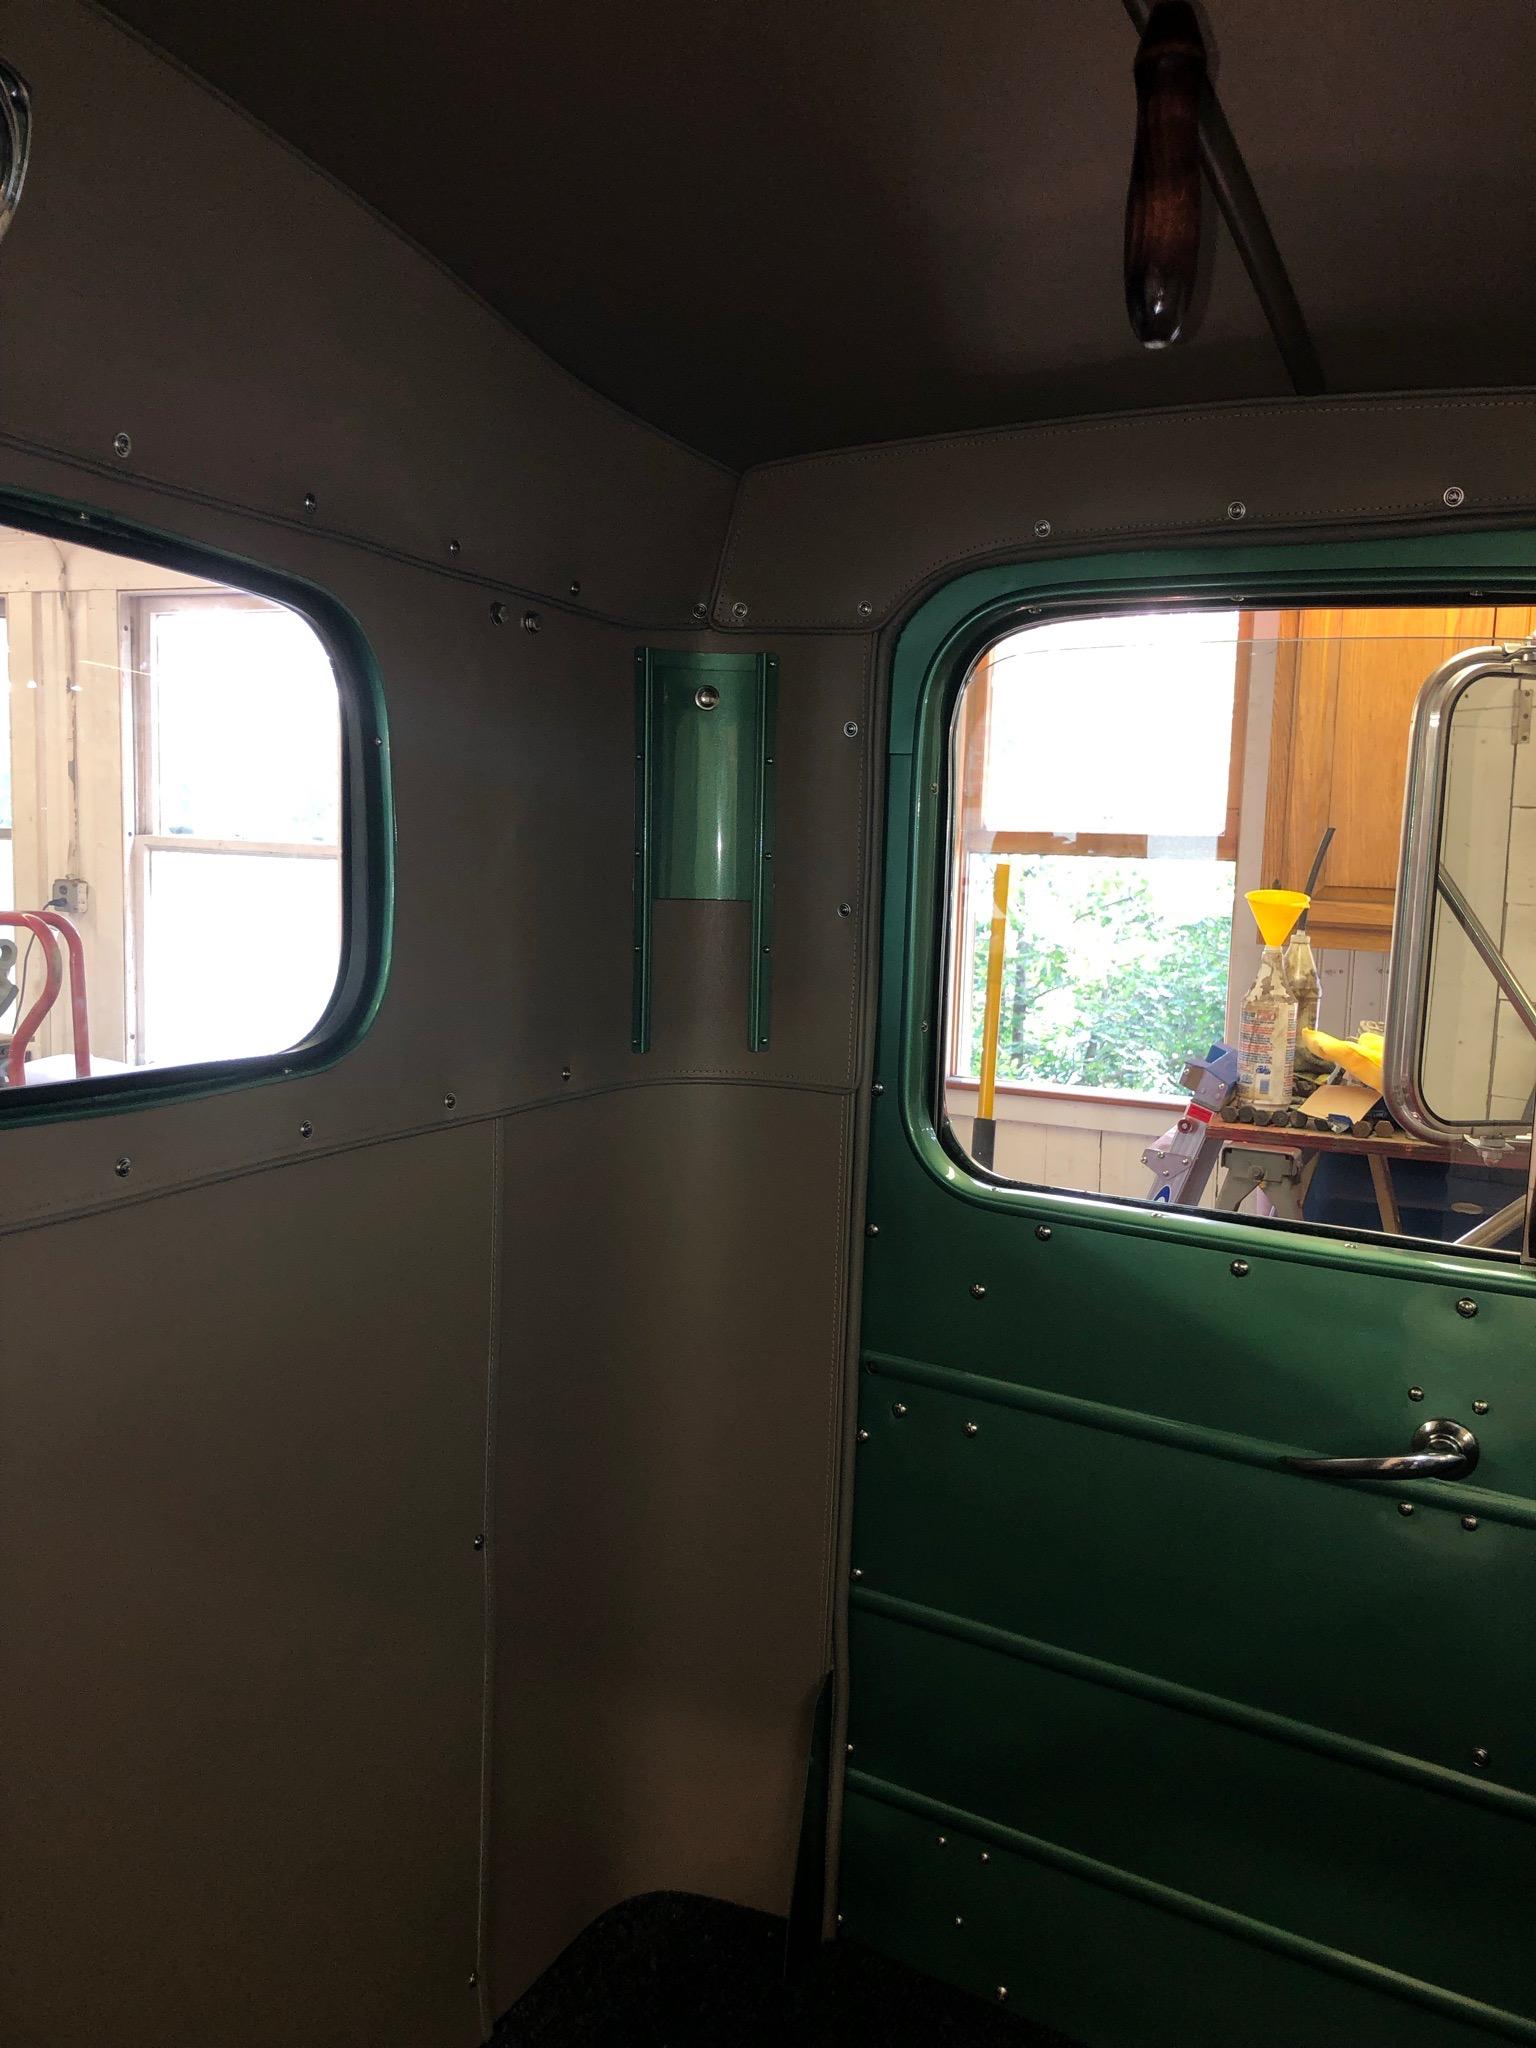
Matched up this view from '98 to now. BIG improvement!!

-
L Fire Engine Restoration
mattb73lt replied to CaptainCrutch's topic in Antique and Classic Mack Trucks General Discussion
Did you ever look at those reproduction Guide Lights? They are or were available in chrome and painted versions. They were advertising in hot rodder magazines, I believe they still are. Just looked them up on eBay, new and used are there. Guide 682-C's, with the little clearance light on top. -
Look at the lower back wall of the cab exterior. They’re prone to rust there. Any seams, rain gutters, door sills, fender edges where the bolt together. Signs and quality of any bodywork. Floor pans, especially the driver’s foot area. Frame for any signs of separation. From the eBay pics it looked pretty good. If all that stuff has been done do it, then it comes to what you’re willing to pay. Bring someone with you that’s at least a little knowledgeable on trucks. Try not to get in over your head or capabilities ( read money and skill level). Good Luck, Matt
-
I have to agree with Mike, kind of a vague question. Give some specifics and pictures would be a big help for some honest advice. There’s always some key areas to lot at, but you need a reference point to start with.
-
B-73 Restoration
mattb73lt replied to mattb73lt's topic in Antique and Classic Mack Trucks General Discussion
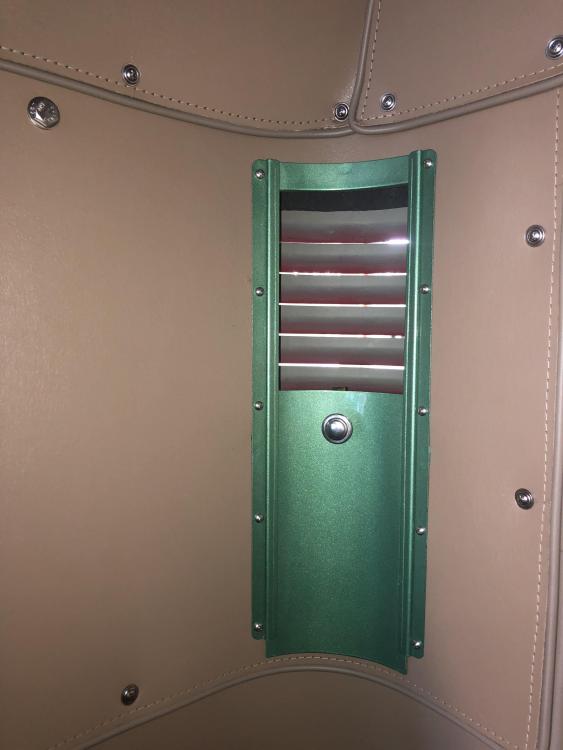
They’re just exit vents that allow the air out and not hooked up to anything. The doors drop down to open. They seal up OK, but not air tight. Going to add A/C at some point when it’s done. Probably a back wall unit.
-
B-73 Restoration
mattb73lt replied to mattb73lt's topic in Antique and Classic Mack Trucks General Discussion
I was trying to figure out how I wanted to make the pull happen. Either a lanyard or a pull. Settled on the pull. It’s actually a pull for a high tank Victorian toilet. LOL! -
B-73 Restoration
mattb73lt replied to mattb73lt's topic in Antique and Classic Mack Trucks General Discussion
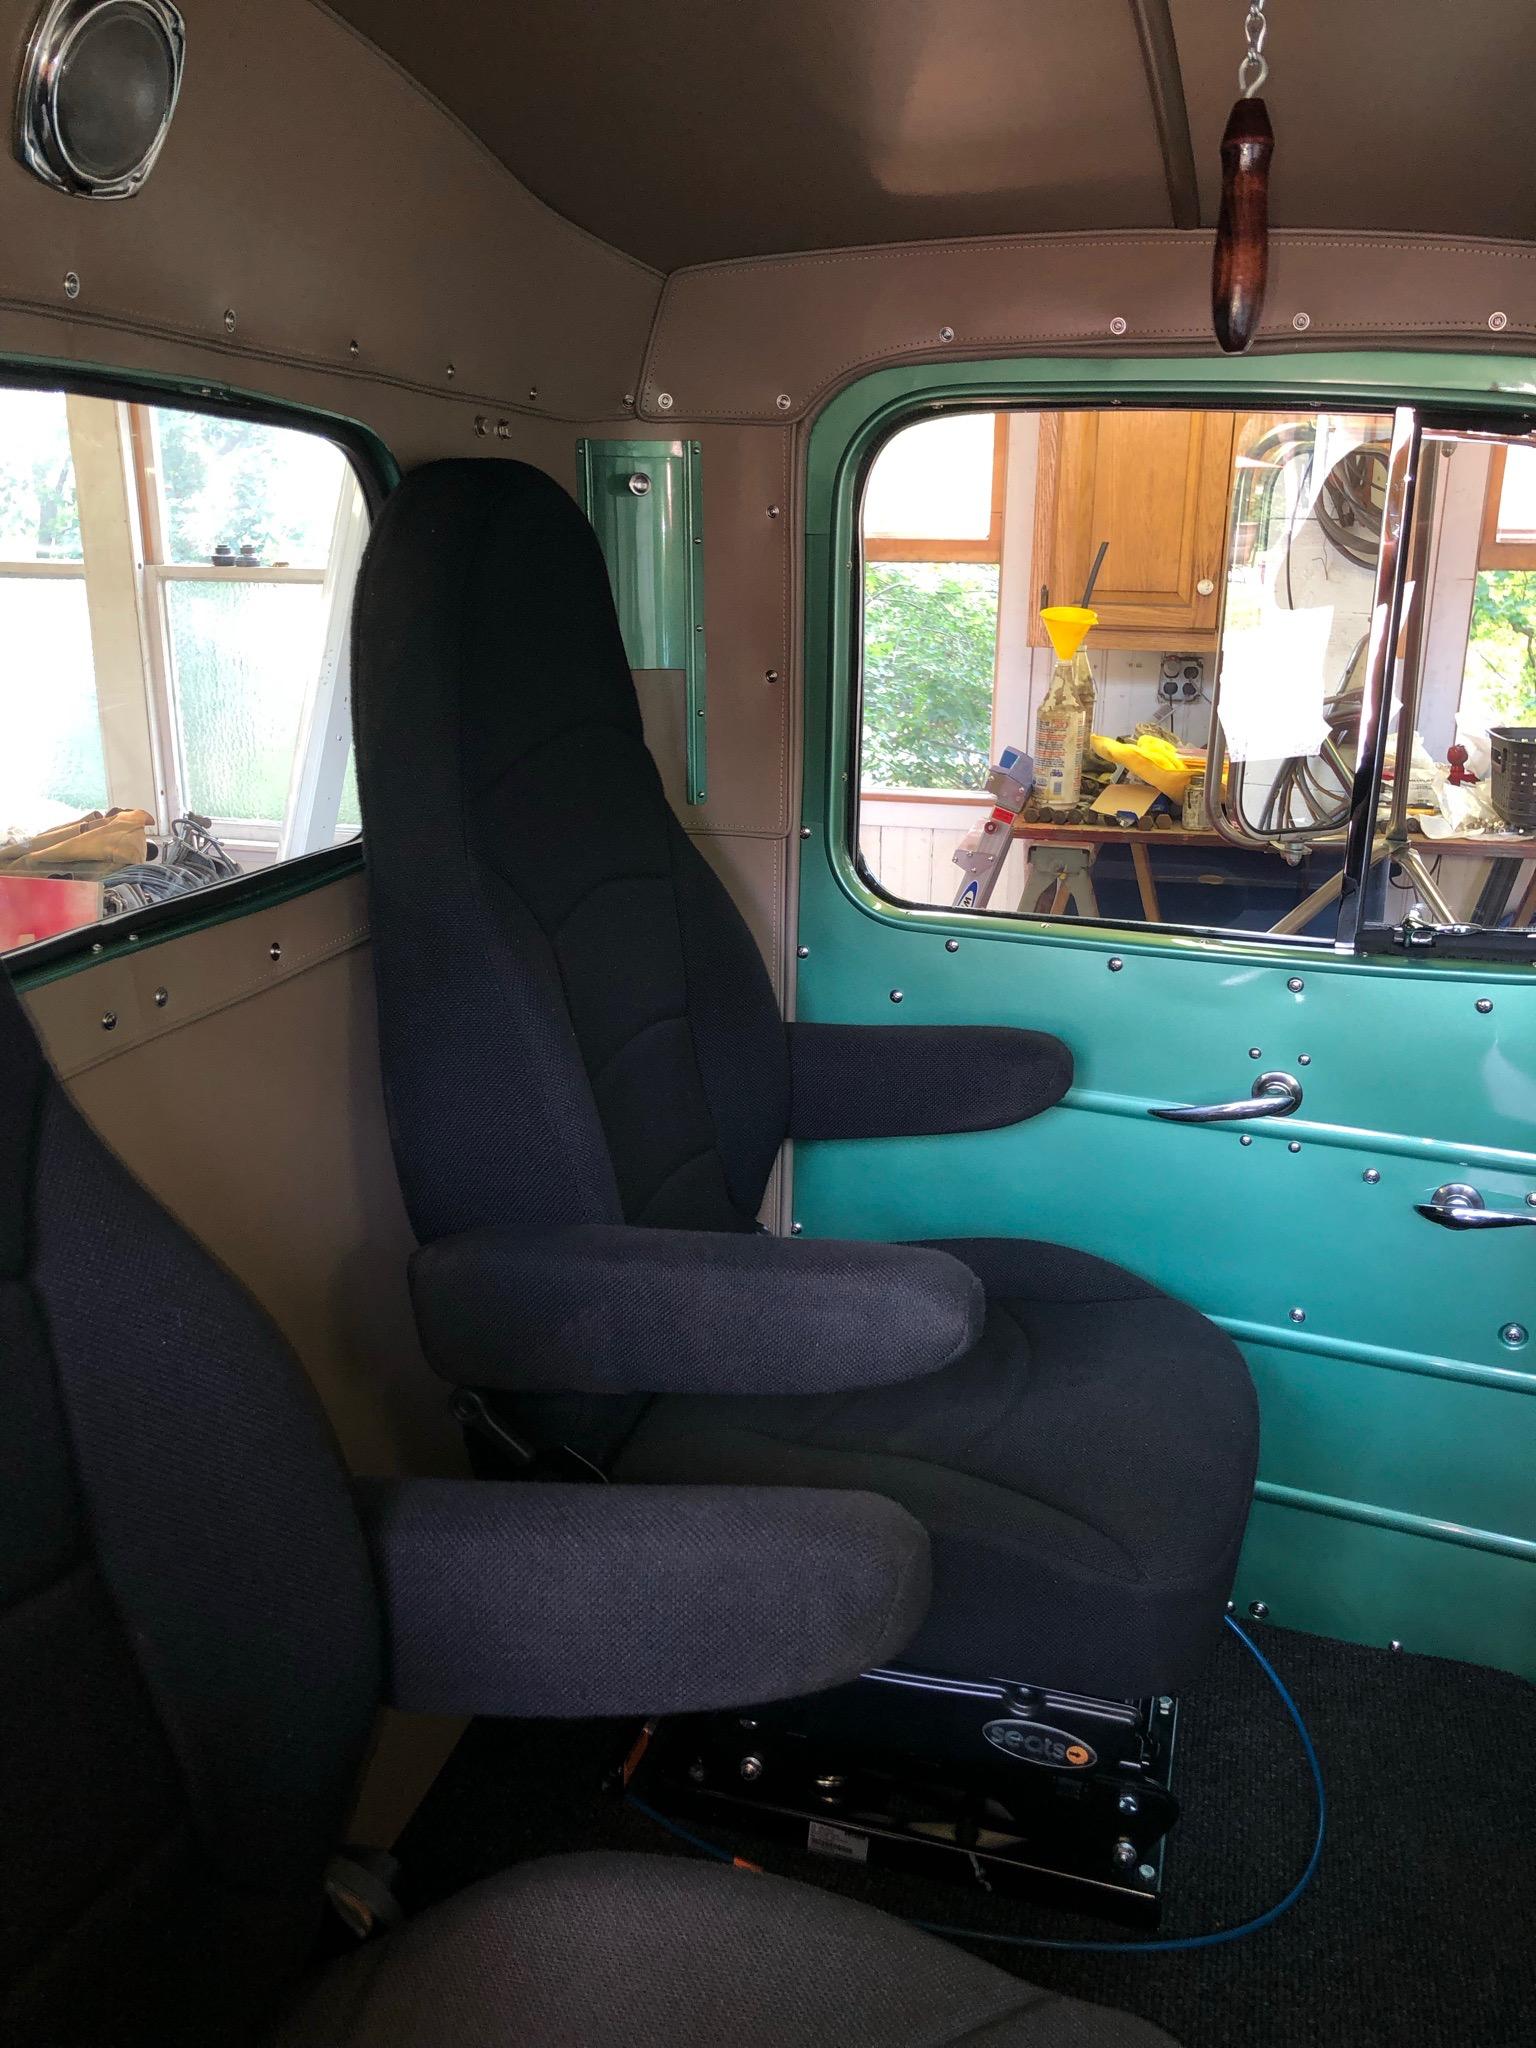
Yes, over in Watertown, CT. I removed what was left of the interior and saved it in a box. It was so brittle, it crumbled easily. I was only able to save two pieces relatively intact. I spent several hours taping the pieces together to build bigger pieces, then sandwiched those pieces between pieces of cardboard. Took all that to the upholsterer with the cab. That along with an L model picture book and photos I took at shows over the years was what he used to build the headliner and back wall. He modified the back wall to cover where the two man bench was as I’m using two bucket seats instead. He said the pieces and pictures were very helpful. I’m very happy with what he did, really great work. -
B-73 Restoration
mattb73lt replied to mattb73lt's topic in Antique and Classic Mack Trucks General Discussion
It's called "Time and $$$", it can be hard to find especially the Time part. LOL -
B-73 Restoration
mattb73lt replied to mattb73lt's topic in Antique and Classic Mack Trucks General Discussion
Thanks, I can't wait to start the assembly of the rest. It's been such a long time coming. -
B-73 Restoration
mattb73lt replied to mattb73lt's topic in Antique and Classic Mack Trucks General Discussion
A little bit of elbow grease was all it took to make it look new again. Sure!!


BMT Forum Logo
