-
Posts
379 -
Joined
-
Last visited
-
Days Won
12
Content Type
Profiles
Forums
Gallery
Events
Blogs
BMT Wiki
Collections
Store
Everything posted by Willie dog
-
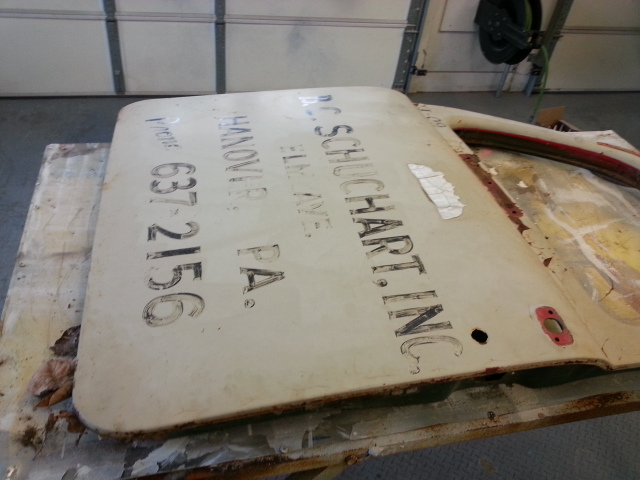
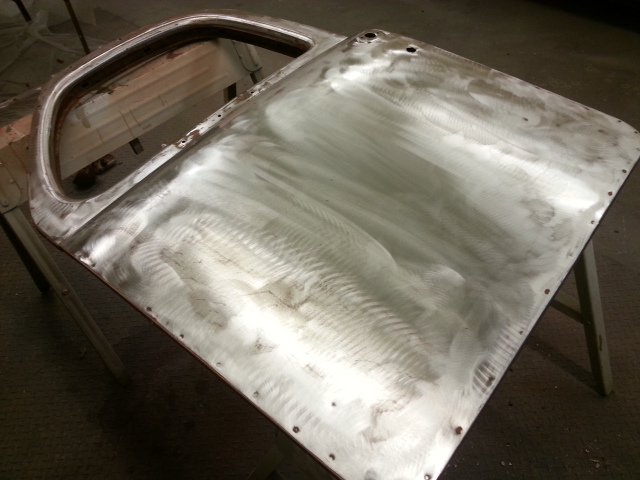
Stripped multiple layers of paint and primer from both doors and what do I find underneath????? NOTHING! No filler, no rust holes whatsoever. Just a small crack where the mirror bracket attached to the door. Oh, and a dent the size of a quarter. I can even see the factory spot welds that hold the door skin to the door frame. I guess this makes up for the tank body that needed a "little work".
-
saw this on Facebook
Willie dog posted a topic in Antique and Classic Mack Trucks General Discussion
https://m.facebook.com/groups/1521705531474995/?view=group#!/photos/viewer/?photoset_token=pcb.1724163534562526&photo=761346487351301&profileid=100000465645480&source=48&refid=18&_ft_=qid.6379383851014891569%3Amf_story_key.1724163534562526%3Atop_level_post_id.1724163534562526%3Atl_objid.1724163534562526 -

......ever notice
Willie dog replied to Willie dog's topic in Antique and Classic Mack Trucks General Discussion
I couldn't give up if I wanted to. I absolutely love this type of work and it's good therapy after a bad day at work. It won't be laser straight....there will be waves in it because it's 60 year old stamped sheet metal. I just want to make sure all the little dents and grinder marks are out of it. Oh.BTW b-42....I see elves eeverywhere! -

......ever notice
Willie dog replied to Willie dog's topic in Antique and Classic Mack Trucks General Discussion
That's what I was thinking.....or maybe before the next round of sanding. -
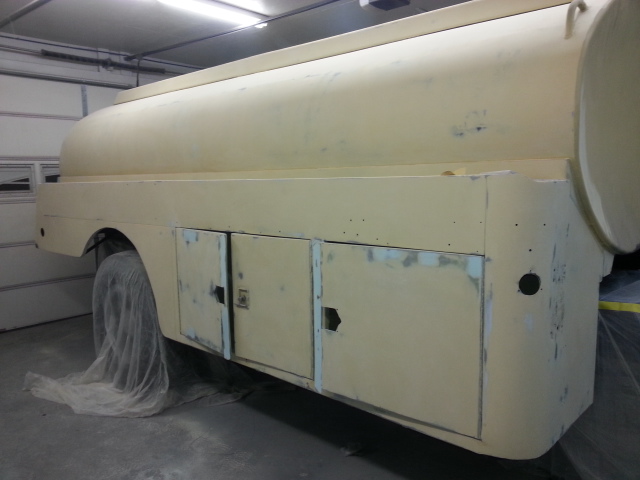
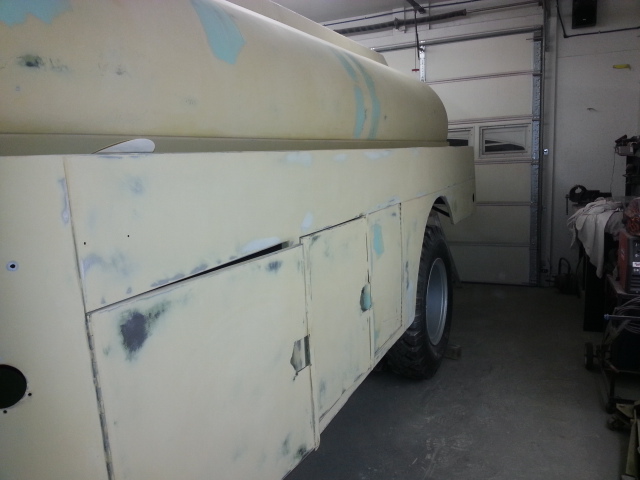
Have you ever noticed the more acreage you have the more it takes to work it? Been block sanding the WHOLE tanker body for two weeks......she's a BIG GIRL! I'm hoping the elves will come out at night and finish it up for me......
- 15 replies
-
- 12
-

-

IMG_1517.JPG
Willie dog commented on TDBach's gallery image in BMT Member's Gallery - Click here to view our member's albums!
-

more progress
Willie dog replied to Willie dog's topic in Antique and Classic Mack Trucks General Discussion
Well crap. If only I had known that two weeks ago...... I'm almost done with this one. Gotta weld the bottom piece on , grind the welds and paint it. But thanks a ton for the offer!! -

more progress
Willie dog replied to Willie dog's topic in Antique and Classic Mack Trucks General Discussion
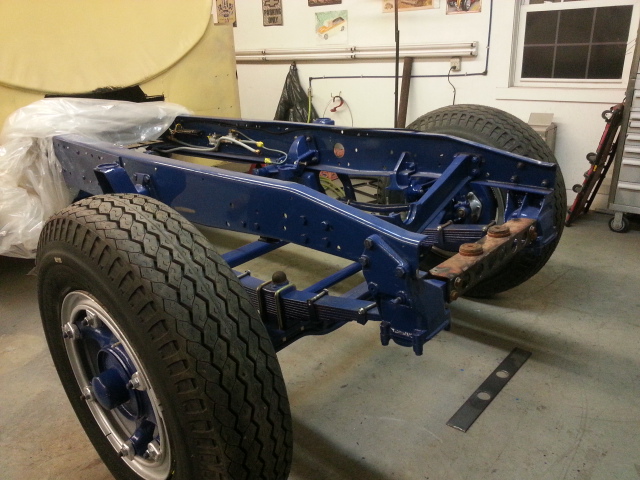
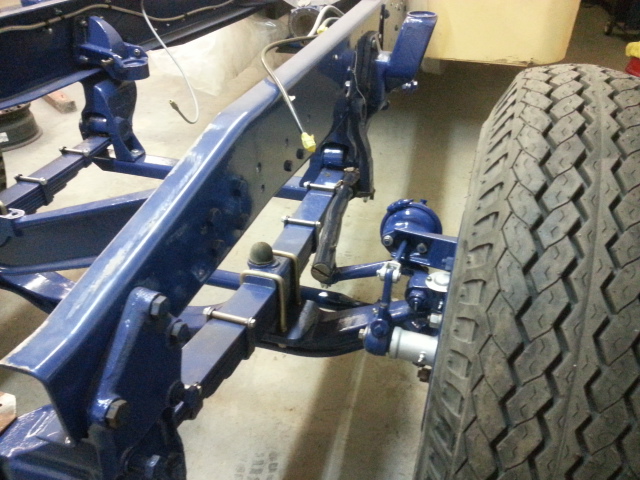
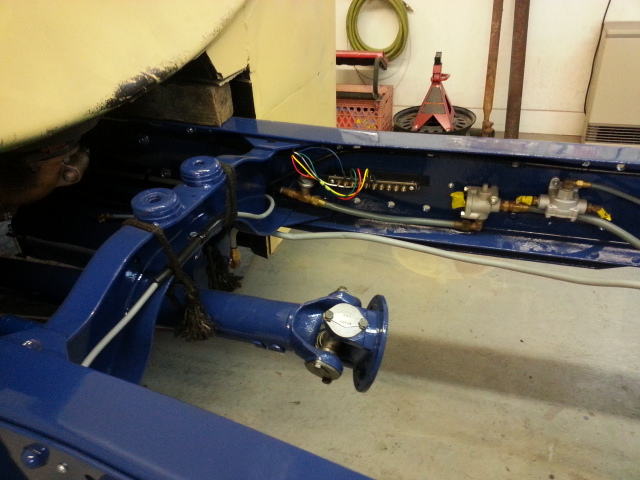
Front suspension and brakes are installed, along with the front wheels and tires. I added some new hardware and left some things in their natural finish to add a little detail to things. Still need to get the front brake hoses and install the air lines for the front. I'm still in the process of making a new radiator support /front cross member. The old one looks as if someone tried to pull the truck from a ditch or something by attaching a chain to the member and yanking until it looked like a pretzel. On to the tank itself after I wrap the frame in it's cocoon of plastic. -

more progress
Willie dog replied to Willie dog's topic in Antique and Classic Mack Trucks General Discussion
I would love to make it to that one.....if you don't mind seeing it with no onterior (OOPPs , interior I meant) or front sheet metal. -

more progress
Willie dog replied to Willie dog's topic in Antique and Classic Mack Trucks General Discussion
I was thinking it will be next Monday....I have to give the paint time to cure! -

more progress
Willie dog replied to Willie dog's topic in Antique and Classic Mack Trucks General Discussion
Thanks Bob. I'm at a good place where progress is rolling well. I know there will be times when I feel like I'm beating my head against acwall and not getting anywhere.But in the world of restoration, that's par for the course. If I can inspire or help someone as some of you have, it makes it all the better. -

more progress
Willie dog replied to Willie dog's topic in Antique and Classic Mack Trucks General Discussion
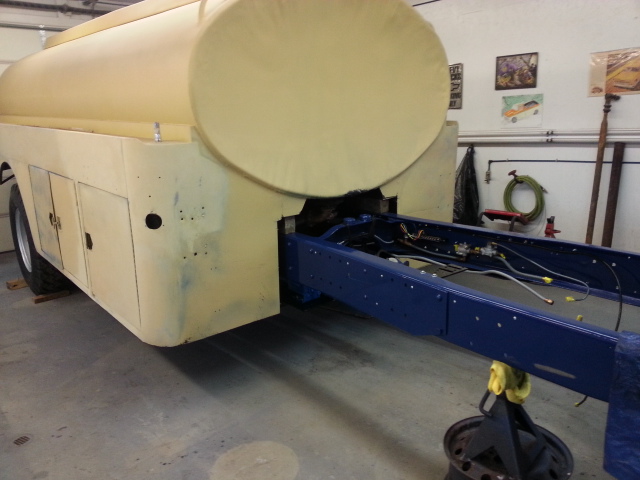
Bob. The way I had the tank sitting on the stands and jacks , I was afraid it would either fall off with me climbing all over it or get damaged somewhere along the line. And it did......the 3 inch cast iron pipe the rear was supported by ended up having a 3 inch bow in it from the weight. The rear corners of the tank came to a rest on the pipe and bent the edges and cracked some of the filler. It's a whole lot easier to fix primer than the finished paint. I'm going to raise the tank off the frame just enough to slip a heavy piece of plastic between it and the frame and tape it to the floor all the way around like a cocoon and protect the frame from any overspray. It's an extra step but I've done it several times with other projects. -

The cab is back on
Willie dog replied to OakleyTankLines's topic in Antique and Classic Mack Trucks General Discussion
Most excellent!!!! -
Finally got the frame assembled enough to roll it under the tank body. It was a little challenging to do it by myself but thanks to my trusty tractor we accomplished it together. Now comes the assembling of the front suspension unit. May the force be with me.
- 16 replies
-
- 12
-

-

on a roll now
Willie dog replied to Willie dog's topic in Antique and Classic Mack Trucks General Discussion
It"s a PRECO ding ding alarm from Boise Idaho. I want to keep this truck as close as possible to the way it was in 1958 except for the color scheme on the outside. -

on a roll now
Willie dog replied to Willie dog's topic in Antique and Classic Mack Trucks General Discussion
Yup....sorry for the let down but yes metal flashing is the trick I was talking about. It's a little flimsy for large wheels , but it works well enough. -

on a roll now
Willie dog replied to Willie dog's topic in Antique and Classic Mack Trucks General Discussion
I laughed out loud when I read that.....I actually snorted. -
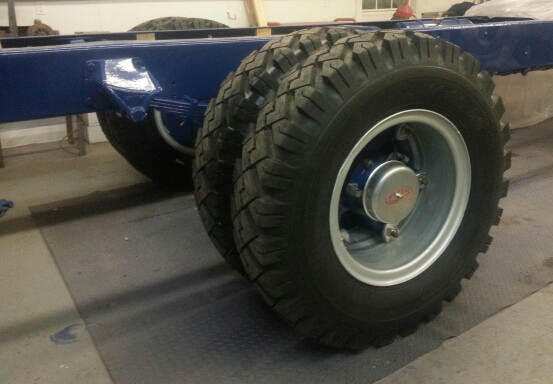
After determining the self-made wheel fitment problem, I was able to mount the wheels and tires. I sandblasted them, primed and painted them. Using a floor jack to help raise them to the height of the axle they almost jumped right on with no assistance from me. However, I think I'm going to have to get new wedges for the right side, they're almost bottomed out against the spokes. They trued up nice and were pretty close "right out of the box".
- 20 replies
-
- 11
-

-

feeling dumb
Willie dog replied to Willie dog's topic in Antique and Classic Mack Trucks General Discussion
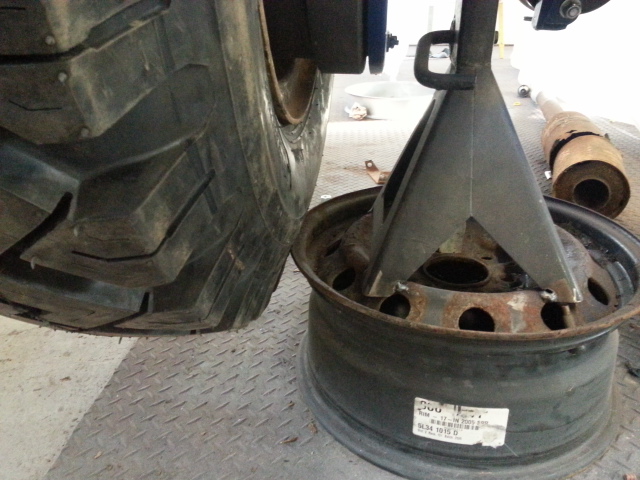
I agree with the good jack stand and proper support for a raised vehicle. I never trust even a hydraulic jack by itself.....the only thing standing between you and being crushed is a .39 cent o-ring. I used the wheels to give me some more height without having the t-bar up so far that it would wobble. Even a stack of wood blocks can be unsteady. The wheels made a good flat base and to make sure nothing moved I welded the stands to the wheels. Itoo knew a man who was killed working under a raised dump bed with no support.....it was sad because he was one of those ole timers I learned a lot from as a youngster. I had just spoken to him that morning and after lunch time he was gone. The one good thing that came out of a bad situation was I never trusted anything raised without having some type of good support. Even though we have all been joking about my "unique" stands , safety is a serious business. -

feeling dumb
Willie dog replied to Willie dog's topic in Antique and Classic Mack Trucks General Discussion
Think of it like this.......I may have just invented Or shouldn't!!! -

feeling dumb
Willie dog replied to Willie dog's topic in Antique and Classic Mack Trucks General Discussion
I wanted to get more height from the stands without having the top ratcheted up so far that it would wobble....so my "out of box" thinking was a steel wheel....nice wide base for the stand.....easy to find and best of all FREE! They are available for a limited time. Rush delivery available just in time for Christmas. The perfect gift for the Mack Man who has everything and still needs more!! -

feeling dumb
Willie dog replied to Willie dog's topic in Antique and Classic Mack Trucks General Discussion
I couldn't post any more until I stopped laughing at all the comments!! I'll be back after I read them all again! -

feeling dumb
Willie dog replied to Willie dog's topic in Antique and Classic Mack Trucks General Discussion
A BFH and a hot wrench works wonders......😆 -

feeling dumb
Willie dog replied to Willie dog's topic in Antique and Classic Mack Trucks General Discussion
I can't wait to see some of the comments!!!! Go ahead, I can handle it. -

feeling dumb
Willie dog replied to Willie dog's topic in Antique and Classic Mack Trucks General Discussion
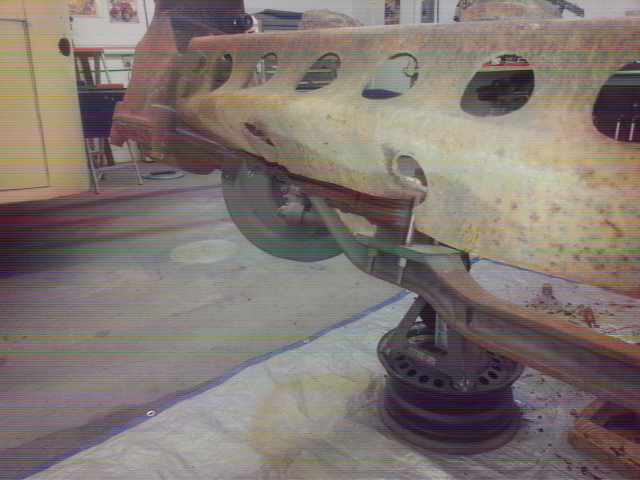
Thanks a ton for all the information..... I found the problem......once I sat down and cried for about three hours. I'm not going to spoil it for everyone.. .just look at the picture and it will tell the story. Guess I win biggest dumb ass of the year award.- 95 replies
-
- 10
-

BigMackTrucks.com
BigMackTrucks.com is a support forum for antique, classic and modern Mack Trucks! The forum is owned and maintained by Watt's Truck Center, Inc. an independent, full service Mack dealer. The forums are not affiliated with Mack Trucks, Inc.
Our Vendors and Advertisers
Thank you for your support!


