-
Posts
852 -
Joined
-
Last visited
-
Days Won
38
Content Type
Profiles
Forums
Gallery
Events
Blogs
BMT Wiki
Collections
Store
Everything posted by 1961H67
-
Coca Cola LJ Mack colors
1961H67 replied to 1961H67's topic in Antique and Classic Mack Trucks General Discussion
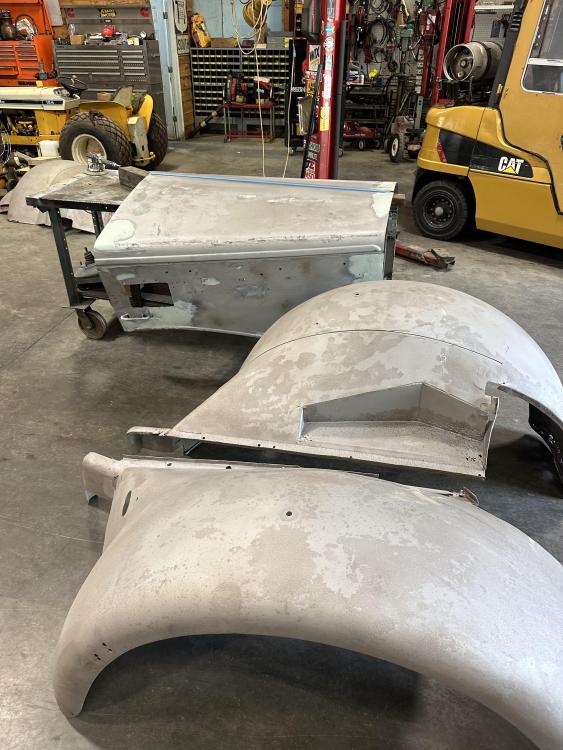
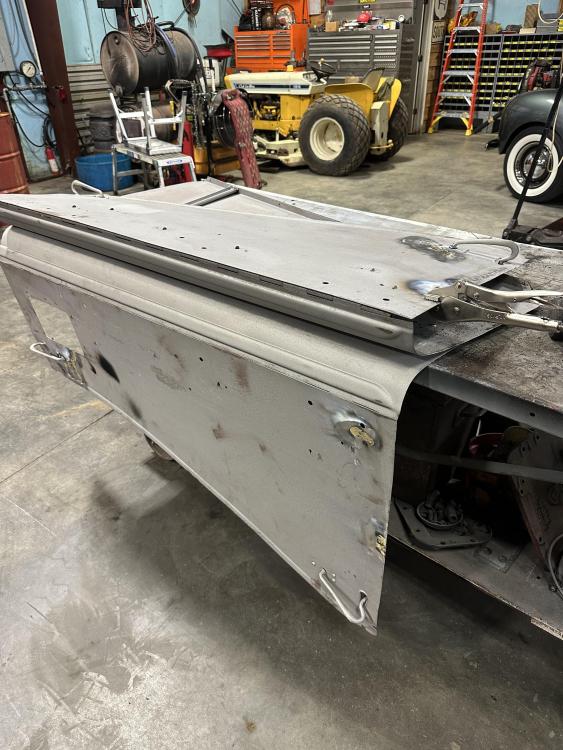
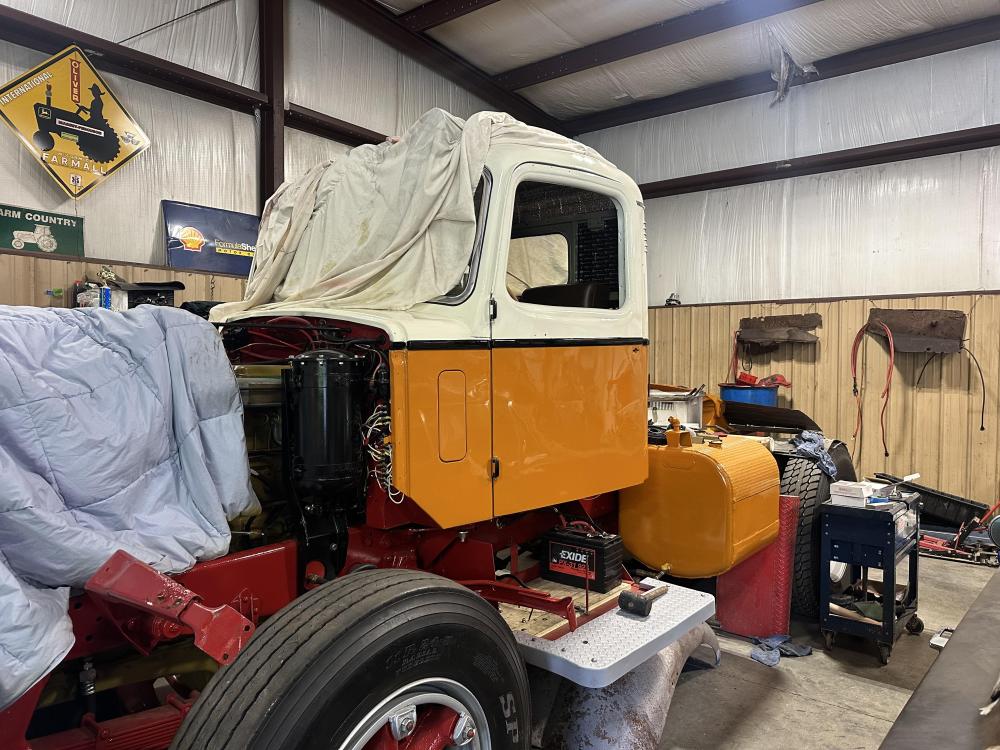
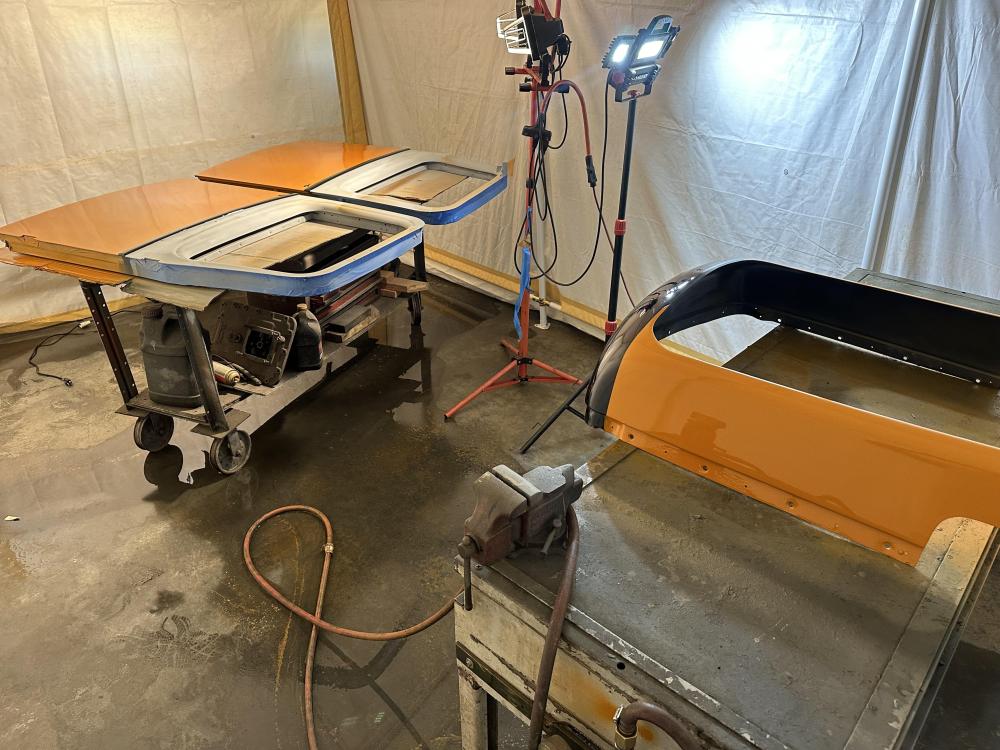
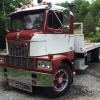
They aren’t perfect but usable, some rust at the rear, and a few extra holes here and there. I’ll keep plugging away at it . Almost ready to prime the hood.I got the lower cab skirts painted yesterday, hopefully I can install them next week. -

Coca Cola LJ Mack colors
1961H67 replied to 1961H67's topic in Antique and Classic Mack Trucks General Discussion
-

B-73 Restoration
1961H67 replied to mattb73lt's topic in Antique and Classic Mack Trucks General Discussion
Love the KRACERJACK ! -

1964 Mack Red Paint
1961H67 replied to hicrop10's topic in Antique and Classic Mack Trucks General Discussion
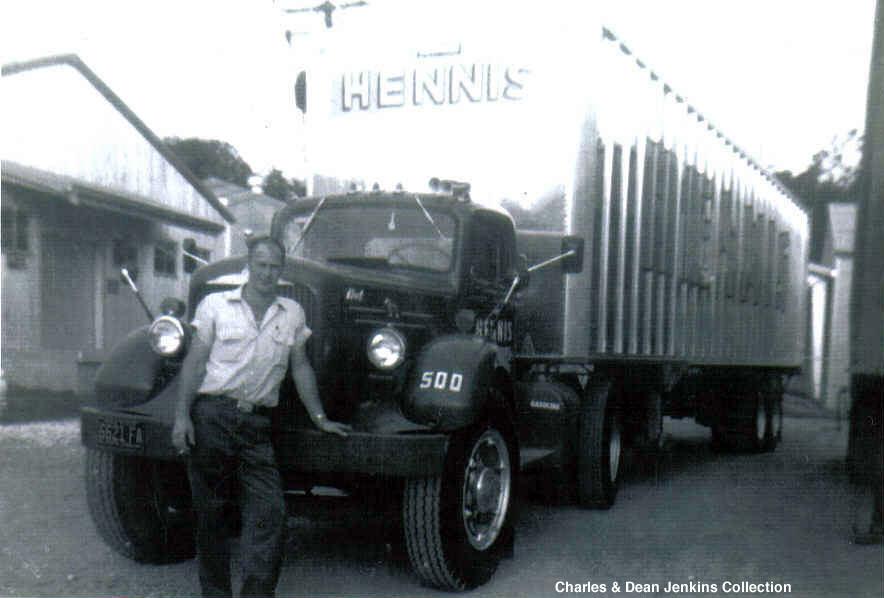
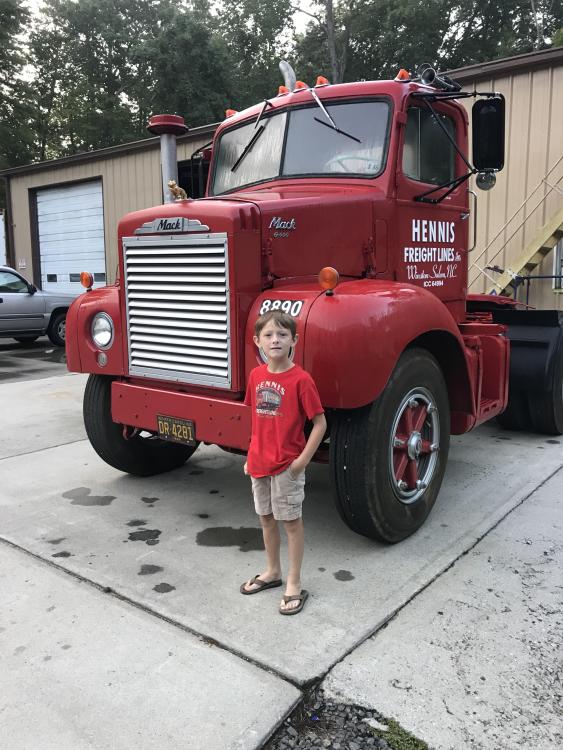
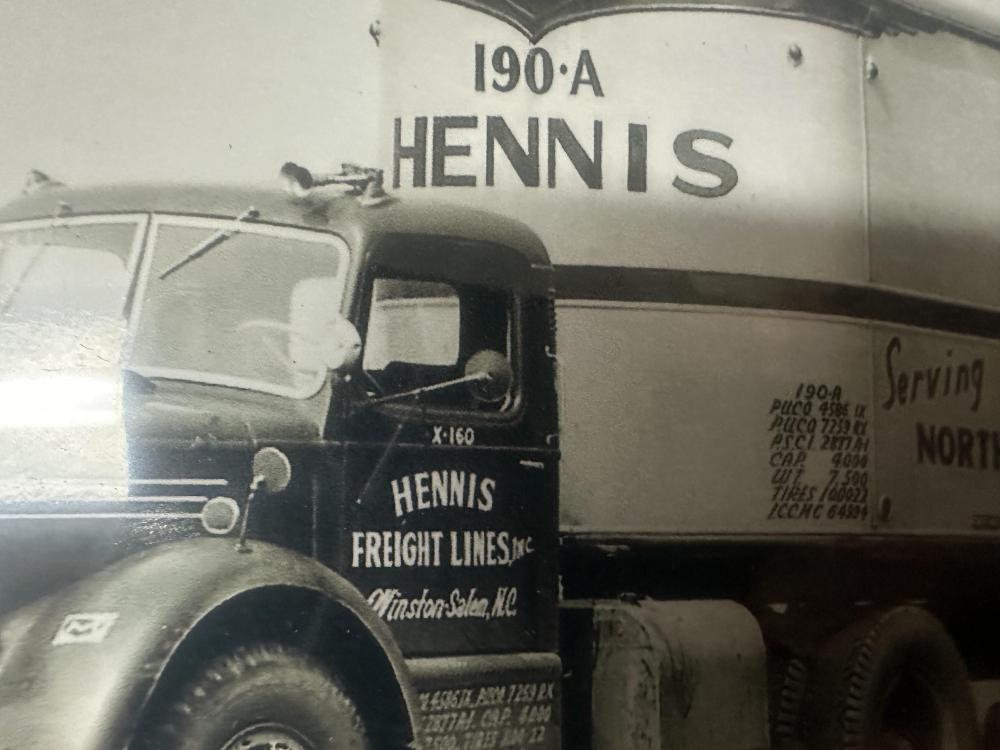
“ Fleet “ Red is what Hennis Freight used, Like Matt’s picture, Basically American Lafrance Red . That’s what I painted my 1965 Hennis C Model with,, any DuPont store can mix it either in Nason or Imron ,, depending on how much you want to spend. -

West Coast Mirror History
1961H67 replied to 1961H67's topic in Antique and Classic Mack Trucks General Discussion
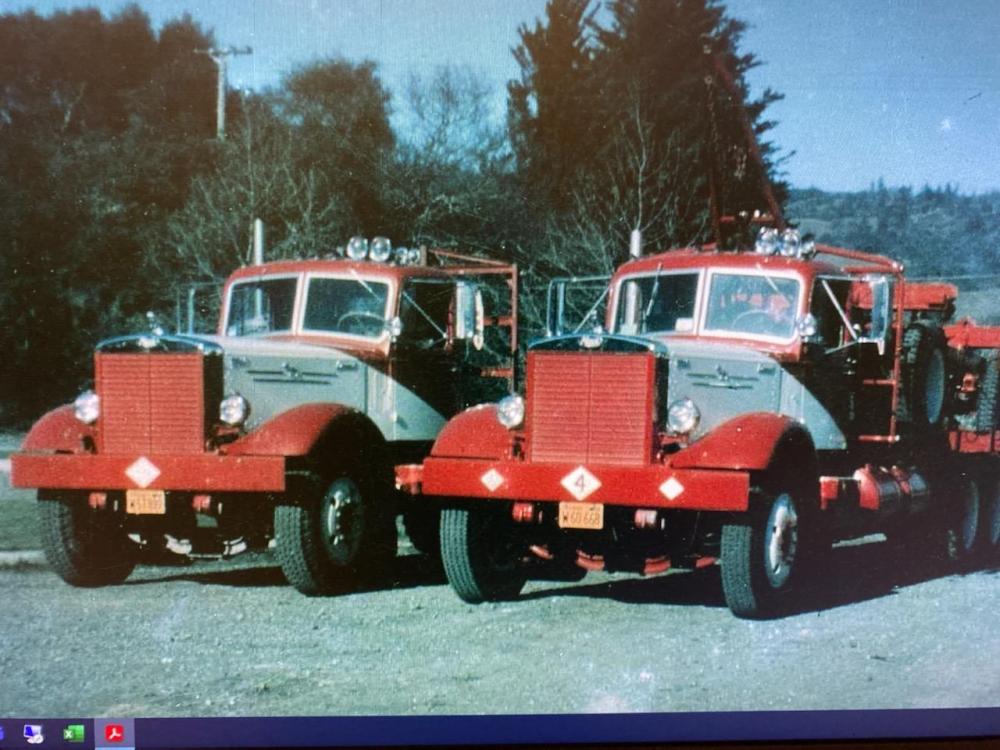
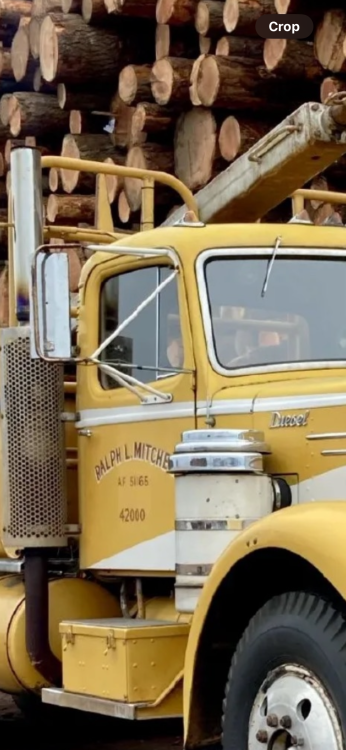
That last picture Matt posted has the style my LJ had, Chrome . Maybe most of the Western trucks were used for logging, and they needed a wider, more stable mirror? -

Coca Cola LJ Mack colors
1961H67 replied to 1961H67's topic in Antique and Classic Mack Trucks General Discussion
I just started a thread on the History of West Coast Mirrors, especially on Mack’s . We will see what kind of knowledge is out there. -
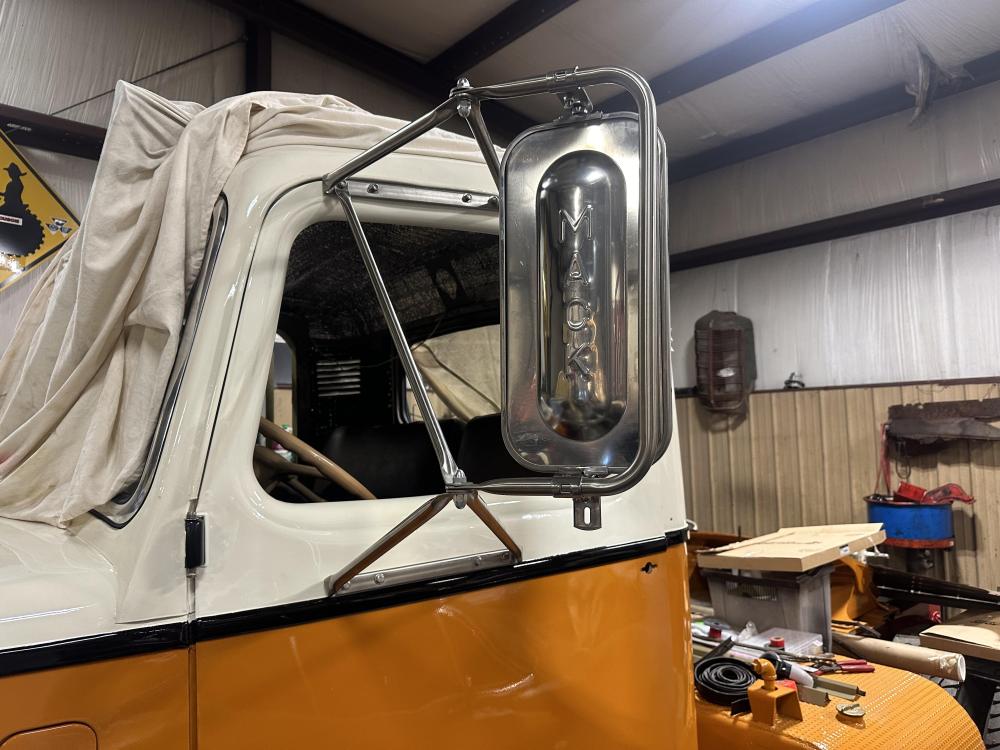
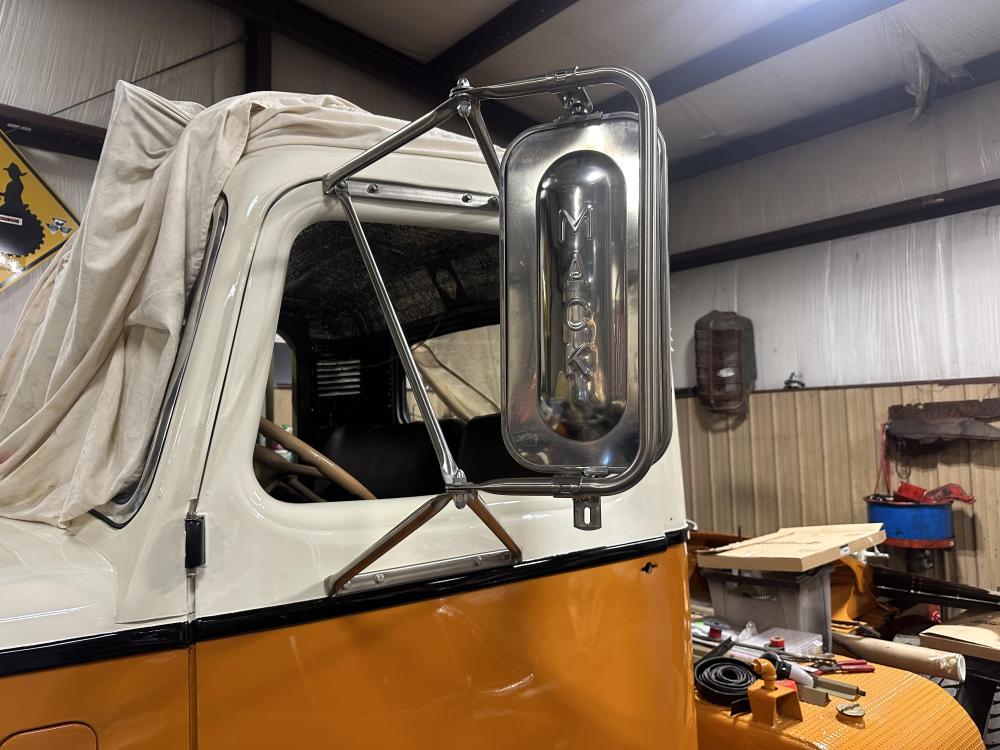
I have 6 “ L “ Cab trucks, and all of them except my 1965 C Model looks to have had several different mirror configurations due to the amount of extra holes in some of the doors, I posted a picture of my Coca Cola LJ after I installed “ R “ Model style mirrors ,, the mirrors that were on this truck from I know had been on since the late 60s had 3 holes in the top and 4 in the bottom,, with several previous holes from before these. I have a 55 LTH , And a picture of it ( and a new 56 LTH) taken in Northern California in 1956 , both have West Coast Mirrors,also the yellow sister truck to mine from Oregon has West Coast Mirrors. just for curiosity any history how they got to the West Coast first? Any after market? Or Mack . I have several pictures of my Dad’s trucks in the early 60s with just single mirrors possibly off the door hinge . Some of the earliest pictures of the L cab trucks on the East Coast have the top bracket curved down the front of the door frame ( I have a black set of those also. ) I’m ready for some good history lessons!
-

Coca Cola LJ Mack colors
1961H67 replied to 1961H67's topic in Antique and Classic Mack Trucks General Discussion
I figured it was around 1960 because I have some pictures of Dad taken in 1961 with Late 60s Mack’s with small mirrors , I wonder if Mack Made any or was they after market. -

Coca Cola LJ Mack colors
1961H67 replied to 1961H67's topic in Antique and Classic Mack Trucks General Discussion
The mirrors that were on it ( from the 60s I would assume) had 3 bolts in the top bracket, they are in good shape but the chrome is pitting, I have seen some top brackets that curve towards the front of the door frame. I’ve used these R style bracket kits on my H & LTH . Most of these old trucks have had a couple different sets through the years since they didn’t come out with “ West Coast “:mirrors . ( I’m unsure when and what brand of mirrors were offered when the West Coast mirrors got popular on the east coast? ) So since I’ve got 2 Superliner parts trucks I had plenty to choose from. -

Coca Cola LJ Mack colors
1961H67 replied to 1961H67's topic in Antique and Classic Mack Trucks General Discussion
-

Coca Cola LJ Mack colors
1961H67 replied to 1961H67's topic in Antique and Classic Mack Trucks General Discussion
-

Coca Cola LJ Mack colors
1961H67 replied to 1961H67's topic in Antique and Classic Mack Trucks General Discussion
It definitely is a unique color scheme,, it’s going to be the way I remember It going by my house in the early 70s before I had drivers license,, Now it will have a shine vs the old faded and chipped look. -

Coca Cola LJ Mack colors
1961H67 replied to 1961H67's topic in Antique and Classic Mack Trucks General Discussion
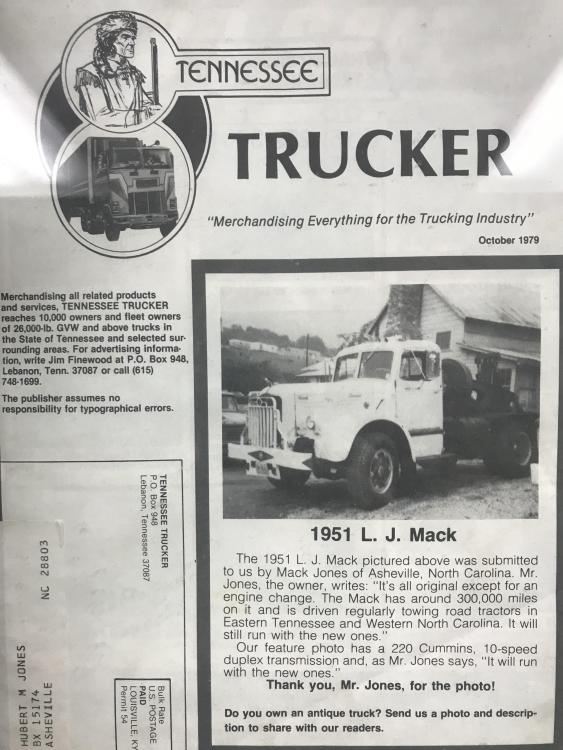
I’m still trying to 100% confirm who was the first owner was , not getting much out of the NC DMV . The old timers around here said it was Coca Cola bottling of Asheville, Biltmore Dairy Farms here used a color close to that, and Howard Johnson was close. All I can confirm is it was delivered 10 miles from me in September 1951 , And Pioneer Welding Company owed it from 1963 -69 , they never charged the color, -

Coca Cola LJ Mack colors
1961H67 replied to 1961H67's topic in Antique and Classic Mack Trucks General Discussion
-

Coca Cola LJ Mack colors
1961H67 replied to 1961H67's topic in Antique and Classic Mack Trucks General Discussion
I seen a Nice LT out west that they put a Cat in,,, Very Cool! -

Coca Cola LJ Mack colors
1961H67 replied to 1961H67's topic in Antique and Classic Mack Trucks General Discussion
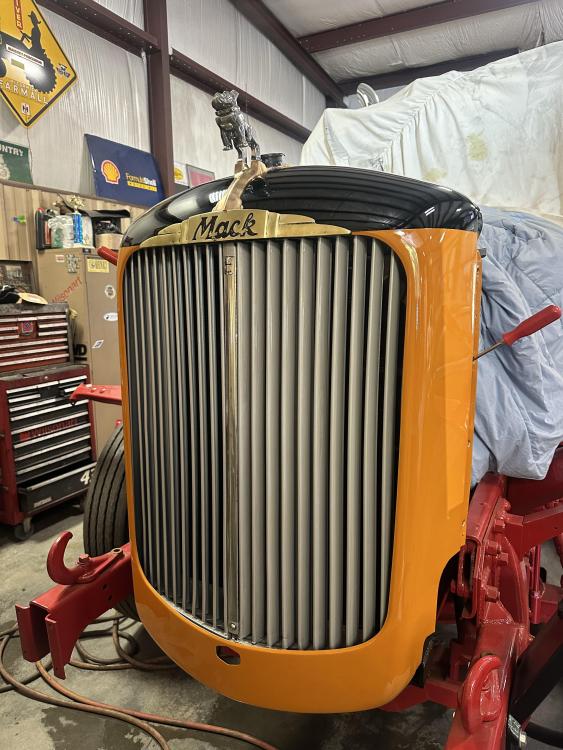
I just sanded the old chrome off and polished the brass, that looks good to me. I’ll try to hang the doors this weekend,,,, Baseball will be over Saturday and my mechanic will be back on the job ! -

Coca Cola LJ Mack colors
1961H67 replied to 1961H67's topic in Antique and Classic Mack Trucks General Discussion
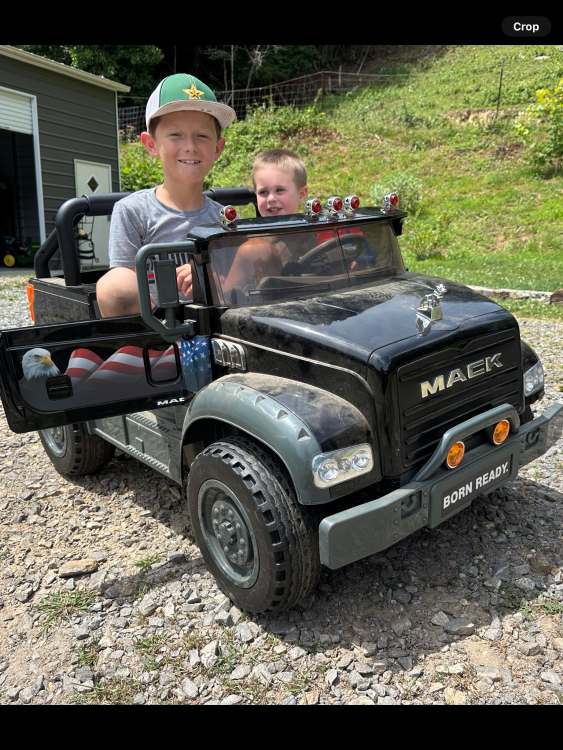
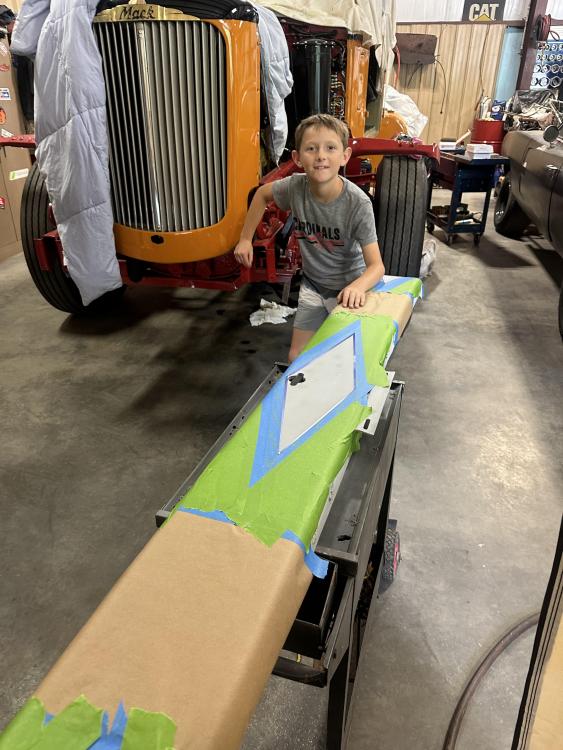
I got another one coming along, He’s not much help yet,, kinda like Herding Cats,, but the older one keeps him pretty straight. -

Coca Cola LJ Mack colors
1961H67 replied to 1961H67's topic in Antique and Classic Mack Trucks General Discussion
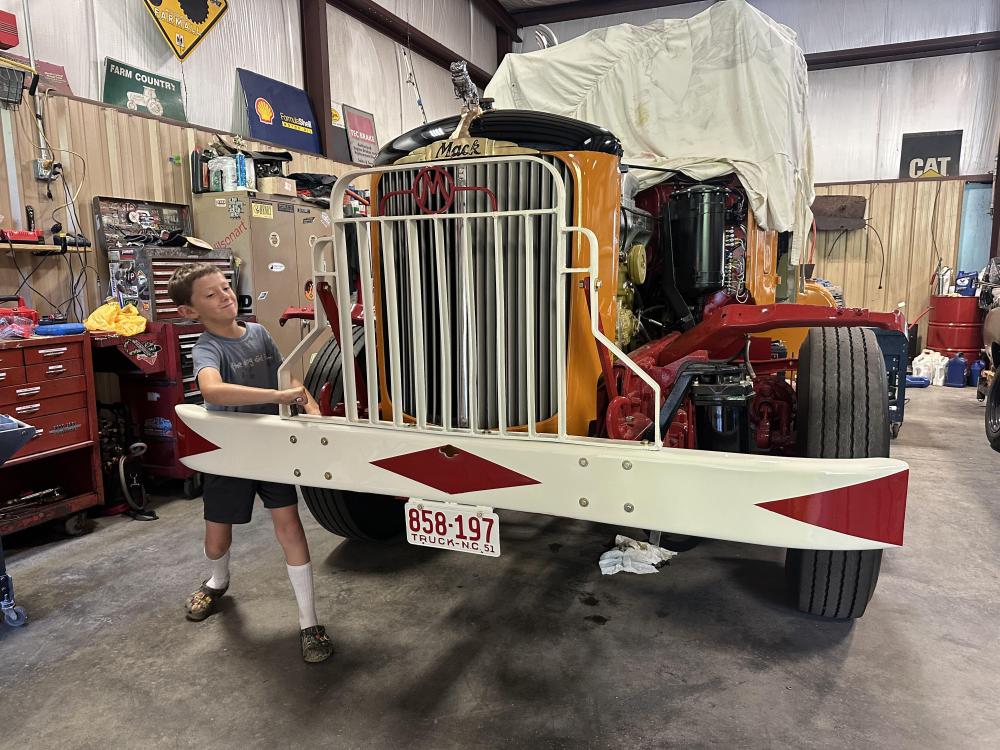
My Mechanic works pretty cheap, Generally a waffle from Waffle House will satisfy him! He should be a LJ expert in a few years, he’s been pretty much in the middle of this project for about 4 years. -

Coca Cola LJ Mack colors
1961H67 replied to 1961H67's topic in Antique and Classic Mack Trucks General Discussion
I have seen some older log trucks with the bumper painted like that, unsure, I just painted it back the way it was in the 70s . Hopefully I can put the doors on in the next few days. -

Coca Cola LJ Mack colors
1961H67 replied to 1961H67's topic in Antique and Classic Mack Trucks General Discussion
-

Coca Cola LJ Mack colors
1961H67 replied to 1961H67's topic in Antique and Classic Mack Trucks General Discussion
No that was our LTH at Spencer, this is the Coca Cola LJ that I’ve been working on over half my life. Hopefully I can make Spencer next year with this one. -

Coca Cola LJ Mack colors
1961H67 replied to 1961H67's topic in Antique and Classic Mack Trucks General Discussion
The first time I ever saw this LJ was in the early 70s , The fella I got it from used it to tow trucks for several of the NC trucking companies, McLean, Hennis, Akers were his main customers, since Dad drove for Hennis from 1961 through the late 70s I saw the LJ a lot, plus the fella lived in our neighborhood ( I started working for him when I got out of high school) It’s was the same color as I’m repainting it , all faded out of corse the paint was original , the bumper and grill guard was always white with red diamonds painted on,, I’m trying to match it as close to the way it was. I see pictures of old trucks with diamonds painted on the bumper,, must be old school from the 50s and 60s . -

Coca Cola LJ Mack colors
1961H67 replied to 1961H67's topic in Antique and Classic Mack Trucks General Discussion
Thank You, I think it will be different, I haven’t seen this color combo on it since I was 18 ( 1978) and it was terrible faded and chipped then .my chrome was flaking off the Mack emblem and Bulldog mount , so I sanded it off and polished it . I think Gold plating is cheaper than chrome around here! I’ll touch up on the black in the Mack letters when I have more black mixed. Probably done for the weekend,,, All Star Games are wide open for my Helper. -

Coca Cola LJ Mack colors
1961H67 replied to 1961H67's topic in Antique and Classic Mack Trucks General Discussion
-

B-73 Restoration
1961H67 replied to mattb73lt's topic in Antique and Classic Mack Trucks General Discussion
I would still be interested in seeing the pictures if they are L Fenders.
BigMackTrucks.com
BigMackTrucks.com is a support forum for antique, classic and modern Mack Trucks! The forum is owned and maintained by Watt's Truck Center, Inc. an independent, full service Mack dealer. The forums are not affiliated with Mack Trucks, Inc.
Our Vendors and Advertisers
Thank you for your support!


