

paulbrook
-
Posts
123 -
Joined
-
Last visited
-
Days Won
3
Recent Profile Visitors


paulbrook's Achievements
")


-
ac mack fenders
paulbrook replied to Ton's topic in Antique and Classic Mack Trucks General Discussion
I have the drawings (from the museum) and could probably scan them and send them over - trouble is I am moving house and all my files are all boxed up ready for the move. But I should have them out of the boxes by the end of next week. -
ac mack fenders
paulbrook replied to Ton's topic in Antique and Classic Mack Trucks General Discussion
I wonder how much it would actually be? The last set of fenders they did for me was for a Diamond T 980, and they were big old things, with a back edge and spot welded outer valence. The pair cost £600, which must be about $800. So I wonder what the shipping would be? The AC fenders are much smaller.
-
ac mack fenders
paulbrook replied to Ton's topic in Antique and Classic Mack Trucks General Discussion
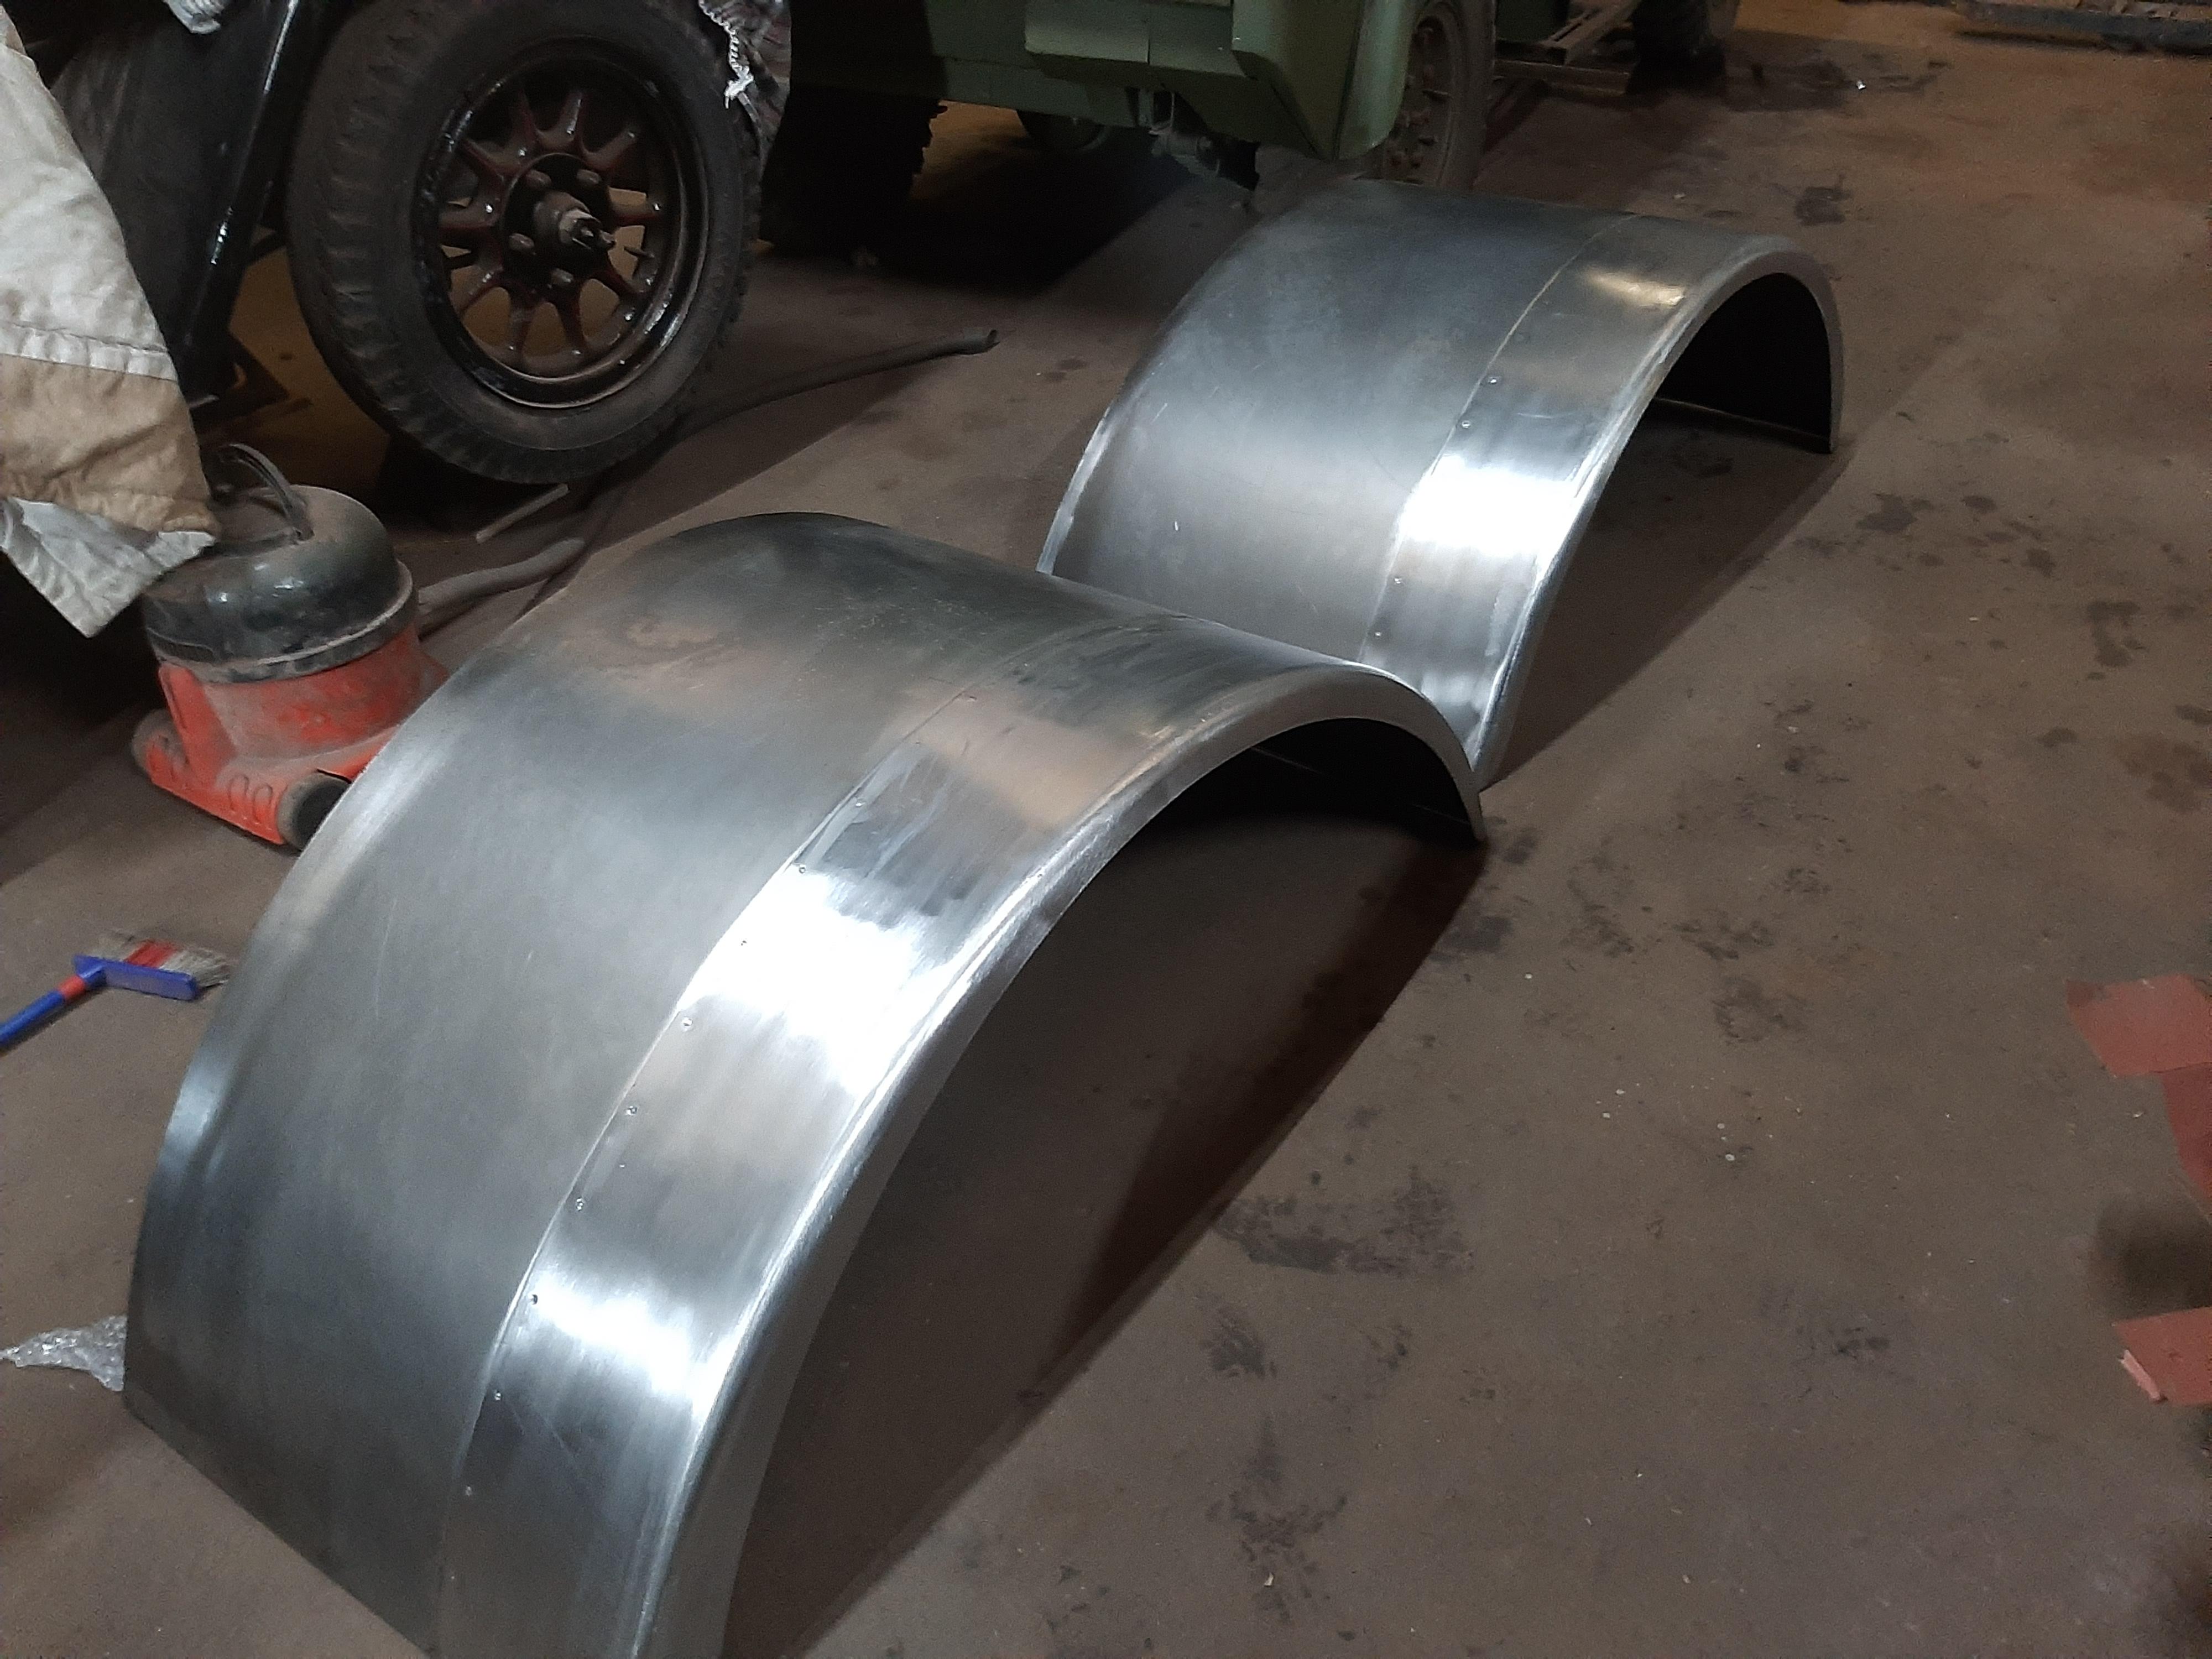
I can get them made but delivery might be a bit expensive! I even have an AC fender as a pattern, but would need to mock up the inner valance that runs from the inner edge of the fender to the top of the frame rail. Vintage Body, Panel & Wing Fabrication | Boydell & Jacks (featherwing.com) -
Steering Wheel
paulbrook replied to h67st's topic in Antique and Classic Mack Trucks General Discussion
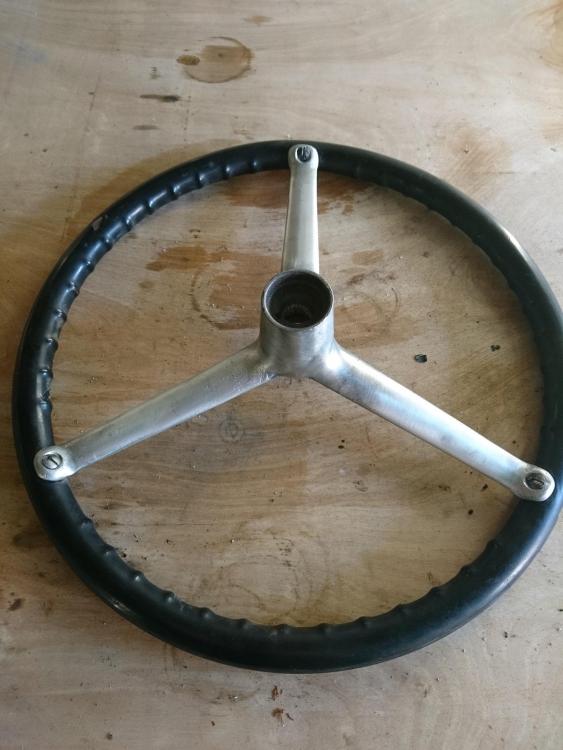
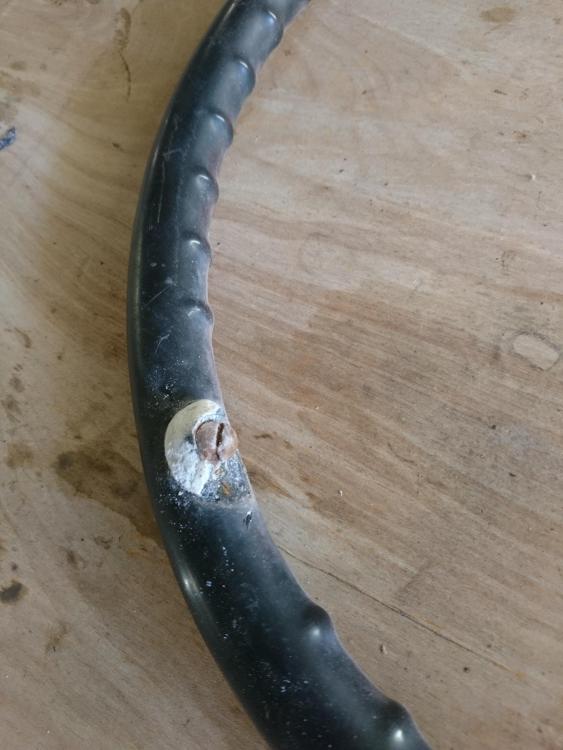
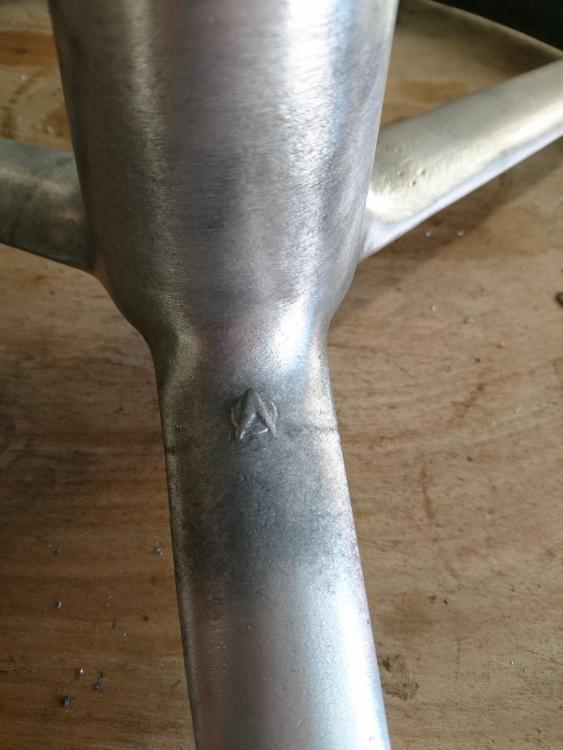
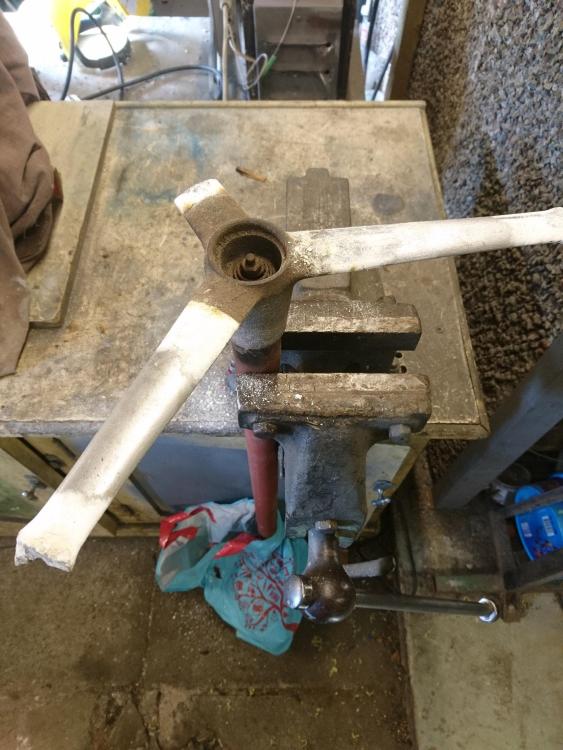
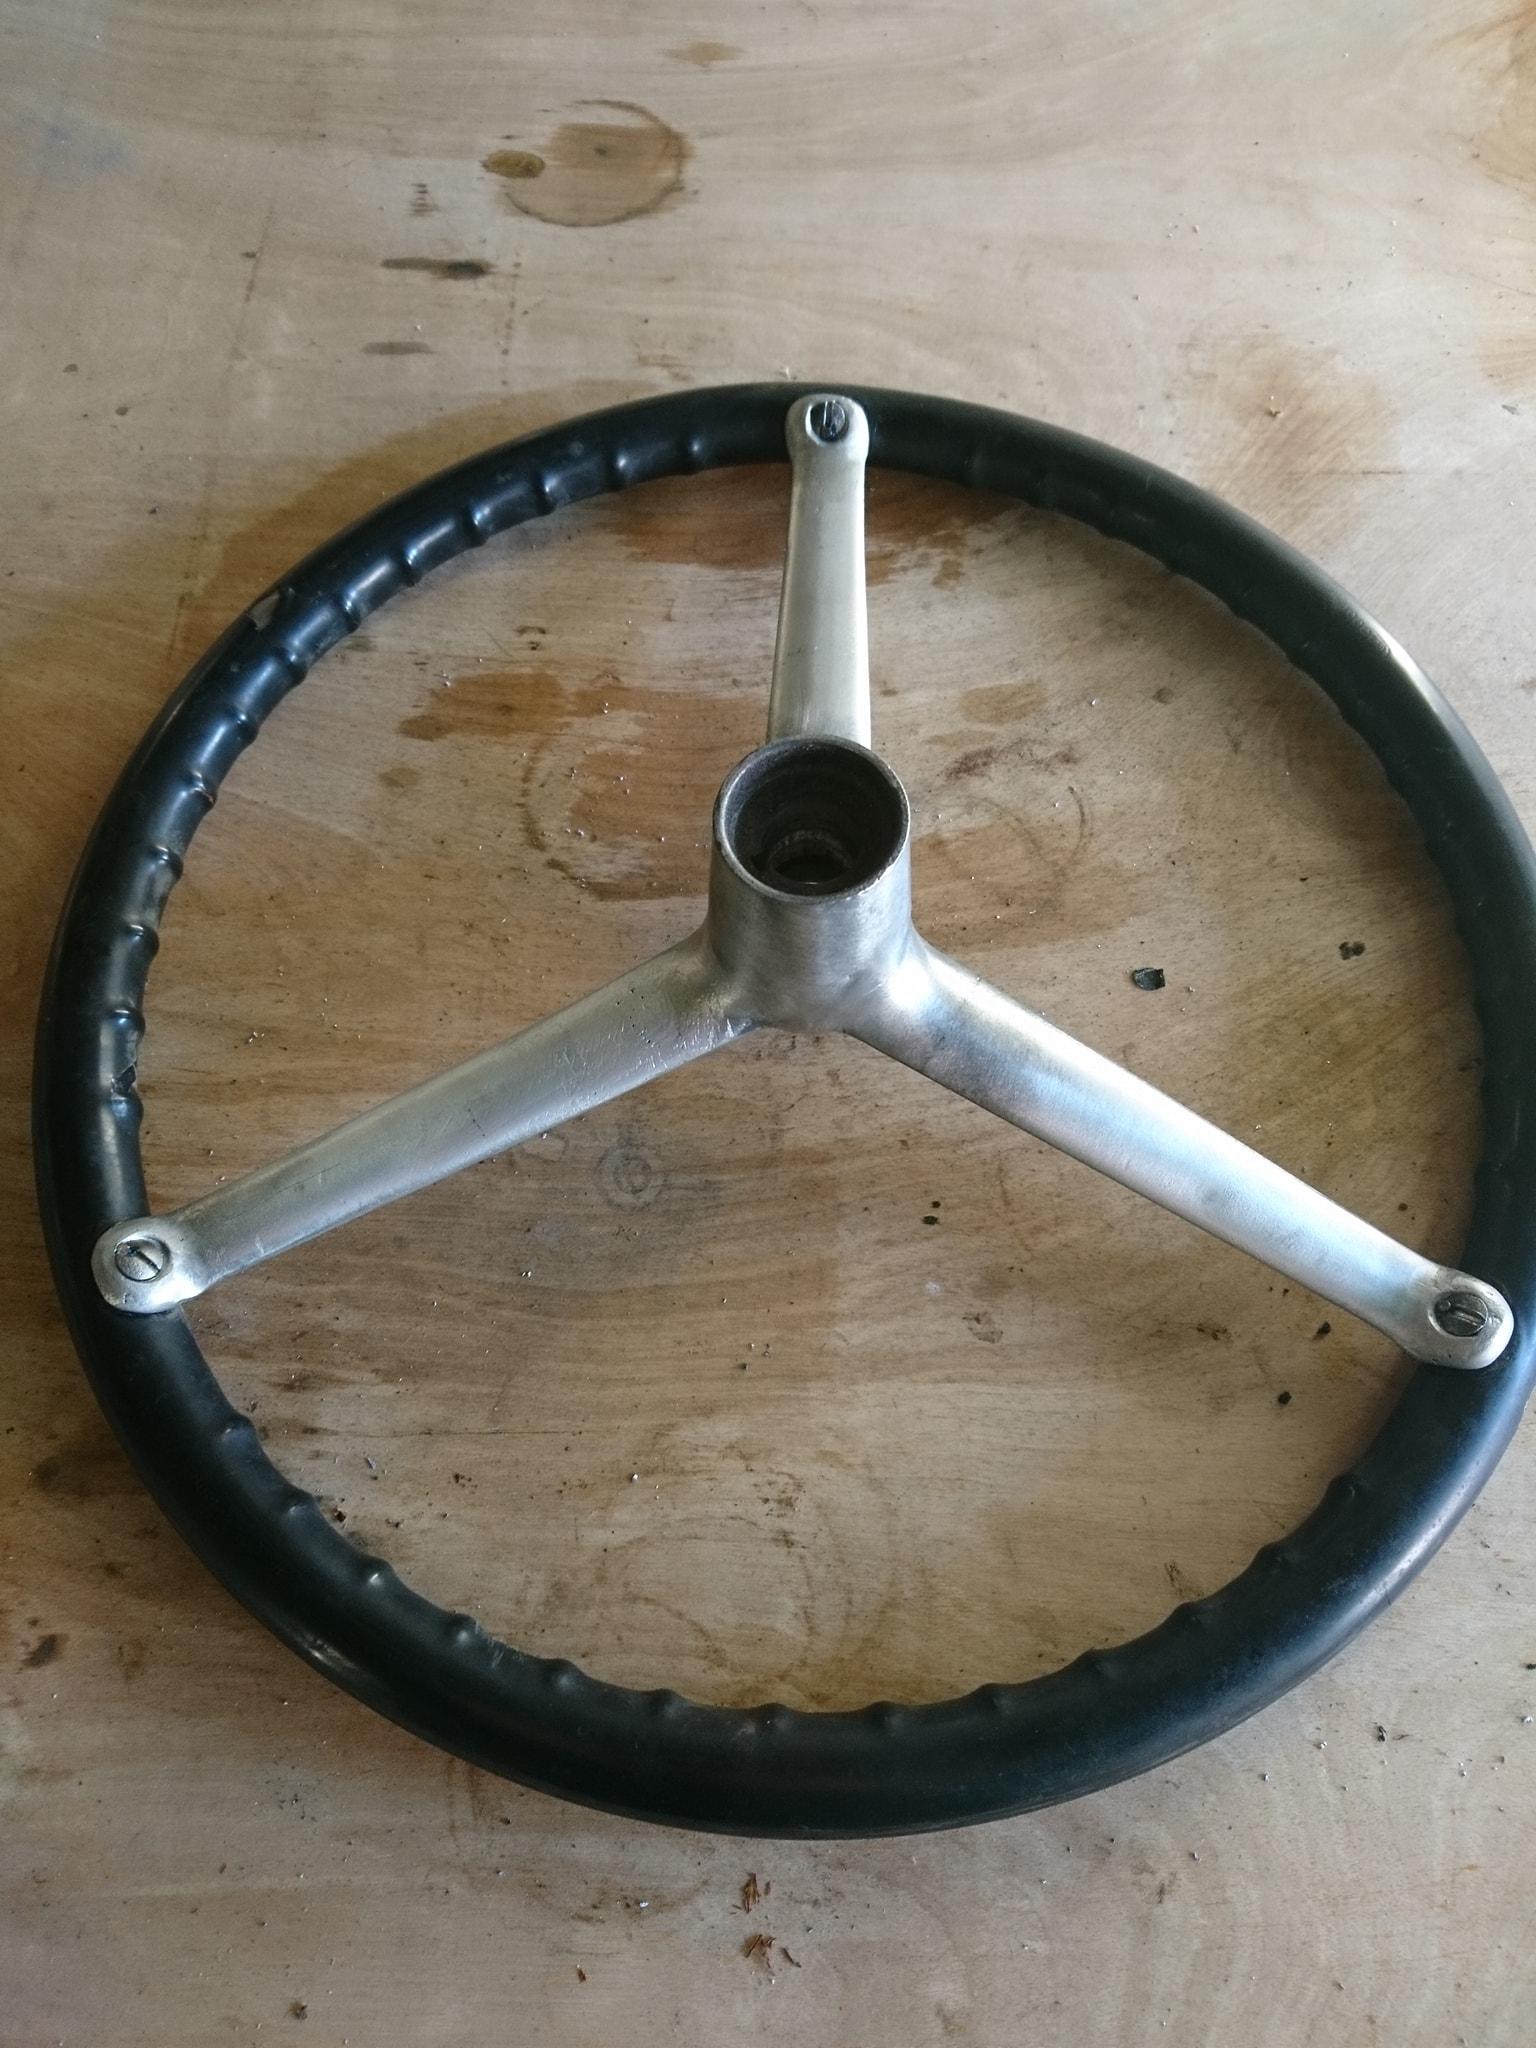
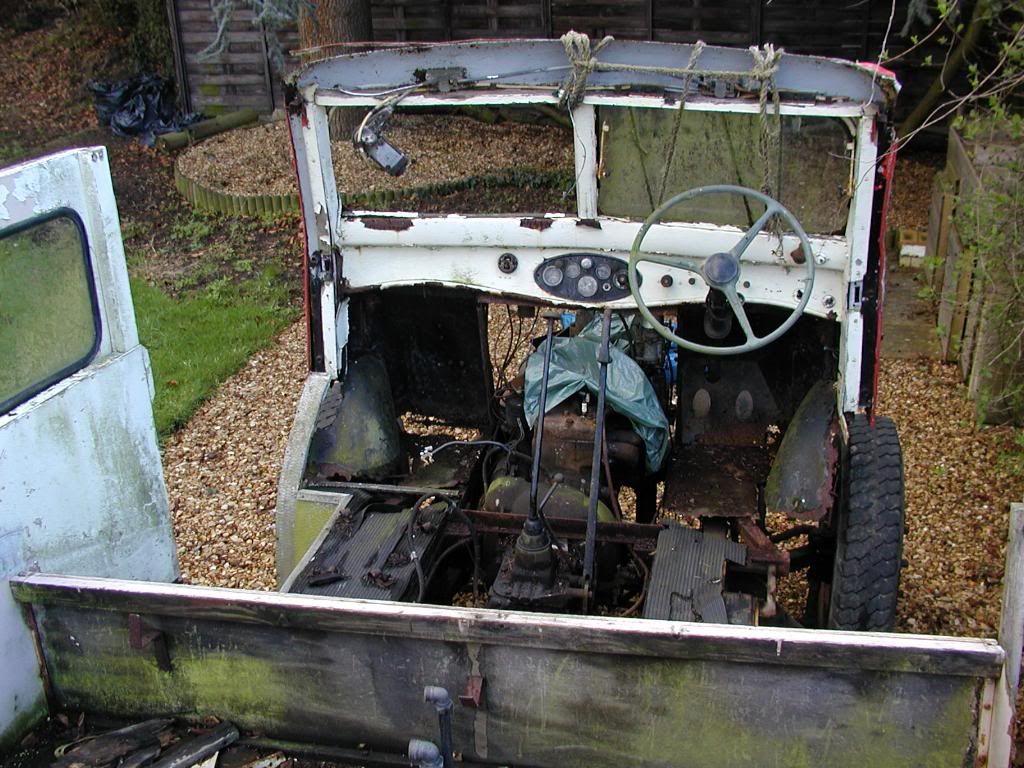
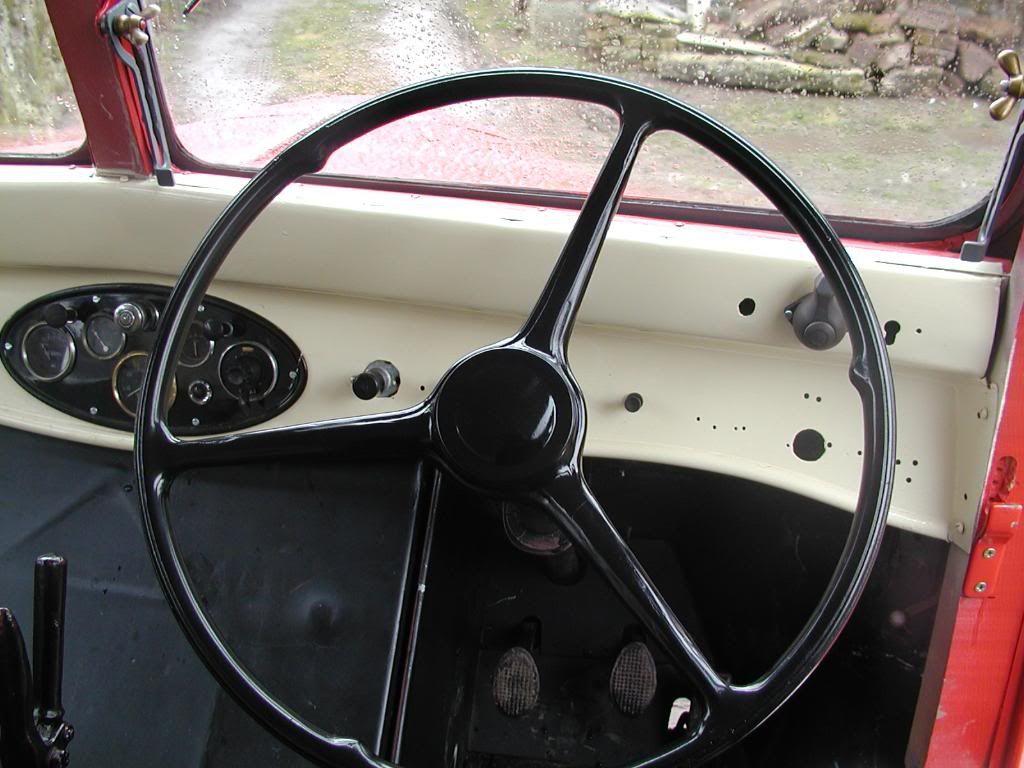
Here's another sequence of pics of a very early Bedford (it is actually a Chevy) steering wheel getting repaired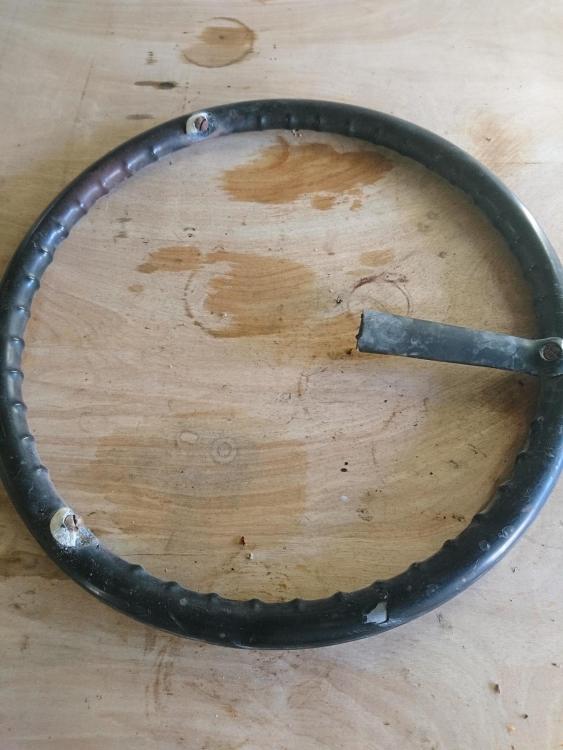
-
Steering Wheel
paulbrook replied to h67st's topic in Antique and Classic Mack Trucks General Discussion
Plastikote comes in spray cans and you are more likely to find it in a DIY store than a car parts store. I could not vouch for its solvent resistance, I cannot remember ever having used it where that might be an issue. It dries to form a plasticky skin (hence the name I guess). -
Hi folks I need a drivers side door for a ,49 L series cab. Altough mine is a sleeper cab I am sure the doors are the same as a standard "L". Thanks
-
Steering Wheel
paulbrook replied to h67st's topic in Antique and Classic Mack Trucks General Discussion
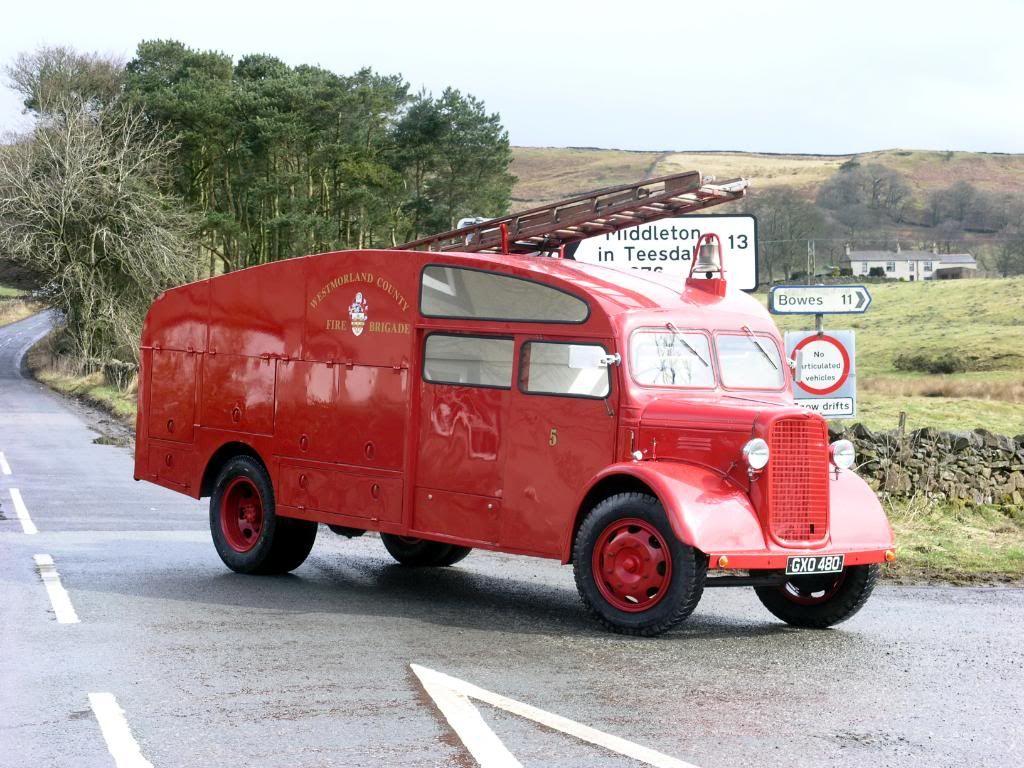
Oh and this was what the truck in the first picture above looked like when it was done
-
Steering Wheel
paulbrook replied to h67st's topic in Antique and Classic Mack Trucks General Discussion
We routinely repair cracks with epoxy filler and then paint using a produce which this side of the pond is known as "Plastikote" which, unlike paint has a very original feel. We minimise the risk of the steel inners causing trouble by gently routing out the roots of the cracks (and the surface of the steel inner) with a small carbide burr on the end of a dremel. just like your dentist. If we are still worried we will run a bit of Fertan rust killer down into the crack. Then gently spray it up, one can is enough, and refit/enjoy. If you need a particular color then any decent paint supplier will match and mix you a rattle can. Pictures are a before and after of a Dodge fire truck wheel

-
A bulldog Taking Shape
paulbrook replied to paulbrook's topic in Antique and Classic Mack Trucks General Discussion
Oh and my Christmas present from my son - he made up a few left hand threaded wheel studs.
-
A bulldog Taking Shape
paulbrook replied to paulbrook's topic in Antique and Classic Mack Trucks General Discussion
Separate cylinder heads appeared in 1925 or 1926 I believe. This is a 1929 so is the later engine. -
A bulldog Taking Shape
paulbrook replied to paulbrook's topic in Antique and Classic Mack Trucks General Discussion
Oh and I know - I still have one long stud to make for that spring... -
A bulldog Taking Shape
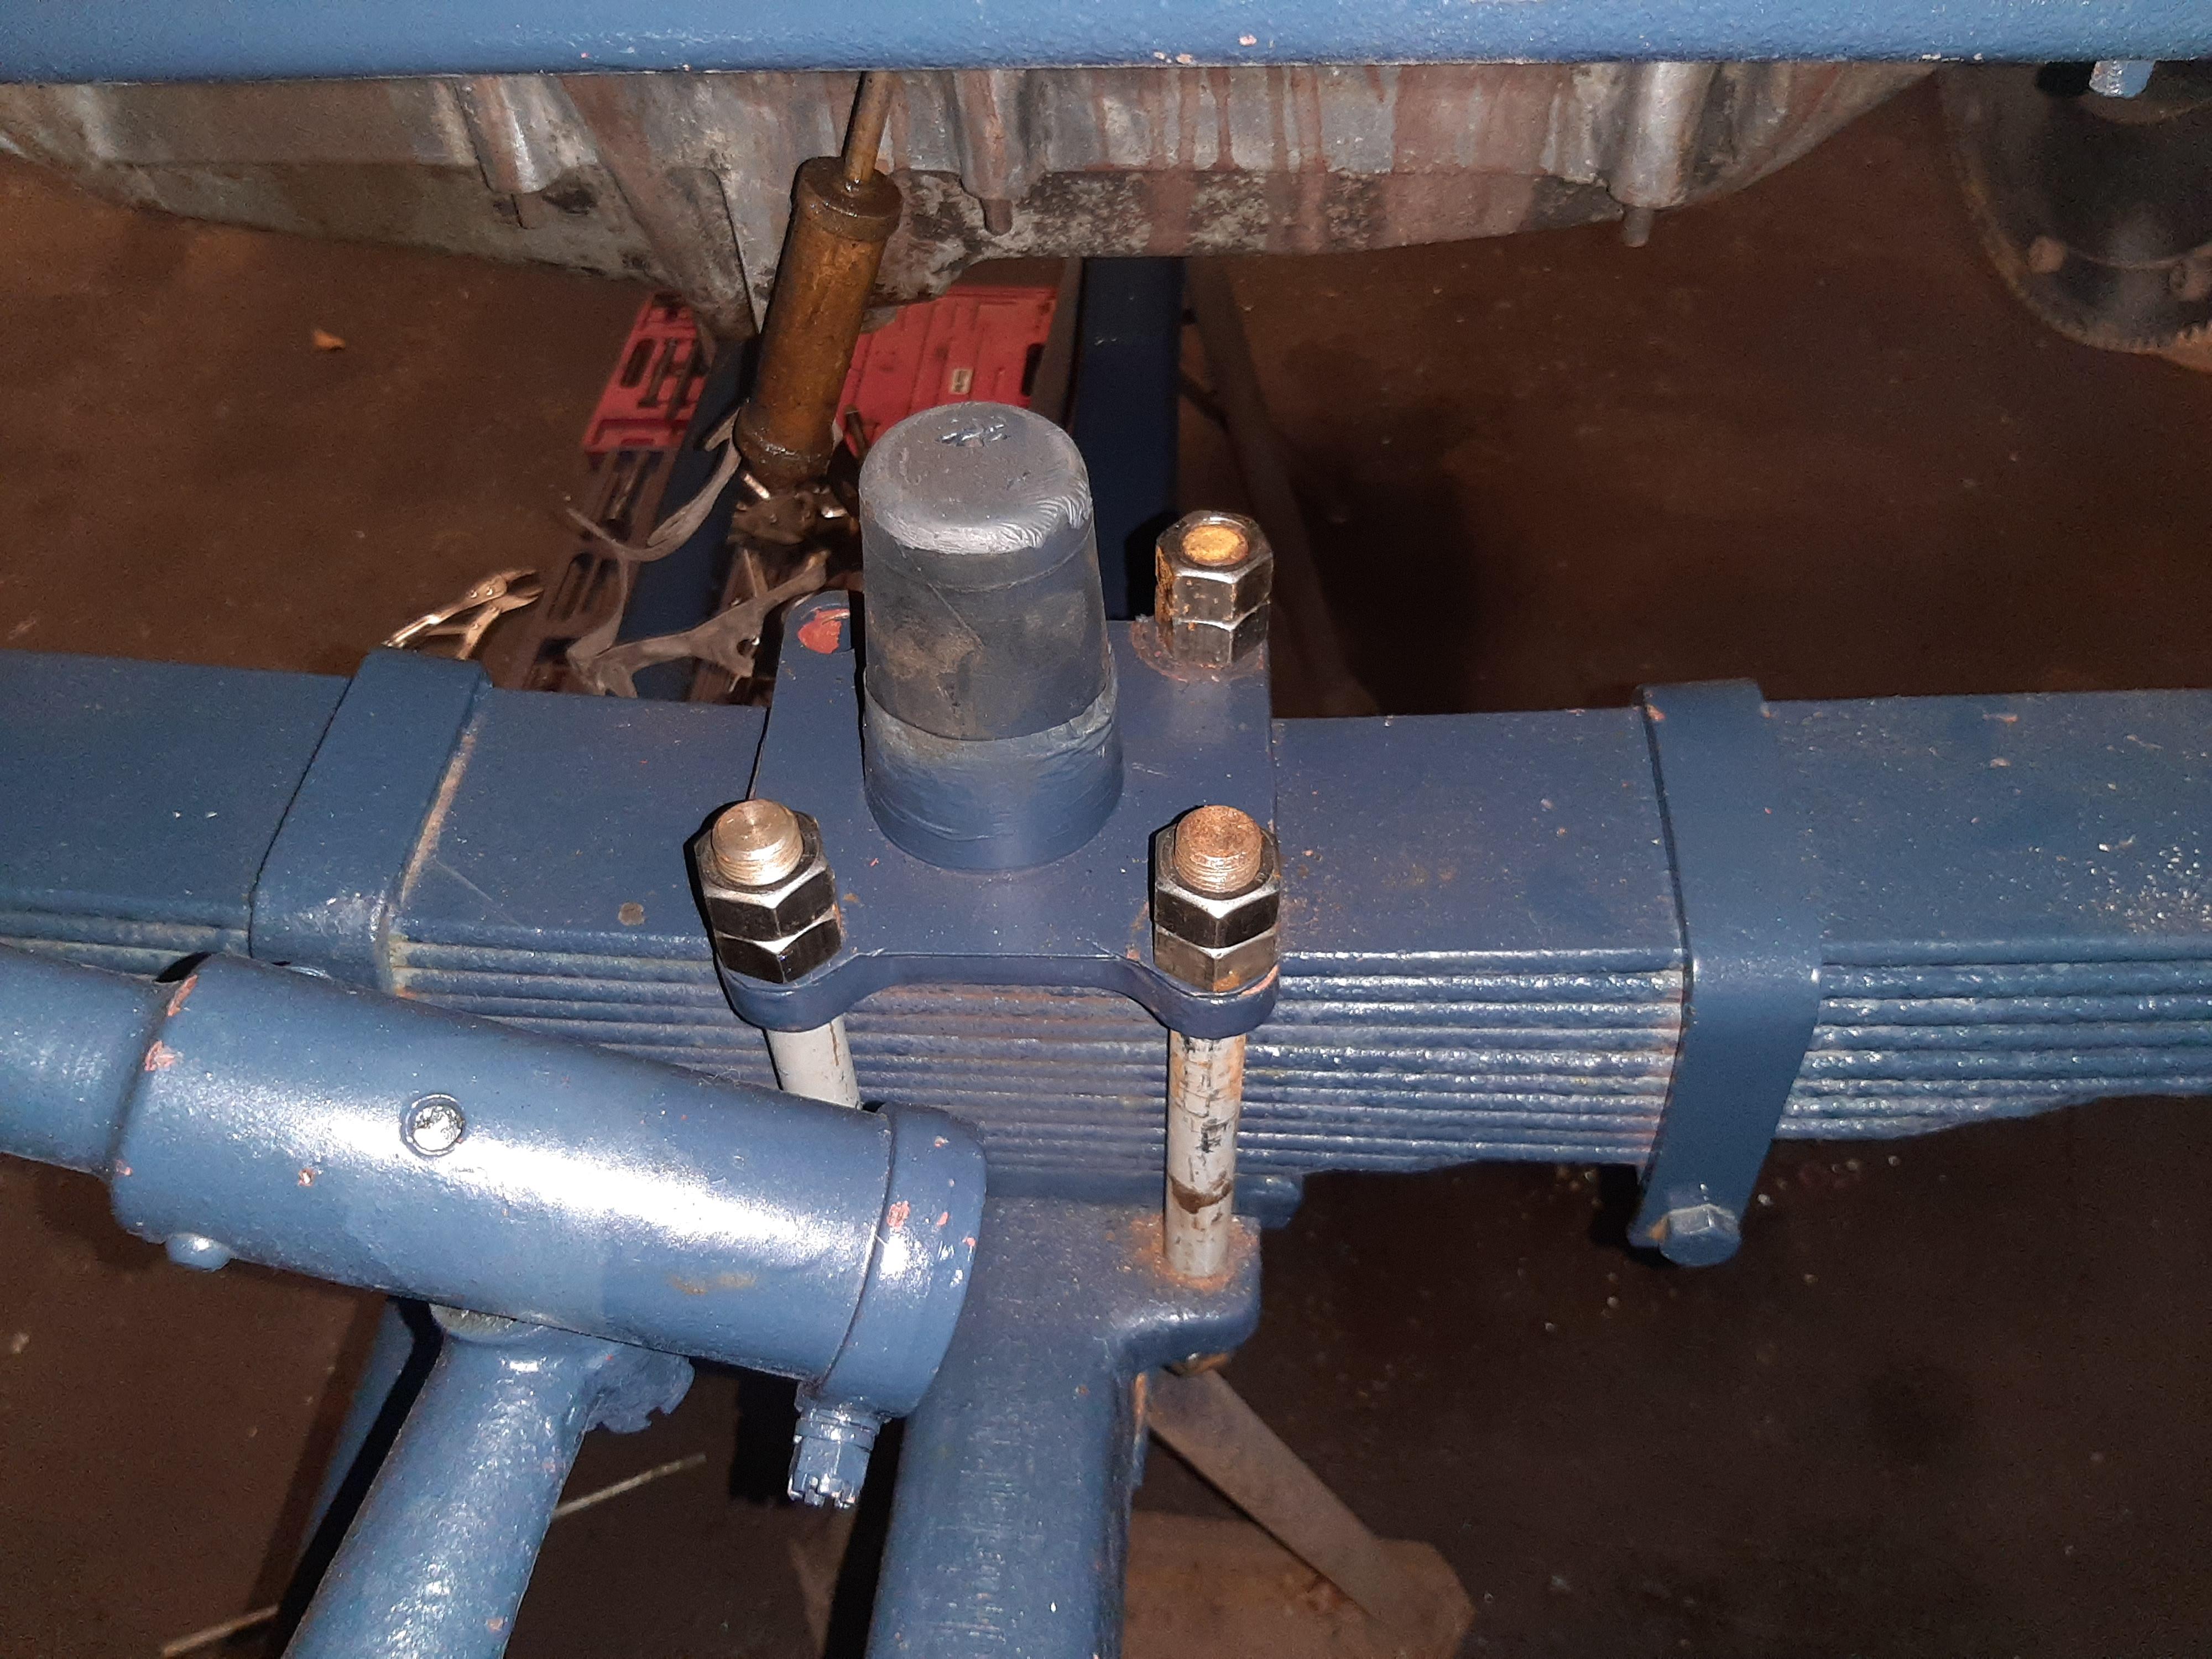
paulbrook replied to paulbrook's topic in Antique and Classic Mack Trucks General Discussion
The springs are great - although I have had to re-make a couple of clips and re-do the bump stops and long studs. Today I have been hooking up the brakes. All mechanical, the footbrake operates bands on the ends of the jackshaft, the hand brake operates the rear drums. No front brakes. Most of the (many ) pivots and pins were worn, so I have reamed everything out and made up all new pins slightly oversized. Next job is to move the gearbox over slightly, it is about 3/16 out of true. One of the most remarkable things about this truck is the engineering that went into into it in the first place. Tolerances are close, and everything fits tightly. It is a joy to work on.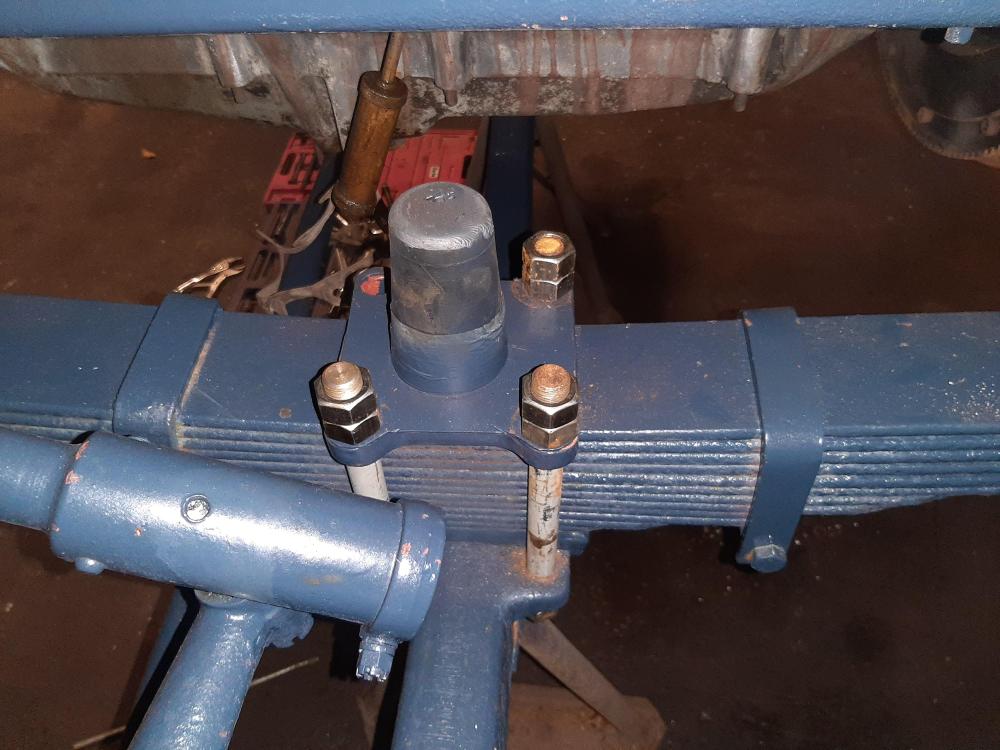
-
I will have a spare rear end off a 1949 LFSW?
-
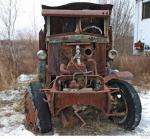
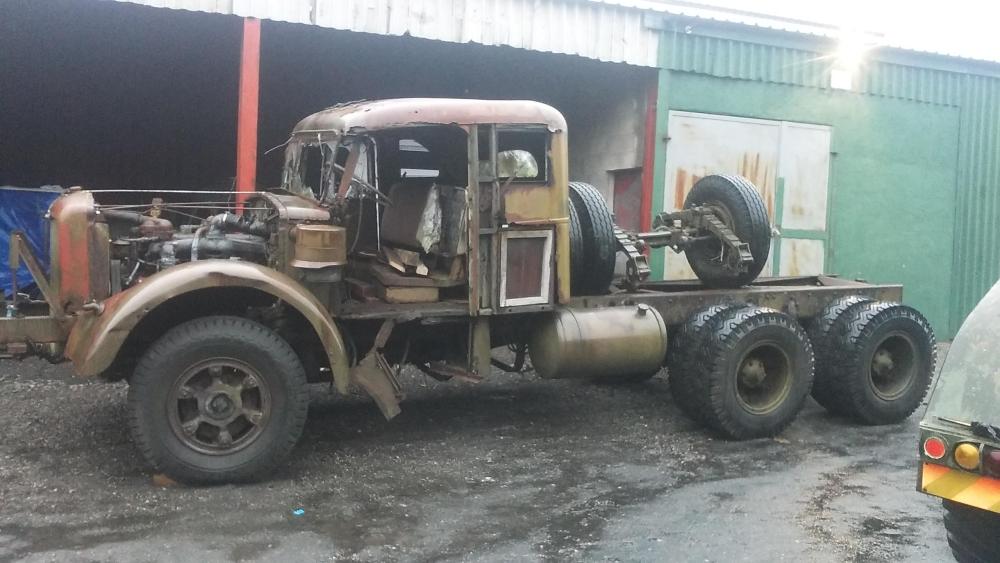
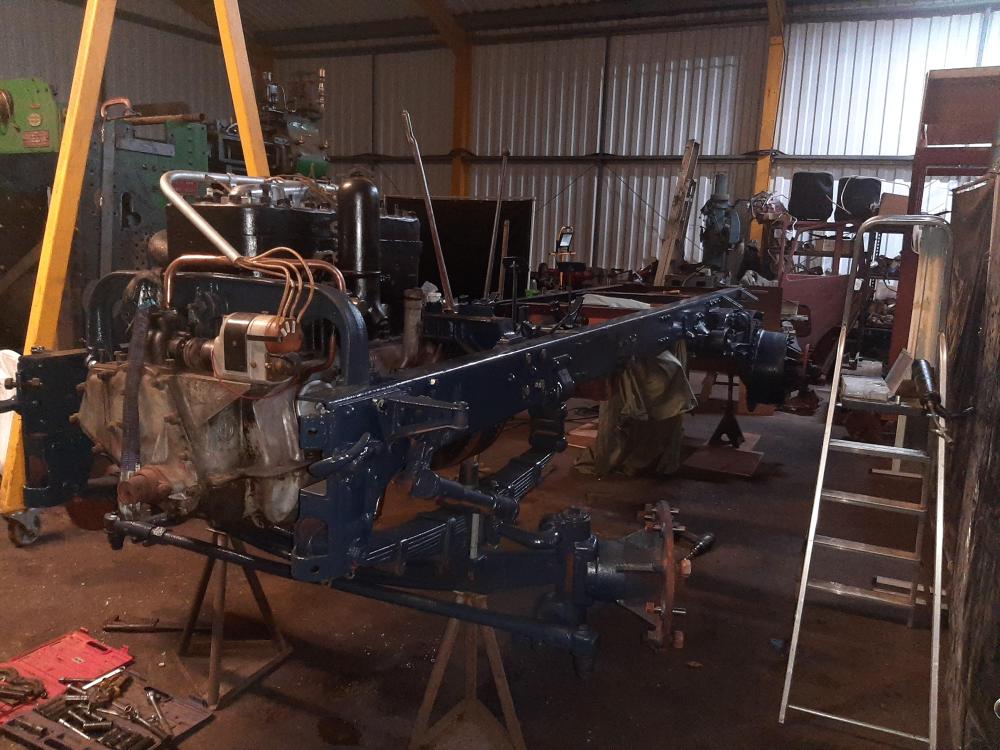
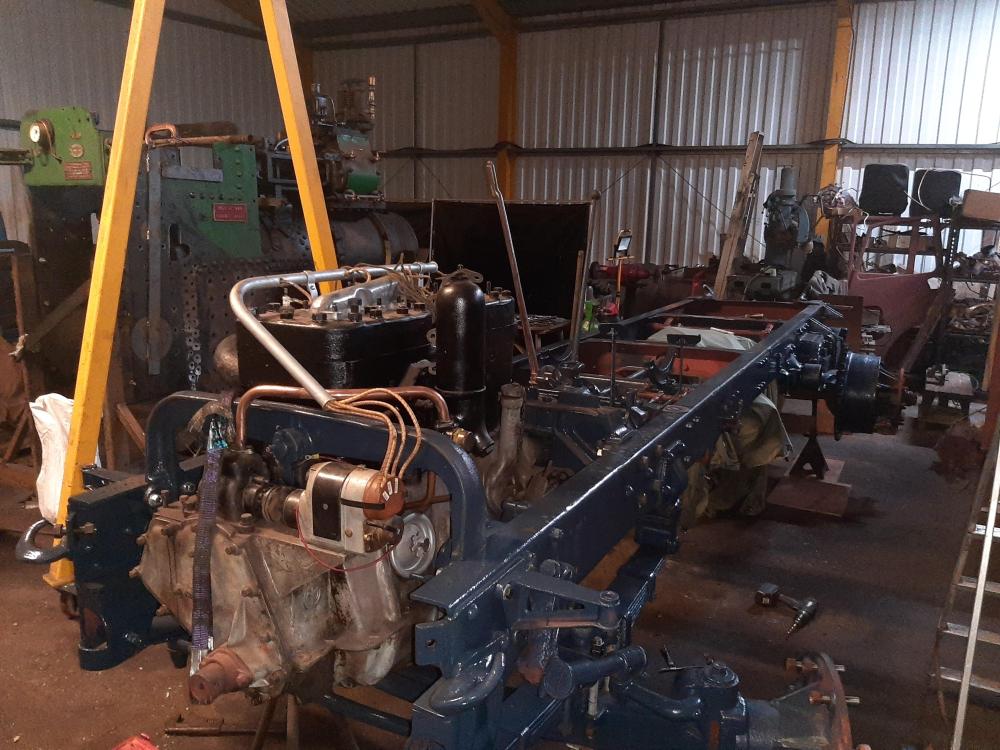
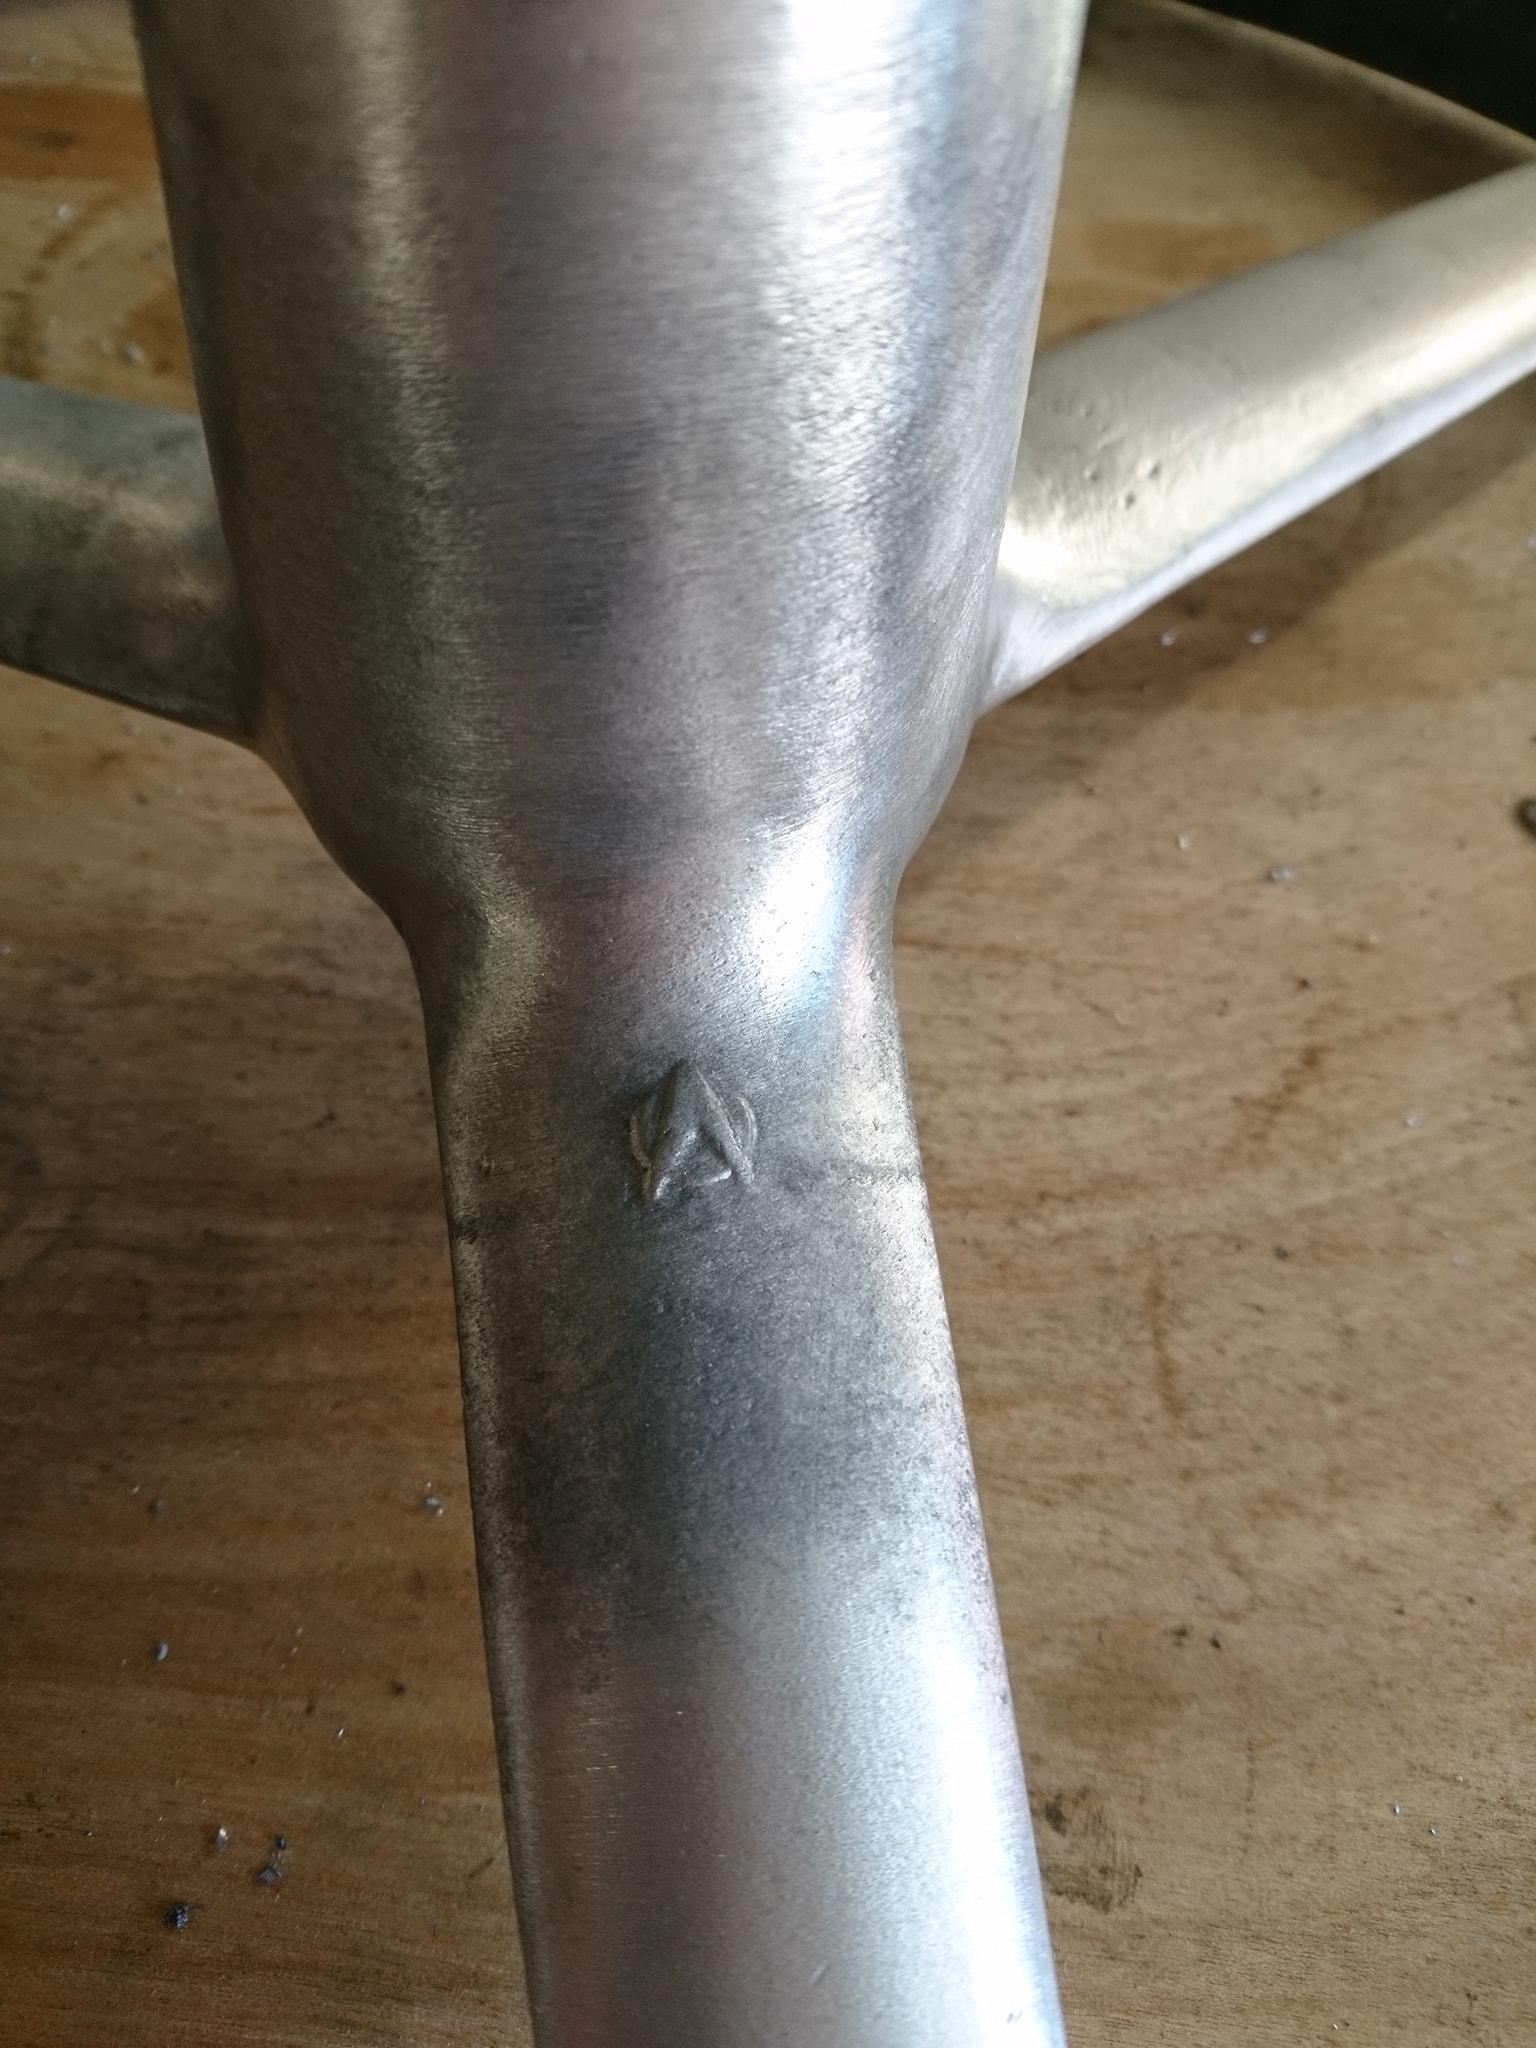
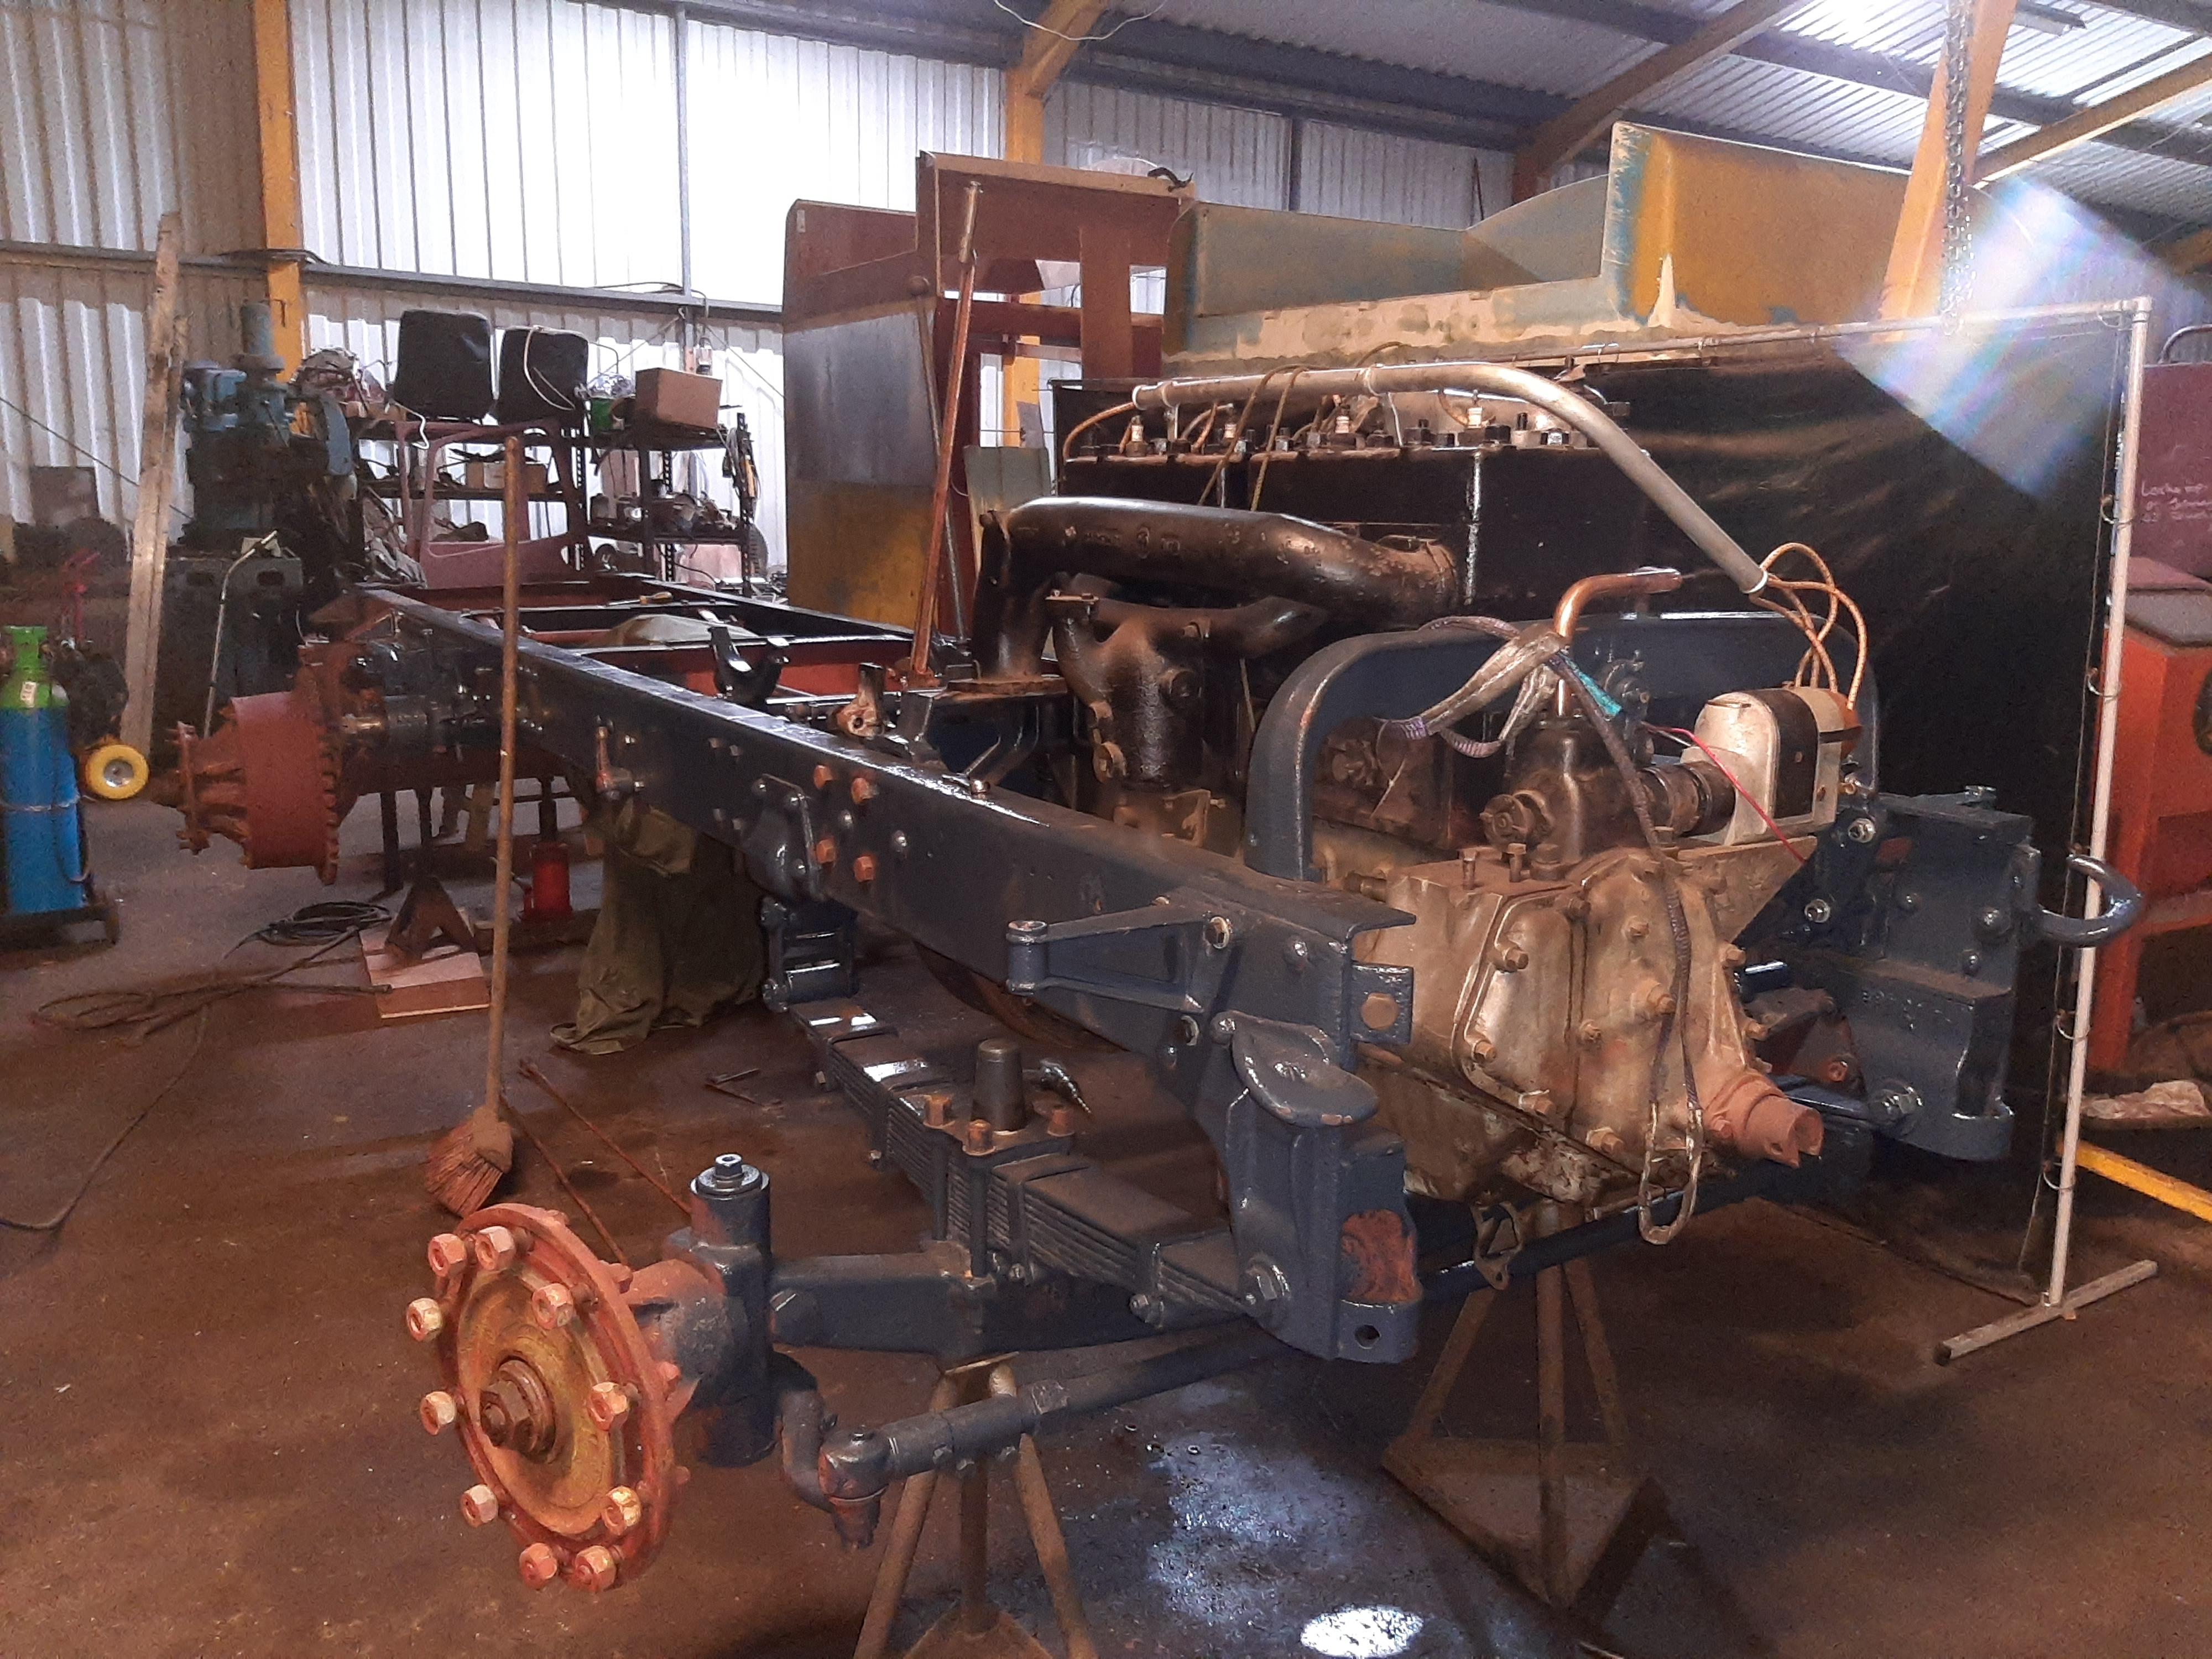
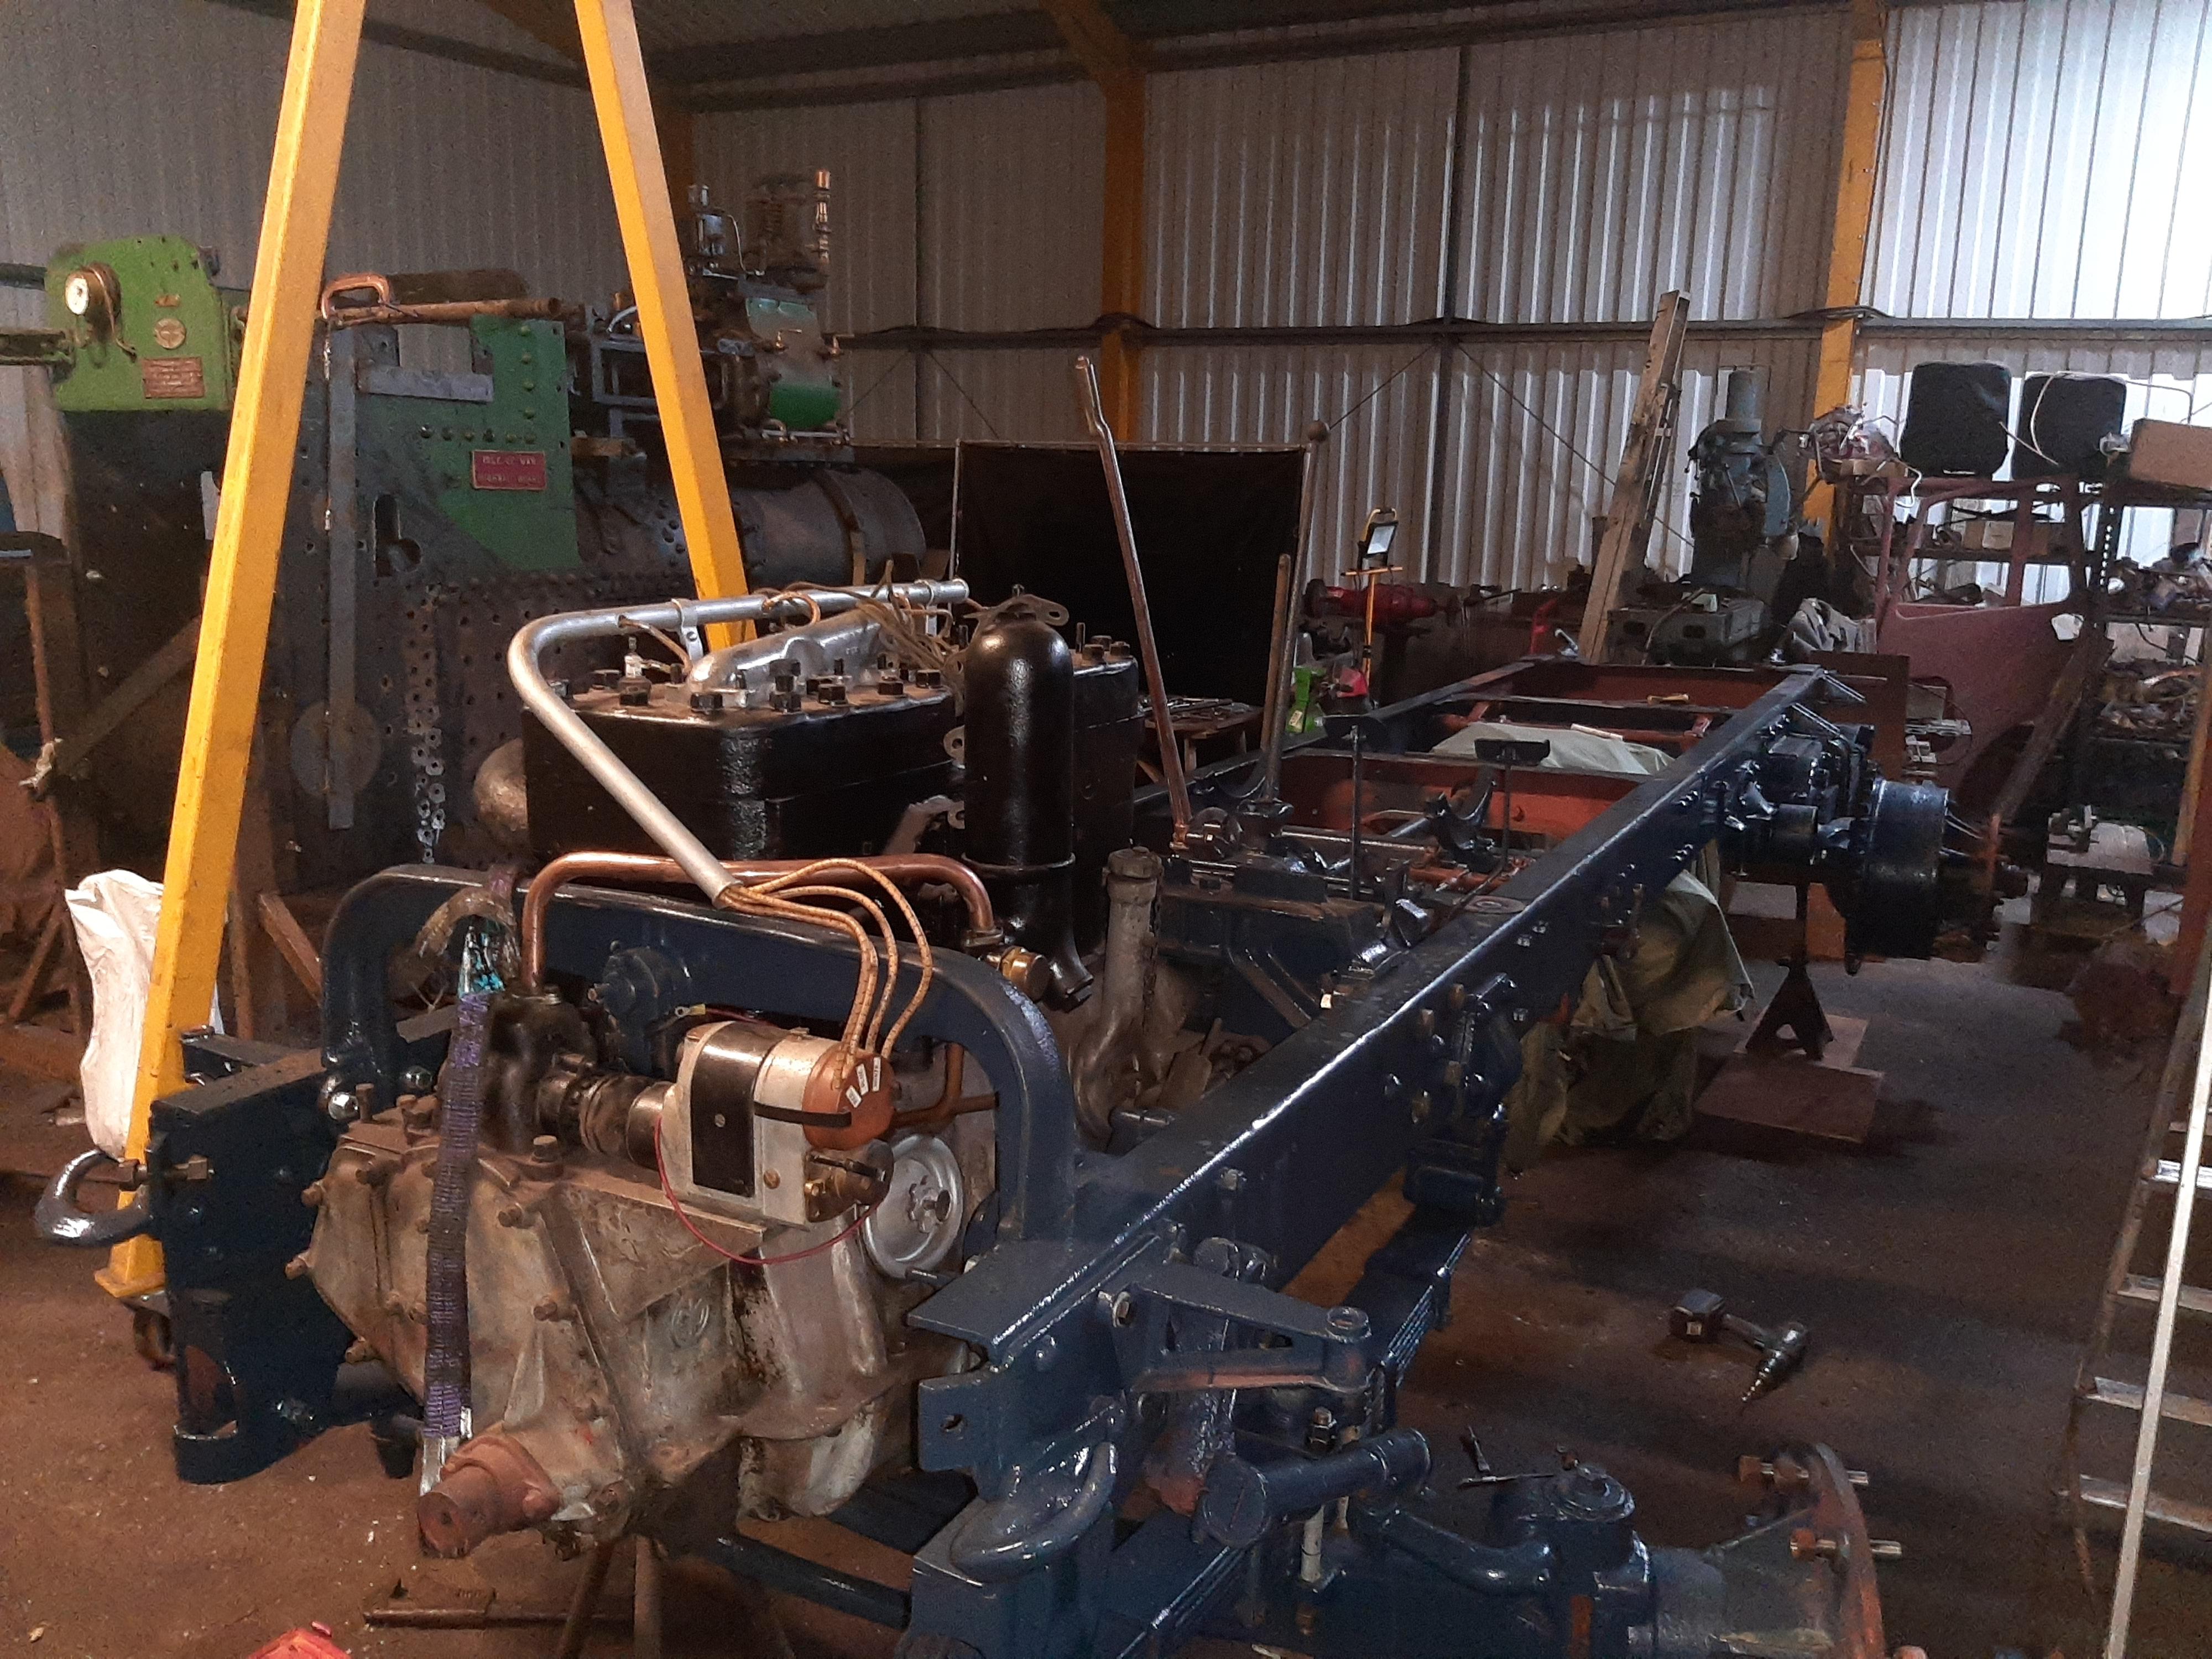
With the engine now converted tyo electric start and running well I have taken a bit of time out from bolting other folks trucks together to start bolting my own 1929 AC together. The engine and gearbox are now in, so piece by piece I can get all the linkages and levers mounted in place. I have put a little paint on here and there in the places that it will be tricky to reach with the big lumps in but will be giving the whole thing a few more coats of paint when the chassis is more complete. By the way - best wishes to everyone for 2022.

-
1927 MACK AB
paulbrook replied to kperry's topic in Antique and Classic Mack Trucks General Discussion
I have just completed (and test run) a converted AC engine. Relatively straightforward as long as you have access to a decent lathe. We decided to machine the flywheel in such a way that the ring gear sat in a rebate so that the outer was the same diameter as the flywheel. We then 3d modelled and 3d printed a starter mount before casting it and machining it. We machined it deliberately to require shimming to ensure the correct meshing of the starter pinion. Because we are in UK I decided to start with a suitably sized ring gear (which, incidentally bolted on rather than being shrunk on (although we did machine the flywheel for a press fit) then sourced the starter motor to suit. In my case I went for a truck set up and 24v, so if required I can jump start it from a (modern) truck. Video here:(11) Facebook


BMT Forum Logo
