

Vladislav
-
Posts
7,830 -
Joined
-
Last visited
-
Days Won
76
Content Type
Profiles
Forums
Gallery
Events
Blogs
BMT Wiki
Collections
Store
Everything posted by Vladislav
-
Welcome to the forum! Vlad
-

Need help. How to install 14" two disc clutch?
Vladislav replied to Vladislav's topic in Engine and Transmission
Ok, I see. I turn off the two bolts at the ends and remove the center one, right? But what to wind or spin or turn after that? -
Need help. How to install 14" two disc clutch?
Vladislav replied to Vladislav's topic in Engine and Transmission
Thanks, got the sequence. Just never wound the winder. The particular Cruiseliner kept its stock cable until I stepped onto the clutch pedal for the first time. And broke its last two threads when I did that. So I bought 3 meters of common steel rope with a couple of clamps and made a "new" one. The floor still conteins a sleeve the cable goes through. But looks like it doesn't affect its operation by any mean. -
Need help. How to install 14" two disc clutch?
Vladislav replied to Vladislav's topic in Engine and Transmission
Thanks for the link. Read the most of the content but as I noted above still can't figure what and particulary how to tinker in the pressure plate to set my clutch. -
Need help. How to install 14" two disc clutch?
Vladislav replied to Vladislav's topic in Engine and Transmission
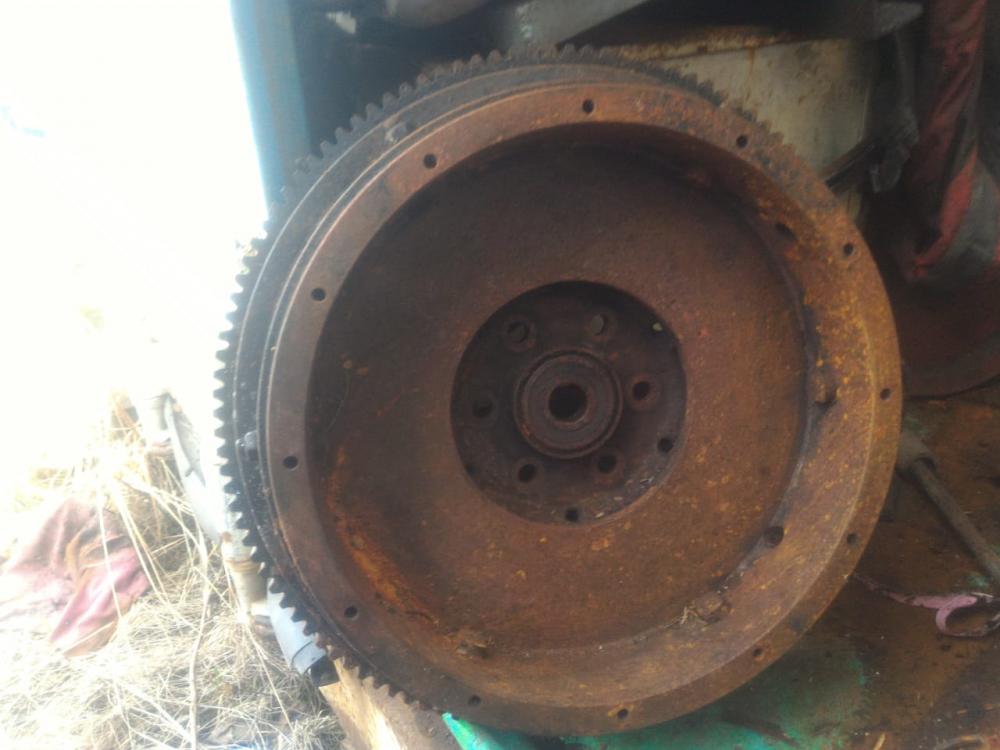
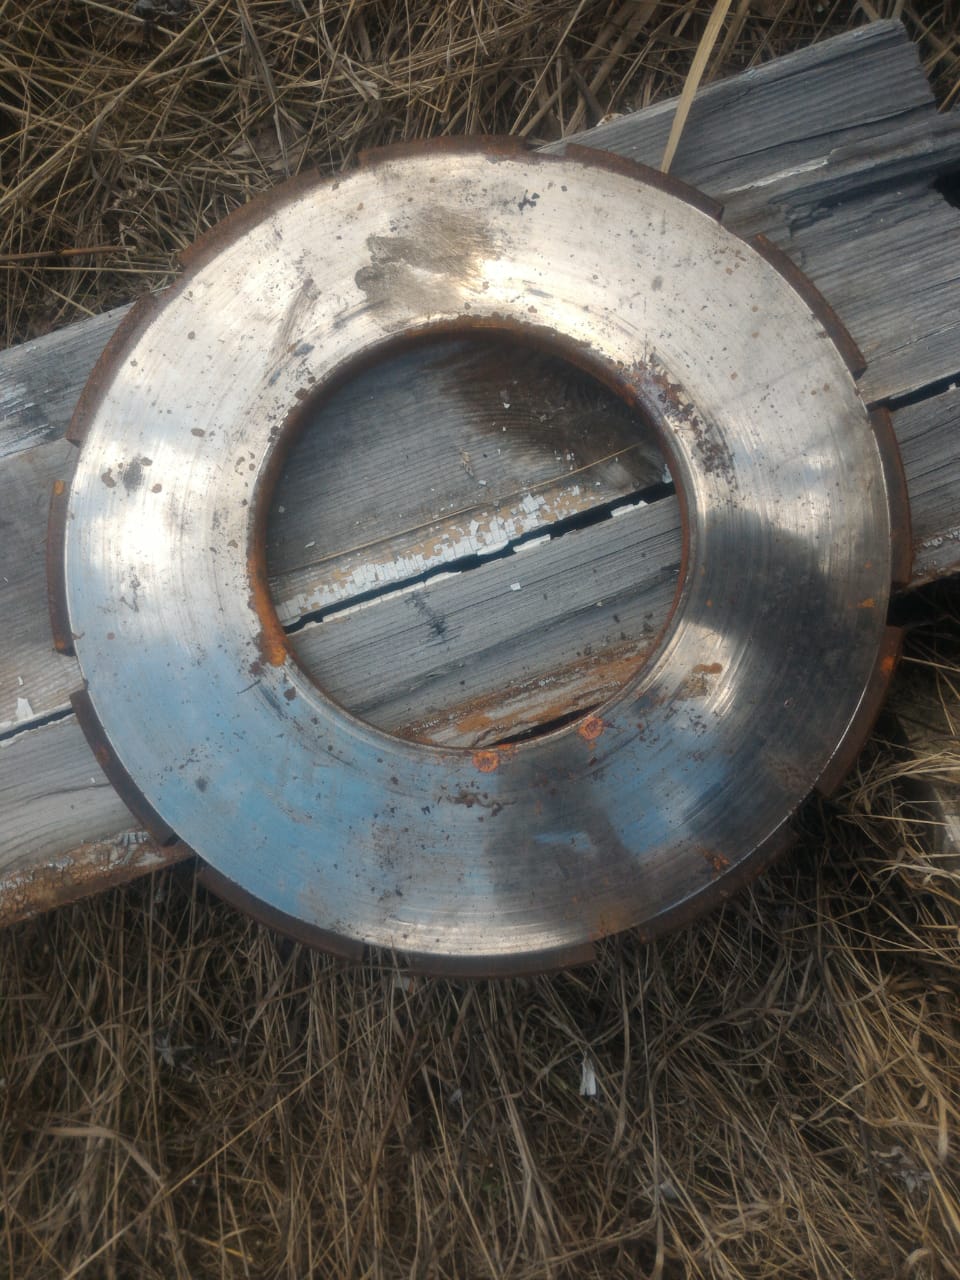
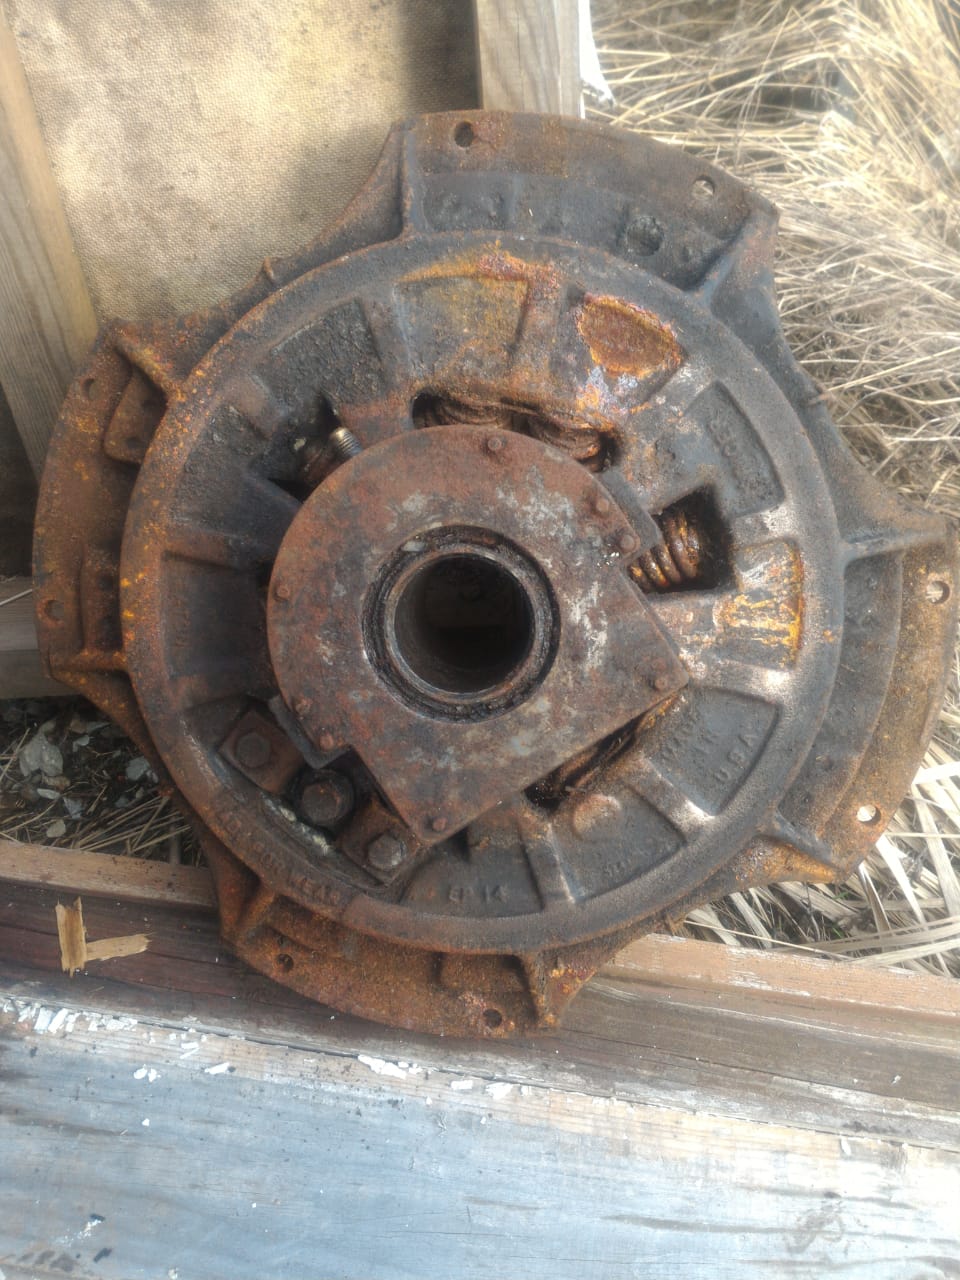
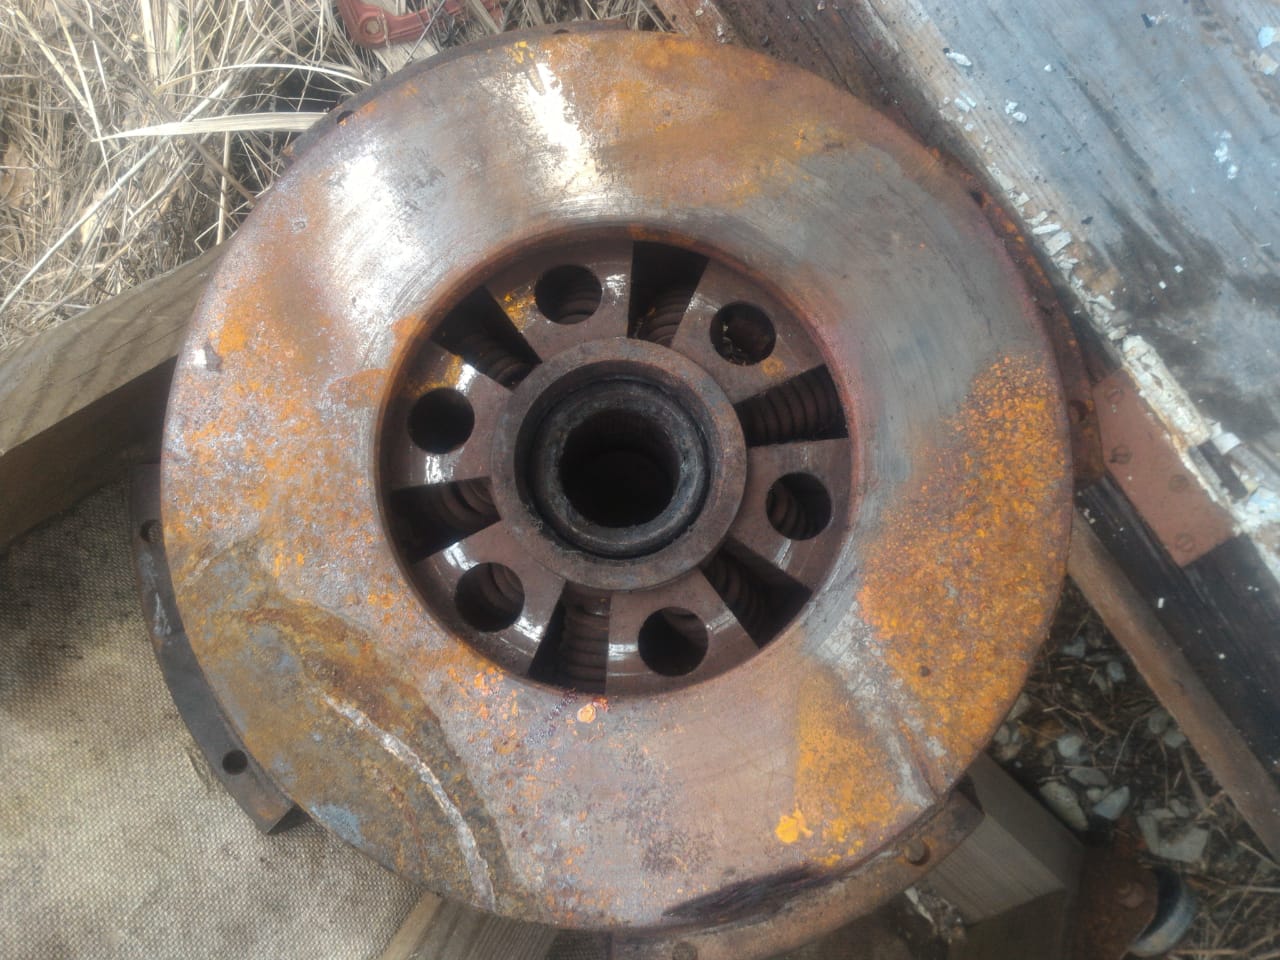
I'm going to take apart one of T2090 trannies to restore it for my R-model. So expexting to have one input shaft laying on a shelf. It seemed more difficult to me to install transmission with the clutch on the flywheel since more travel is required. But reading the literature I figured it's easier to fit a tranny with 15.5" clutch than a 14" setup since the intermediate plate gets its pins into the pressure plate on 15.5" and you don't need to correspond the notches and pins at the stationary flywheel. So having right equipment to fit a tranny seems more reasonable to first assemble 14" clutch onto flywheel indeed. The traces on the pressure plate were made by collapsed friction discs. Those were the original matter of the issue and actually the reason the truck was sold and found place at my yard It looked like the pressure plate survived but now I'm not almost sure on that. The discs position bothers me either no doubt. I well remember I checked the scripts on them and gave parts to my helper step by step while he put them in place. So all should be fitted right. But you have to doubt on every thing during investigation.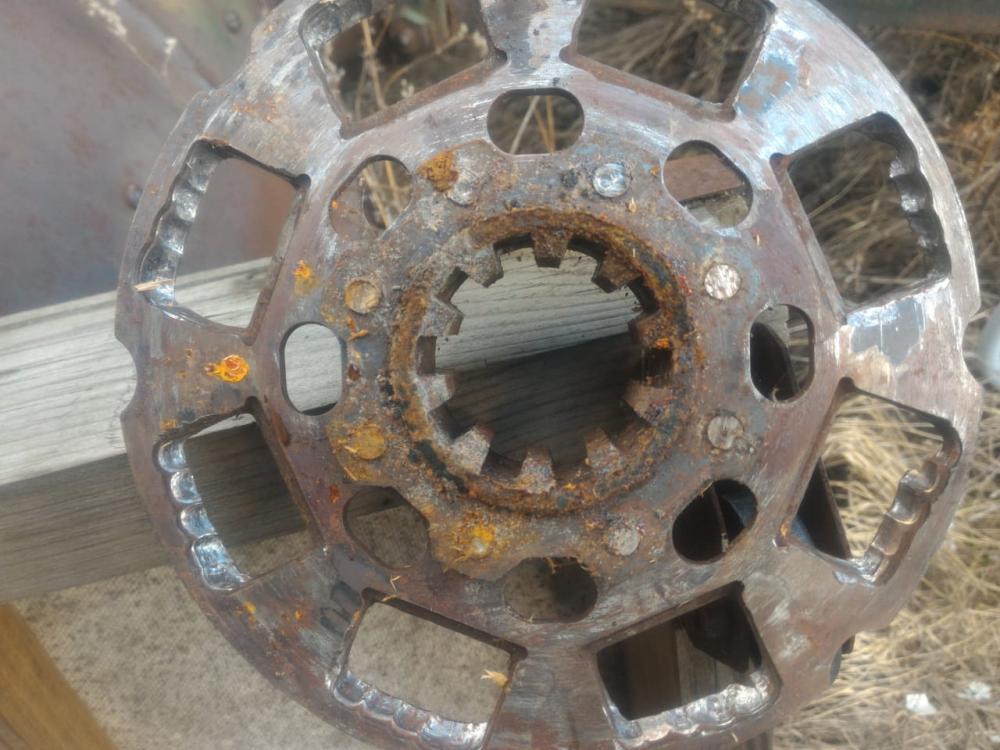
-
Need help. How to install 14" two disc clutch?
Vladislav replied to Vladislav's topic in Engine and Transmission
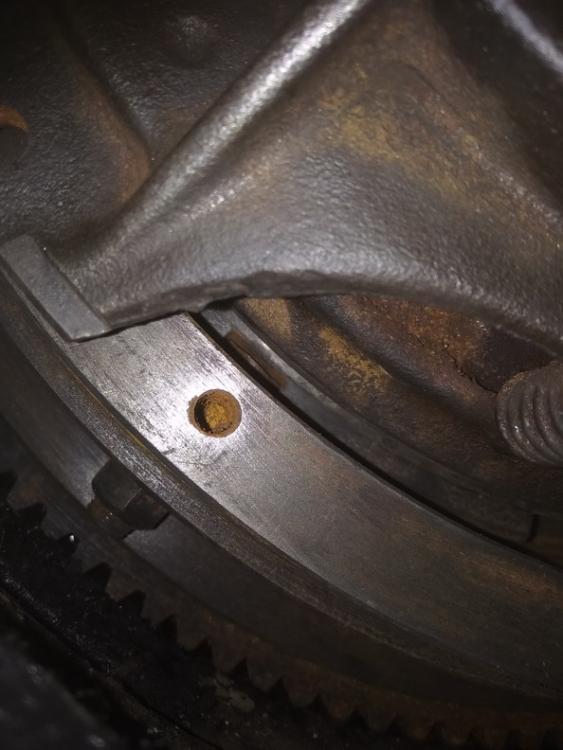
Hmm.. Pretty interesting suggestion. Sure makes sence. I just can't belive the clutch could be off the adjustment that much to make the bearing almost against the brake disc. Another point I still can't understand what particulary to do for the adjustment. Should I turn loose that big bolt (or nut?) at the pressure plate and than try to turn the part the bolt is in? Is that a big still ring inside the clutch or anything else? Does it usually turn free or supposed to get stuck by age? Just never did it before and never investigated the design. -
Need help. How to install 14" two disc clutch?
Vladislav replied to Vladislav's topic in Engine and Transmission
No, I didn't get that far along the job to achive ajustment Layed on a (wet and cold) ground under the truck today and got a look into the bottom inspection opening. What I saw was the thoughout bearing pulled off the pressure plate all its way down to against the clutch brake. There's a bumper plate at the front of the tranny housing suspended by 4 coil springs and it looked like the bearing already pressed the brake disk to it. And it was not forced rearwards by the yoke, more looked like something behind the pressure plate (inside the clutch pack) pressed the bearing out. Currently I'm on a scale between pulling off the tranny and rest the truck as it is till the next spring. It's parked not the way I like but the temp is a few degrees above the freezing point with light rains. -
Need help. How to install 14" two disc clutch?
Vladislav replied to Vladislav's topic in Engine and Transmission
Thanks for the idea. When I investigated the discs, they had scripts printed, such as flywheel side and pressure plate side. I followed those directions as long as i remember. But currently have to get to some doubts on the correctness indeed. Never installed a two disc setup before. And only my 2nd time assembling the pulling type clutch at all. -
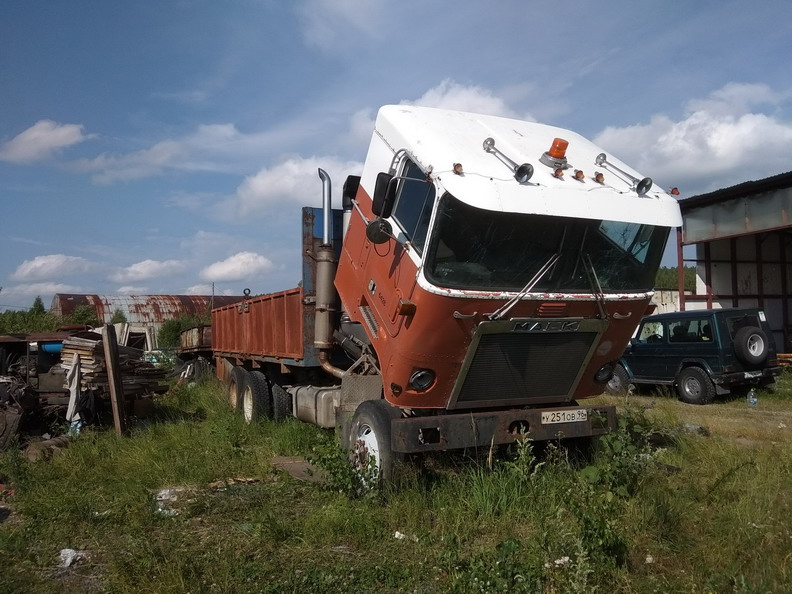
I had in issue assembling a clutch on Cruiseliner. When i came to the place the truck was parked the tranny was off laying on a ground below the truck and the clutch parts stored separately. Both discs were destroyed so i keept a pair of similar good used ones from home. Found out the pressure plate, flywheel and intermediate plate rusty so had to clean the parts and grease where they should be. Than the following steps were done: put the flywheel on the crank end. On the tranny's spigot I hanged a clutch brake, pressure plate (with though out bearing grease nipple up), one disk, intermediate plate, than second disc. Managed the pulling yoke to get behind the bearing shoulders. Lifted the tranny, put on the engine, pulled by a cargo strap to the flywheel housing, attached mounting bolts all over it Than dove below, put bolts into the pressure plate holes through the botton opening and evenly tightened them up while turning the flywheel. Ended up having the pressure plate not completely on the flywheel housing, figured the intermediate plate didn't correspond its ditched with flywheel inner pins. So had to turn the tranny bellhousing bolts slightly loose, put some drift or a screwdriver against the edge of the intermediate plate, turned the crank a bit and heard "kling". After that the pressure plate got completely down to the flywheel so I could tight its bolts. Retightened the tranny to the engine, also could slick my phone into the rear opening and made a couple of photos where the plate ditches seemed corresponding with the pins. All in all looked Ok but when I tried to set the clutch pulling cable I found out no pedal travel. You pressed the pedal but it was like a stone. At the moment I hadn't time anymore so loaded the truck by crane and transported home. Now I'm going to figure out the matters and hope to fix the issue. So all possible tips and suggestions are strongly appreciated. Vlad


-
Wasn't that a porch ashtray?
-
Yes, they also differ by the look of their face. Some ebay sellers point out the size is small but many don't. Also I noted multiple styles of rough newly(?) made bulldog mascots which look poor when up close. Many even have their rear legs cast together. So process of buying requres care and attention to the details. So far the only "wrong" dog I purchased was my very first attempt when I ordered a brand new one. Everything was fine with it excepting new patent#. Just not a correct style for the vintage my R-model relates to. Put it on a shelf.
-
I would. But the matter of the issue is you must be a US resident (Ok, citizen) to vote for the US president..
-
I checked this thread to figure out who Biden is since local media tell he wins pre-election popularity. The actual reading made me damn laugh and I even stopped myself on putting likes on some of the posts just feeling that all is not my business. At least I don't have dogs in the fight. Wish you to have that man as a president who more cares about people who produce than who consume.
-
Nice looking Superdog, good luck bringing it back to live. The fasteners in the floor panels were used of two kinds. Those you bought attaches over the floor opening to fit the removable section of the floor (your pedal bases attached onto). The bases themself could be fitted to the same clips (and maybe they are if I'm wrong) but what my memory tells there's different style of nut inserts. Also a square nut but "wrapped" by steel with two shoulders you put into the square hole in the floor panel. I think they're called nutserts or insert nuts but not sure (sorry, English is not my native language). Also I think I saw them on restorationspecialities.com offered in different sizes. Actually I also need to order them but haven't determined the size. My old nuts are laying on a table in the shop but I haven't got to them so far. Vlad
-
Cleaning inside of fuel tank.
Vladislav replied to hicrop10's topic in Antique and Classic Mack Trucks General Discussion
We did that kind of shaking. Hanged a tank on a pair of cargo straps, poured 10 liter of diesel in it and addad half a bin of gravel. Than shooked back-forth by hands. I had two young guys hired at the time and they did gym with the tank for 3-5 minutes a time changing each other. After 3 or 4 attemts they went to do something different and came back in an hour or so. Took them a couple of days for one tank (we made two) to get off rough rust but way not as after sandblasting. Of what I later read on here some folks attached a tank to portable cement mixer or a rear wheel of agricultural tractor and rest spinning for a few hours. Telling truth these ways seem to me more preferrable than shaking. Another possible alternative is cutting one bottom or a hole in the back side and sandblast through it.
-
As said above.
-
Looks like a common later series R-model cab to me. What's wrong with the existing one? From the pics it looks like a couple of spray cans could do the fix.
-
B-73 Restoration
Vladislav replied to mattb73lt's topic in Antique and Classic Mack Trucks General Discussion
Drool to see My only worry isn't the paint still soft to put attachments on? I prefere to wait at least a couple of weeks and better a couple of month (and a damn couple of years in many cases) besore to start bolting on. Difficult to resist playing the game and I try to find alternative tasks along the project. -
B-73 Restoration
Vladislav replied to mattb73lt's topic in Antique and Classic Mack Trucks General Discussion
I like the color of the floor Sure kidding. Congrats! Nothing cheers up that much as bright shine of freshly done paint -
New here! B60T project
Vladislav replied to SkippyMack's topic in Antique and Classic Mack Trucks General Discussion
I suppose the parts off a B-model firetruck engine (707?) would work there. -
I really like that green screamer with #38 on the doors. Wonder is that 3-71 or a whole lot of 4 in the engine room? B73 is really nice either. Thanks for taking time to share the pics.
-
Worth attention. 1970 - 25 years after WW2 ?
-
673 Parts Needed
Vladislav replied to h67st's topic in Antique and Classic Mack Trucks General Discussion
PAI supplys the most of gaskets for E6 2V and those are similar to END673 in many cases excepting the head gaskets which utilize steel fire rings. 673 water pump also crosses to many (or the most) later Mack pumps differing in possible locations of small fittings. I suppose the original END673 pump had graphite seal ring but later desings have modern rubber shaft seal. The latter is also avalible from PAI and other suppliers so you could find a used E6 water pump assembly and rebuild it using such seal and greasing the bearings. That's what I'm going to do with my R-model E6-350 pump. -
Cool! Nice to see it's done.
-
R-model cab resto report
Vladislav replied to Vladislav's topic in Exterior, Cab, Accessories and Detailing
The project is moving step by step. Unfortunately not really fast due to many other affairs which took attention. Currently all the soft skin parts are ready, 80% of the chassis parts are sandblasted/painted and ready to assemble, plenty of new parts bought, imported and are laying on shelves. Including brake chambers, airbags, different bushings, windshields, all the chrome trim including front bumper etc. Next big step is rebuilding the engine I already have the most new parts for either. After it's done the most extensive and "sleaky" job is expected - I will need to part out my running truck (yes, I have two SGT R's and one of them is still solid). The matter is I'm going to use a set of frame rails off it since found no other options. So plan is to prepaire as many parts off the donor truck as possible while the other is still running. Than part it out, work out the set of rails and start putting everything together while the iron is hot. No lees than a couple more years to tinker anyway.


BMT Forum Logo
