-
Posts
7,832 -
Joined
-
Last visited
-
Days Won
76
Content Type
Profiles
Forums
Gallery
Events
Blogs
BMT Wiki
Collections
Store
Everything posted by Vladislav
-
New wheels
Vladislav replied to mack4ever's topic in Antique and Classic Mack Trucks General Discussion
-

R-model cab resto report
Vladislav replied to Vladislav's topic in Exterior, Cab, Accessories and Detailing
Thanks, I will do -
They exist aftermarket but as long as I remember people commented them of bad quality on the net. A DM, U, F or even CF model door could be used to replace one on a R-model. The differences could be found in the mirror mounting bracket holes and also a steel strip to grind off at the bottom if you use a LH door off an offset cab truck (DM or U).
-

R-model cab resto report
Vladislav replied to Vladislav's topic in Exterior, Cab, Accessories and Detailing
Thank you for the idea Rob, sounds interesting. But honestly I worry to fill the rockers and other insides with solid foam. Should be good but difficult to figure a case if any rust show up and start spreading along a steel surface under foam. Or maybe I'm just not used to such situation. There should be no rust expected if everything is blasted/painted with no restovers of corrosion. So far I still prefere a more common method of spraying the insides with wax based protectant. Sound and vibration deadening is sure a good reason to use foam but rockers and different pillars don't seem as the sound soursing areas. I more lean toward expecting sounds from below the floor and firewall. -

R-model cab resto report
Vladislav replied to Vladislav's topic in Exterior, Cab, Accessories and Detailing
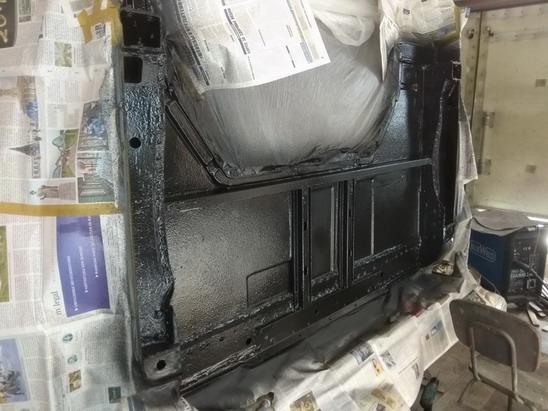
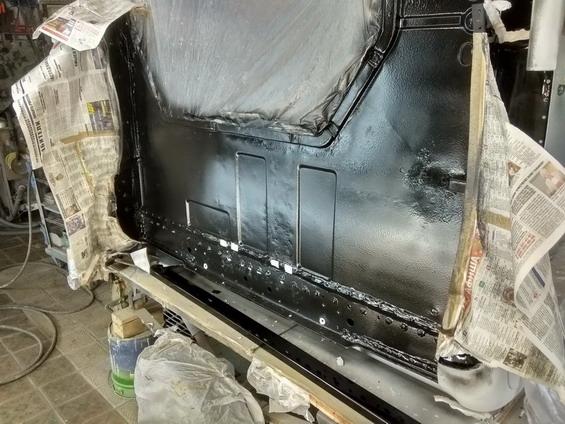
A bit more time passed and the whole floor underside was covered with spray body sealer and than painted for better water protection and easier dirt cleaning. -

R-model cab resto report
Vladislav replied to Vladislav's topic in Exterior, Cab, Accessories and Detailing
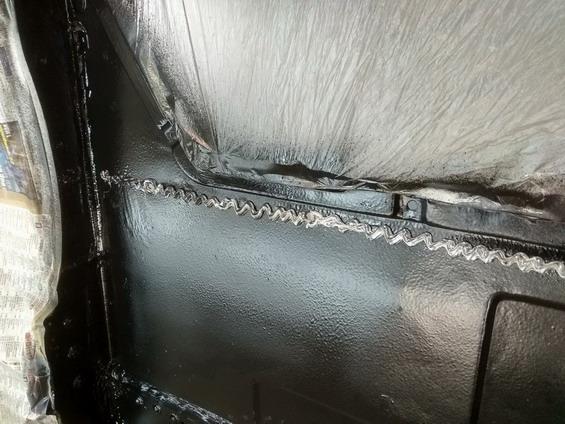
The body guy welded the rockers with door sills. Than ground the welds and put self-etch primer to the seam by brush so it spilled all along the gap. -

R-model cab resto report
Vladislav replied to Vladislav's topic in Exterior, Cab, Accessories and Detailing
-

R-model cab resto report
Vladislav replied to Vladislav's topic in Exterior, Cab, Accessories and Detailing
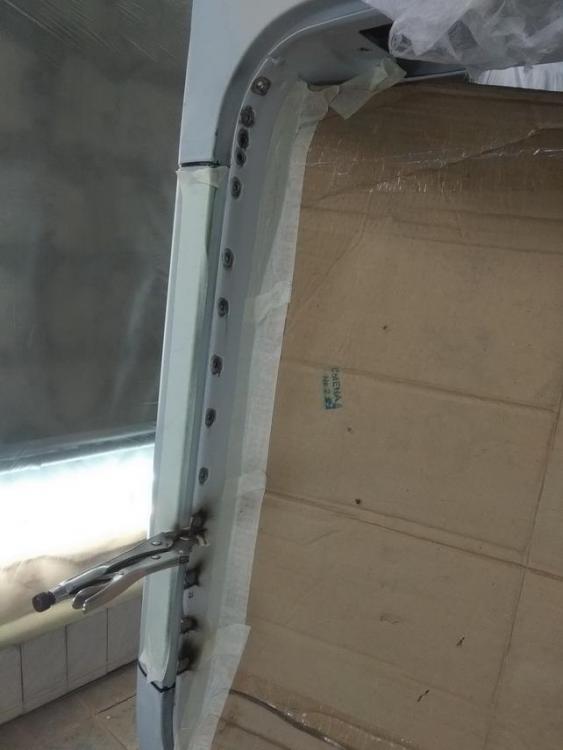
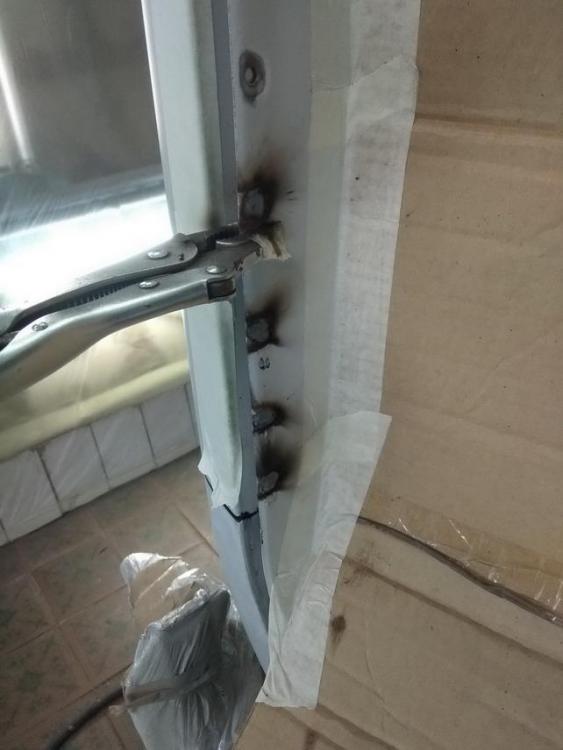
Prepaired to install the rocker panels. There was an issue I couldn't attach the upper edge of rockers to the sills with screws because of no place to hide the heads/nuts. So had to weld them there. Cheered up myself by being able to apply primer to the inside of the seam. Also that area would be along the top of the rocker inside and water collects along the bottom so seemed Ok. Ground paint off over the holes drilled for welds to not be burned up. -

R-model cab resto report
Vladislav replied to Vladislav's topic in Exterior, Cab, Accessories and Detailing
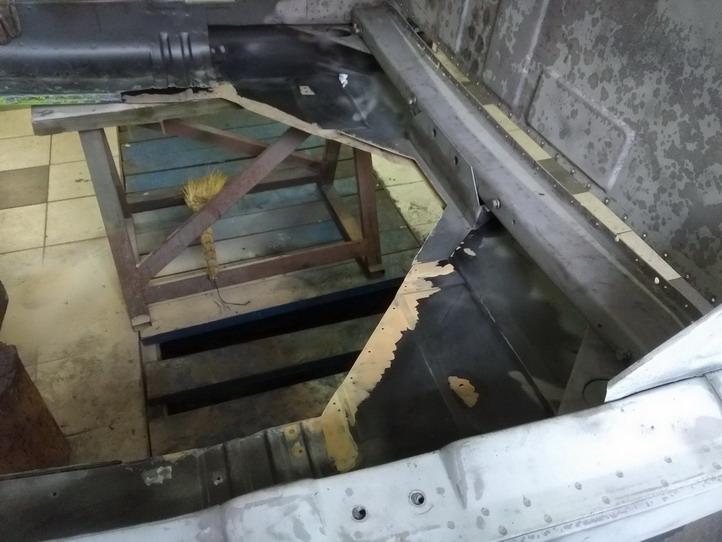
A layer of sprayed sealer was applied onto the floor underside. After that we could install the sub-structure. Put sealer, installed the channels and attached them with bolts and nuts as was designed. -

R-model cab resto report
Vladislav replied to Vladislav's topic in Exterior, Cab, Accessories and Detailing
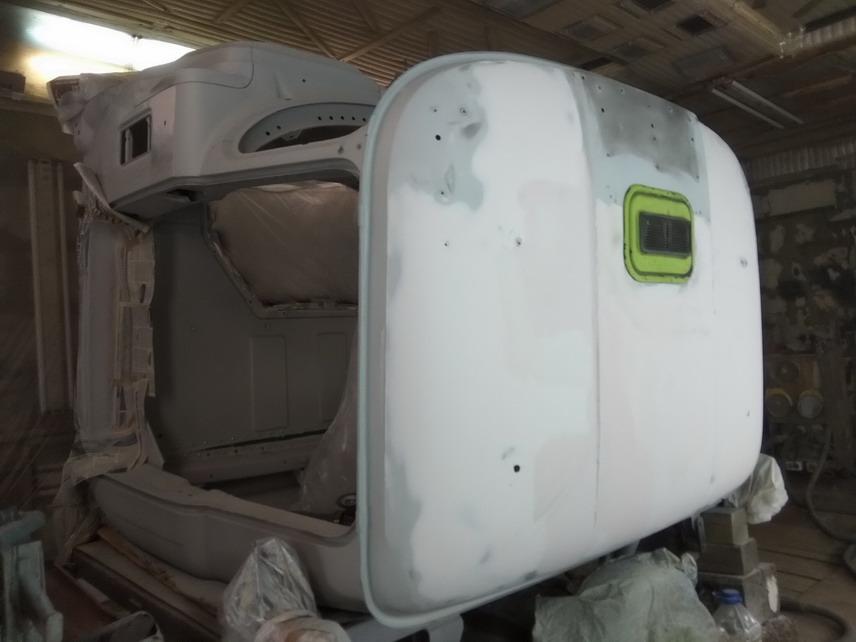
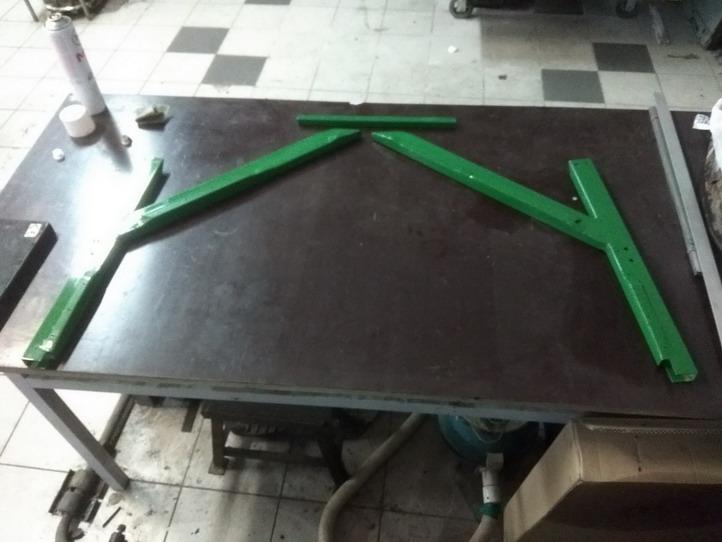
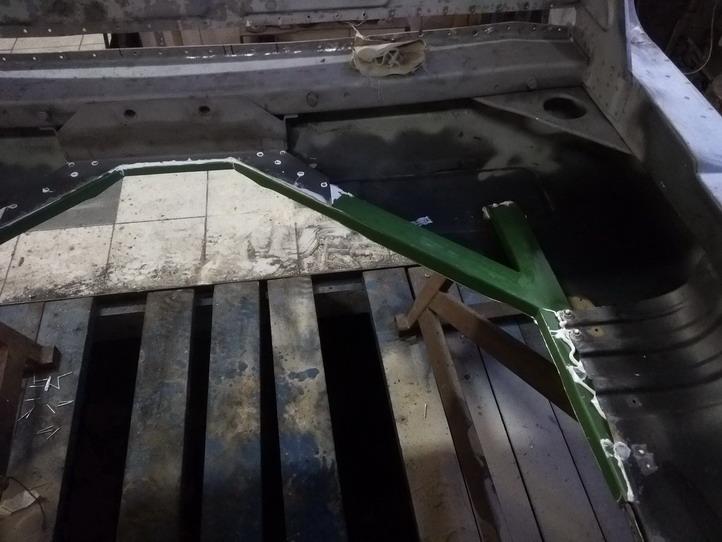
Installed the roof reinforcement strips. When I bend them I could achive some spring action of those since they were thick enough. So when in place they put tension to the roof sheet keeping it from flipping. Set them on body sealer for the same reason and for additional strength increase for a case if anyone would try dancing on the roof again until the time I see it and kill them. When the roof got supported the body guy could start applying filler on it to bring it back into the correct shape. -

R-model cab resto report
Vladislav replied to Vladislav's topic in Exterior, Cab, Accessories and Detailing
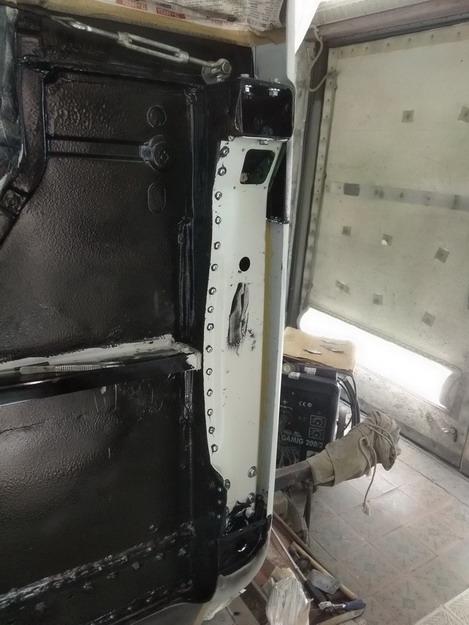
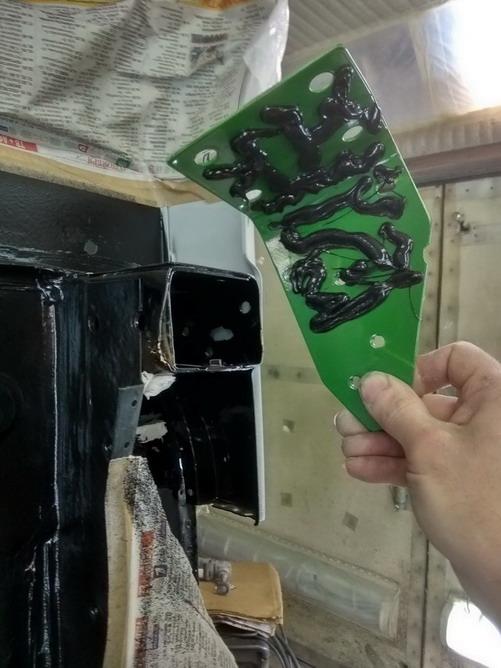
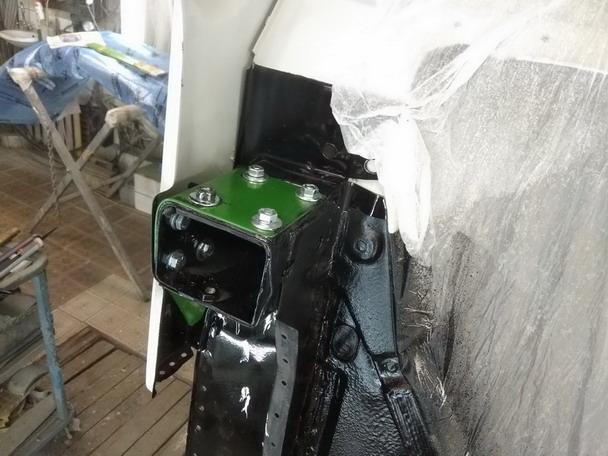
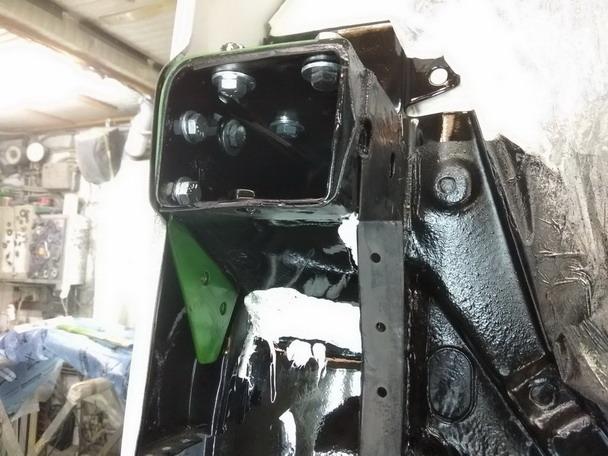
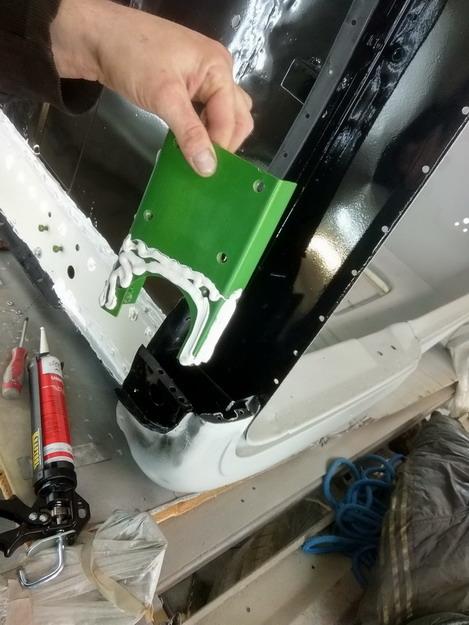
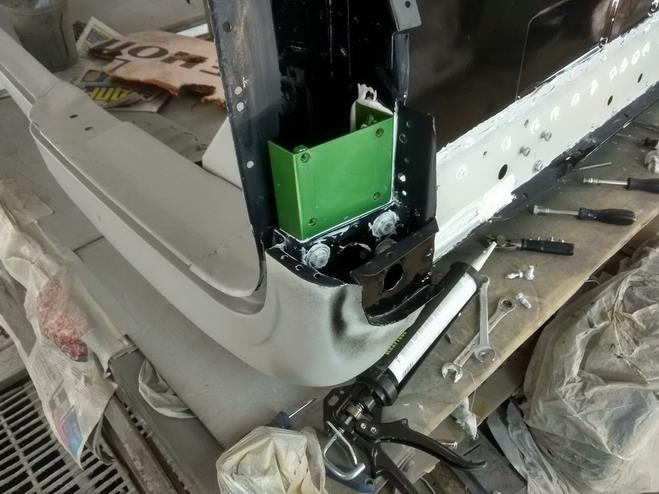
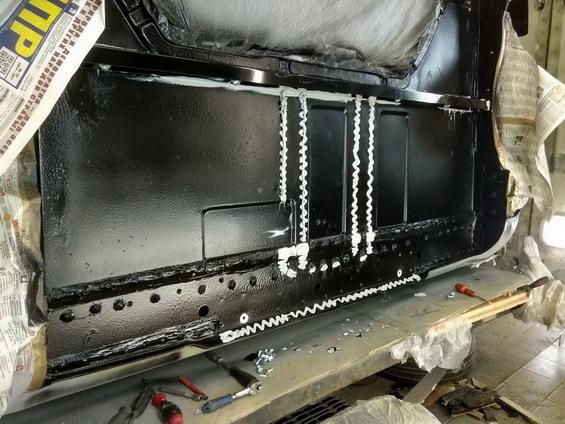
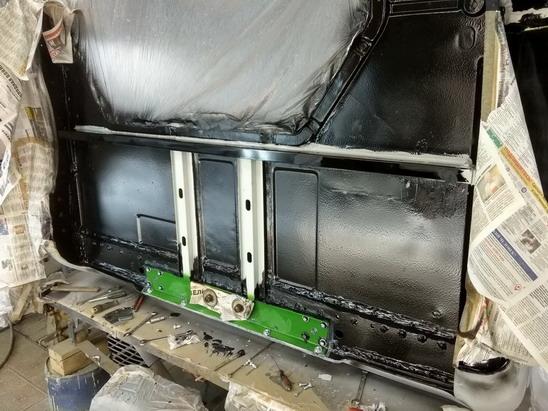
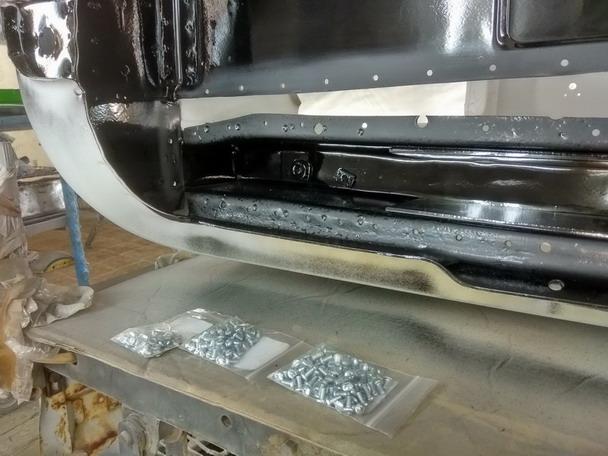
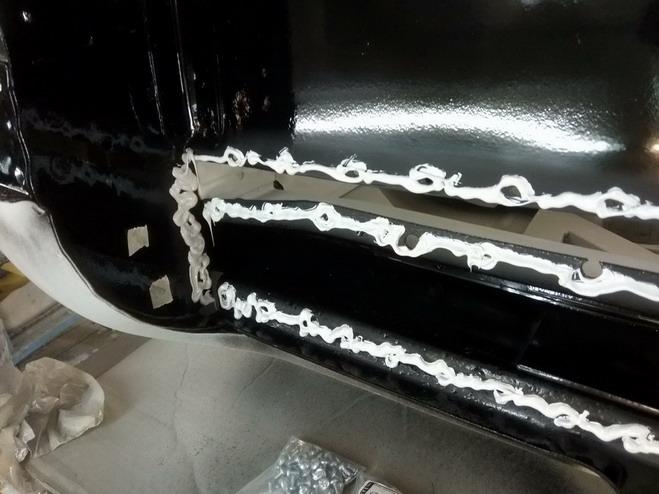
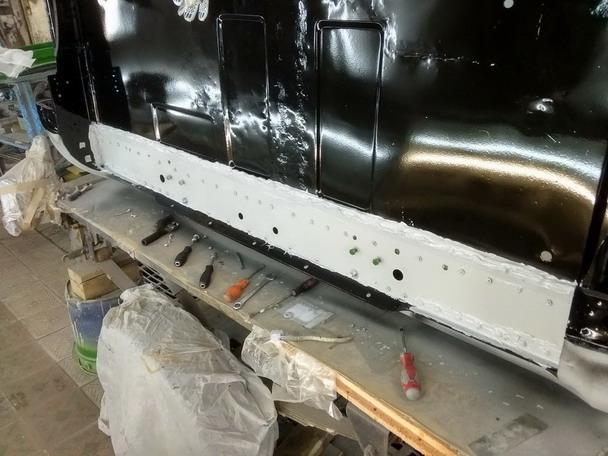
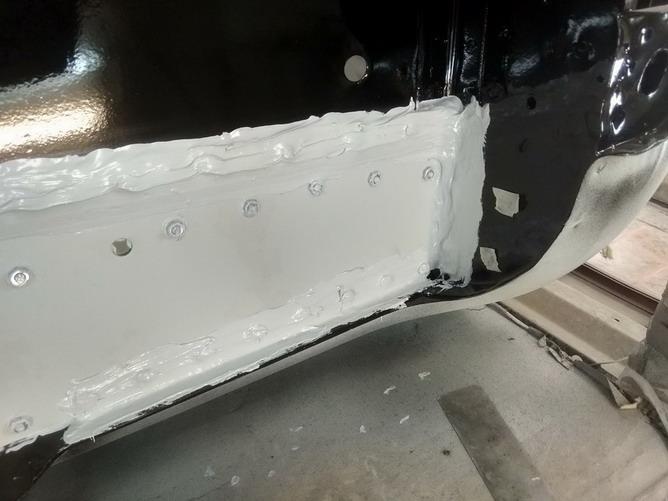
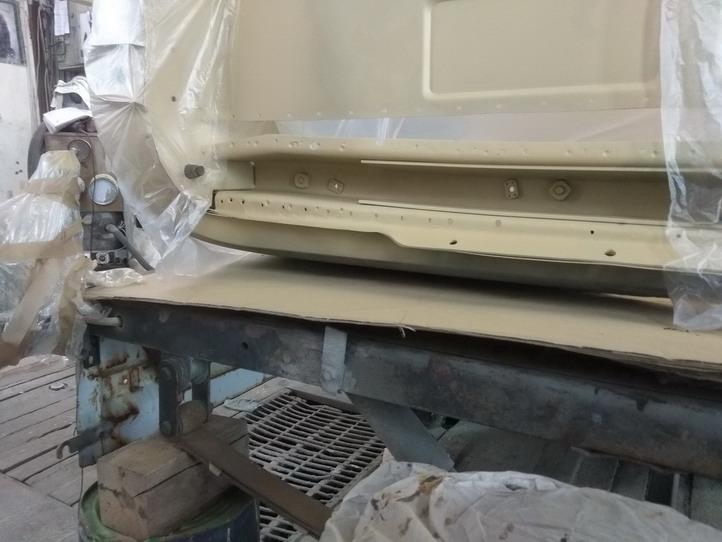
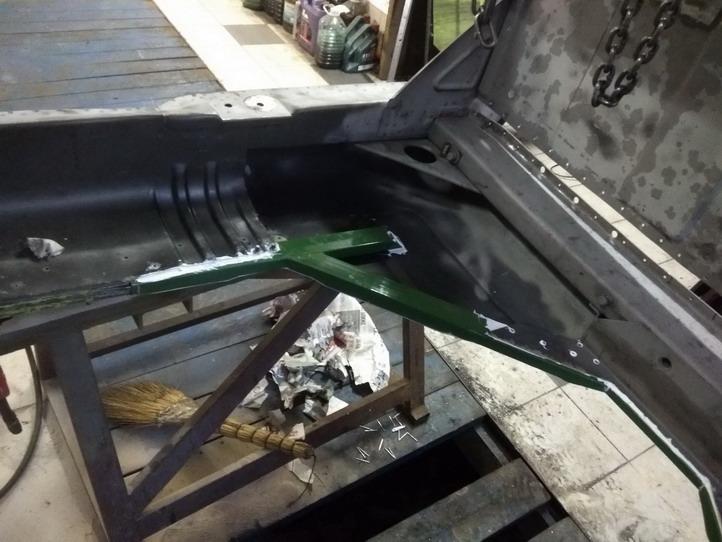
After the paint set hard enough we prepped areas to install a patch to close up the floor rear channel. The patch was also painted but on the side facing the channel inside only. It had happened when a lot of parts was painted it was not enough paint mixed so my buddy saved a bit of paint. The outer side would be painted later anyway so no issue. I just explains this point because the pictures show the patch covered with primer only. But in fact everything was under control I took my helper guy for two more hands in action. Being 3 in number we applied zig-zags of sealer from a tube, glued up the patch and attached it with half a hundred of 10-32" machine screws and nuts. Than smoothened up the excess of the sealer forced out of the seam by brush and added some onto the screw heads and other spots. Turned out as 30 minutes of hectic work with extensive solvent hand wash afterwards. -

R-model cab resto report
Vladislav replied to Vladislav's topic in Exterior, Cab, Accessories and Detailing
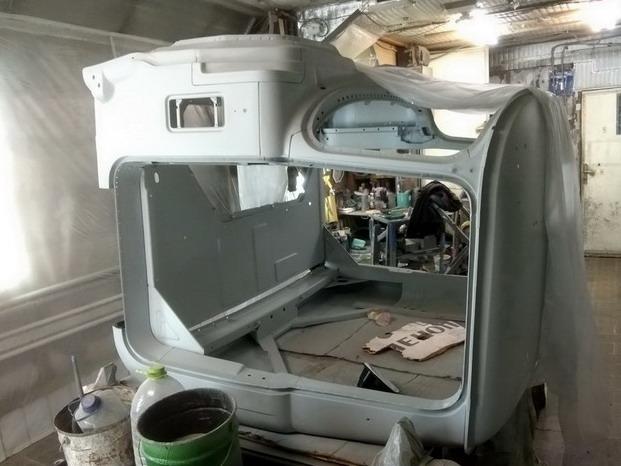
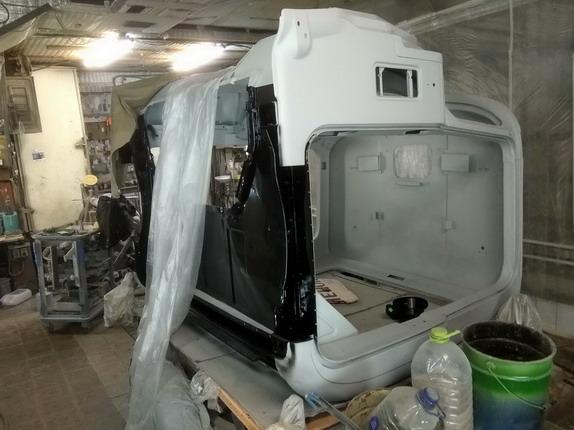
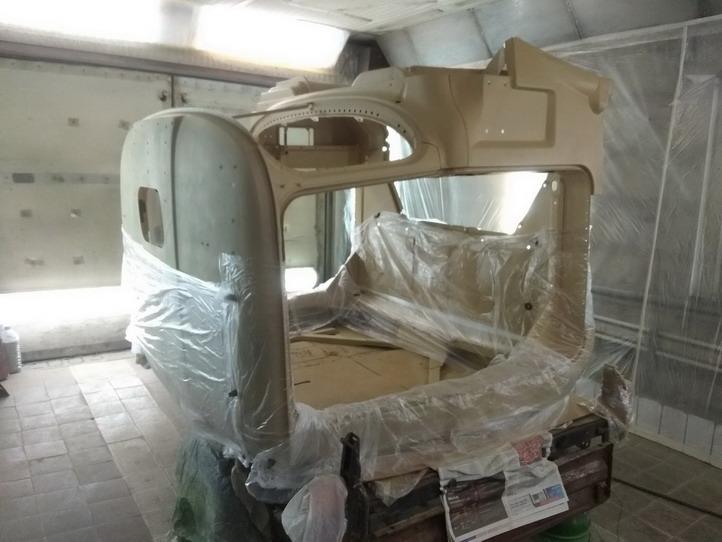
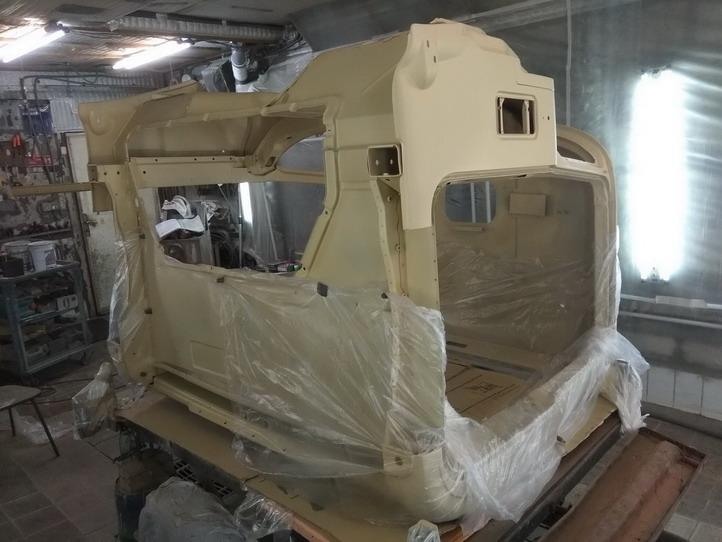
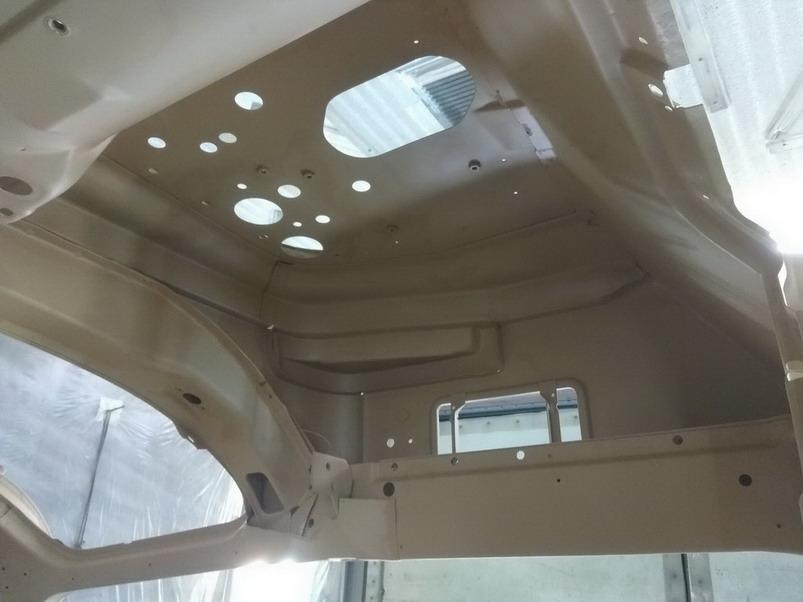
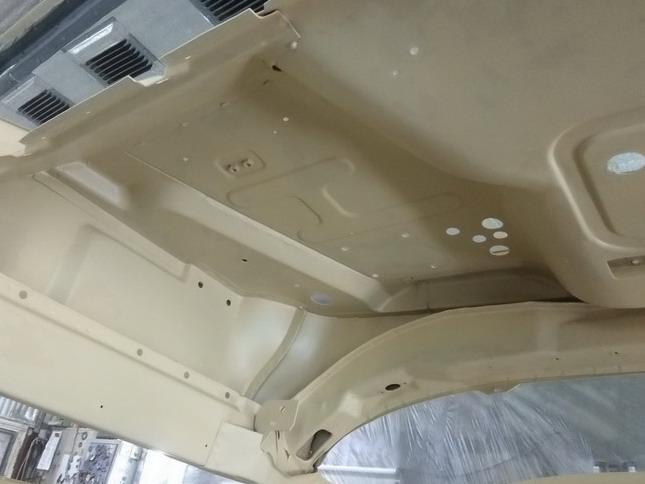
I might be calling the continue as a Part #3 since it was done in a paint shop and mostly by a buddy of mine who enjoys figuring of how some primer or clear coat is better or better to work with and also a big fan of sanding, spraying, polishing etc. After primering the cab all over with self-etch stuff he applied two layers of another primer-filler off the same line of materials as prescribed by the producent. Than sprayed black acrylic paint onto the bottom covering also the areas which were supposed to be closed such as rocker insides and the rear floor channel. The reason of painting was more efficient water protection since primer is not supposed to resist water. It sure can to some grade and it might be enough by practical reasons but I preferred to double secure the matter since the worth of that additional effort was tiny relating to the whole value of the entertainment. -

R-model cab resto report
Vladislav replied to Vladislav's topic in Exterior, Cab, Accessories and Detailing
Alastair, Building a truck from "the ground up" is actually what I try to do. It attracts by an idea to have every thing fixed and freshened up (and also played with) but bothers me with the amount of time spent. You know that very well with modelbuilding. Almost the same matter but different amount of resources involved. Yes, you're right, I spotted many interesting areas you can't usually see on a truck during my work. Was even thinking of taking all basic measurements off the cab floor, firewall etc to make scetches for building a scaled cab. But couldn't afford additional activity. Actually I sure made more pics than I post on here so if you have any interest feel free to ask via PM. -

R-model cab resto report
Vladislav replied to Vladislav's topic in Exterior, Cab, Accessories and Detailing
Paul, I've got plenty of pics during the work. Actually tried to photo every step before and after the action. Also I have another truck complete and a couple of complete cabs to look for reference and steal a part or two when in trouble. -
Nice show of $60 million flying away Sure just kidding. Progress is worthless to our life. As for the bracket some L-models (not LT) had that part of the similar shape but made of steel (or cast iron?) So if no principal preference for an alu part that's a quite cheap way to go.
-

R-model cab resto report
Vladislav replied to Vladislav's topic in Exterior, Cab, Accessories and Detailing
Sometimes me either -

R-model cab resto report
Vladislav replied to Vladislav's topic in Exterior, Cab, Accessories and Detailing
These technical forums are not as active on posting as the general discussions or odds and ends but contein interesting subjects from time to time. So worth checking out once in a week or two. Thank you for the comment. -

R-model cab resto report
Vladislav replied to Vladislav's topic in Exterior, Cab, Accessories and Detailing
Regarding the materials applied it seems better definitely. But taking that I blasted the most of zink off the steel it's worse. So I try to keep a balance -

New wheels
Vladislav replied to mack4ever's topic in Antique and Classic Mack Trucks General Discussion
24.5 ride softer And they are more American Nice look anyway and chosen right in style . Did you redrill the stud holes for the old style nuts or swapped the hubs? -

R-model cab resto report
Vladislav replied to Vladislav's topic in Exterior, Cab, Accessories and Detailing
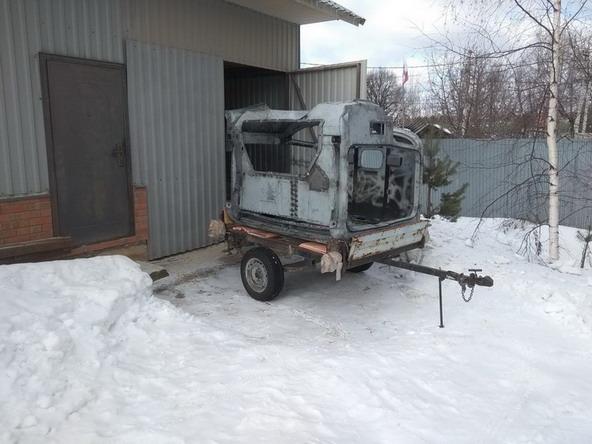
When the sealer set up well, the paint guy ready and weather sunny with a bit of freeze I gave the cab one more overall blast and towed the trailer to a paint shop. There a crew of 3 men consisting of me, my helper and my paint buddy spent about two hours removing sand out of all channels working with two vacuum cleaners and air gun. Finally 2 of us went home and when I came back on the next day the cab was covered with a solid layer of self-etching primer. Ufff.... -

R-model cab resto report
Vladislav replied to Vladislav's topic in Exterior, Cab, Accessories and Detailing
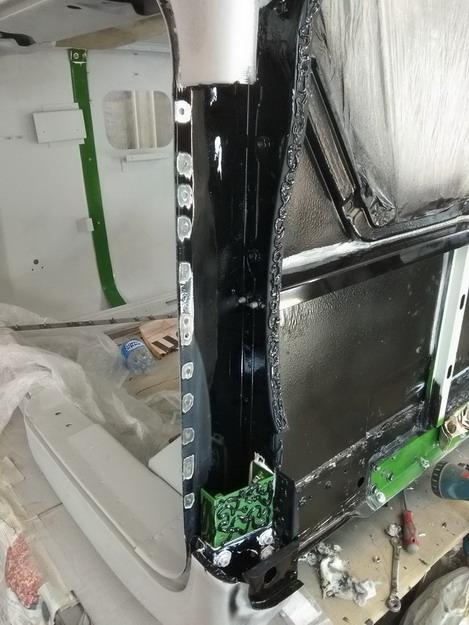
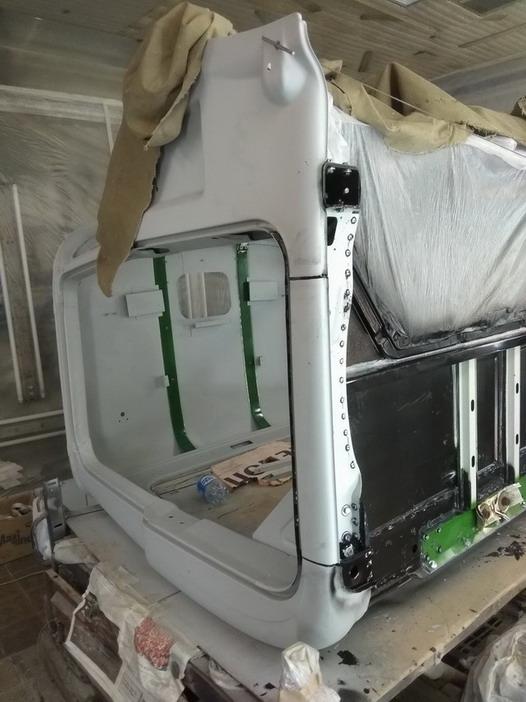
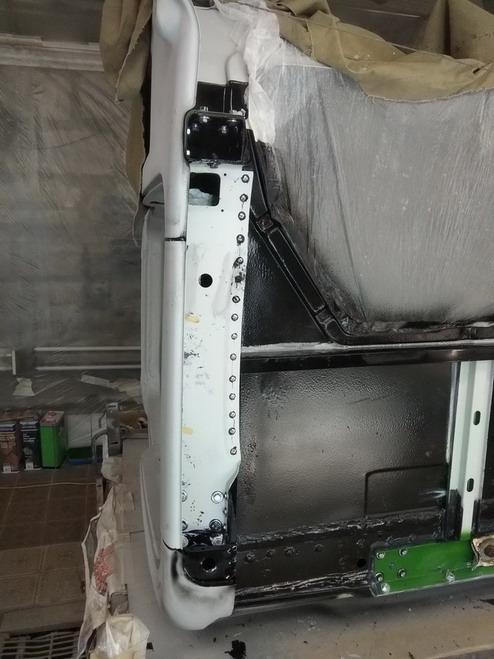
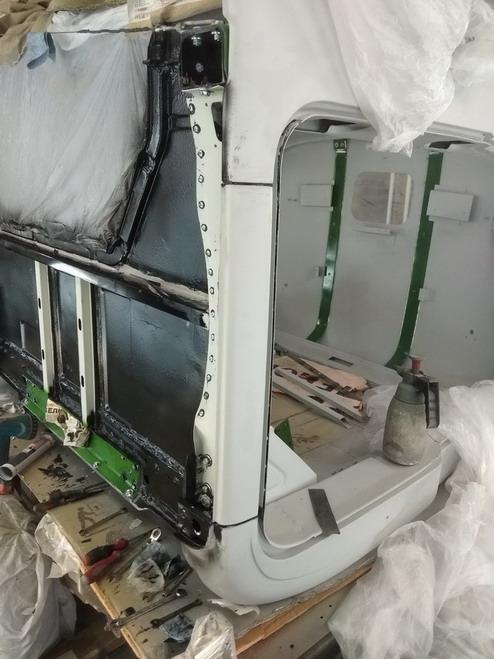
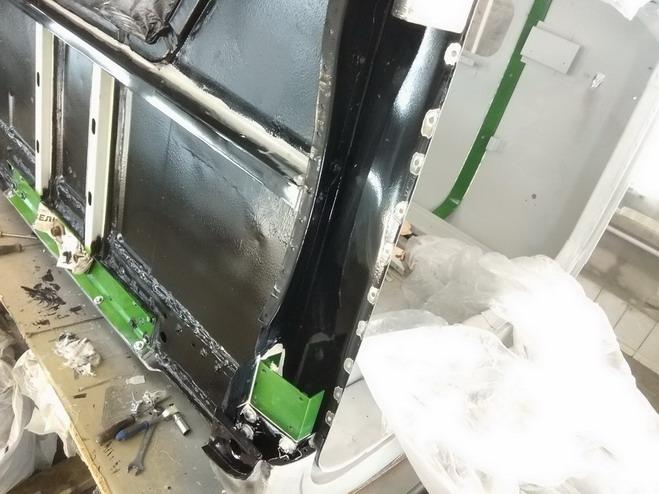
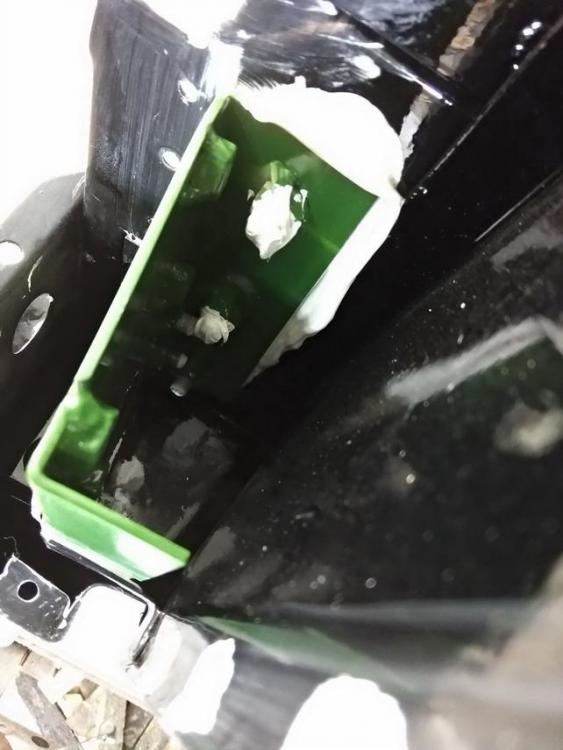
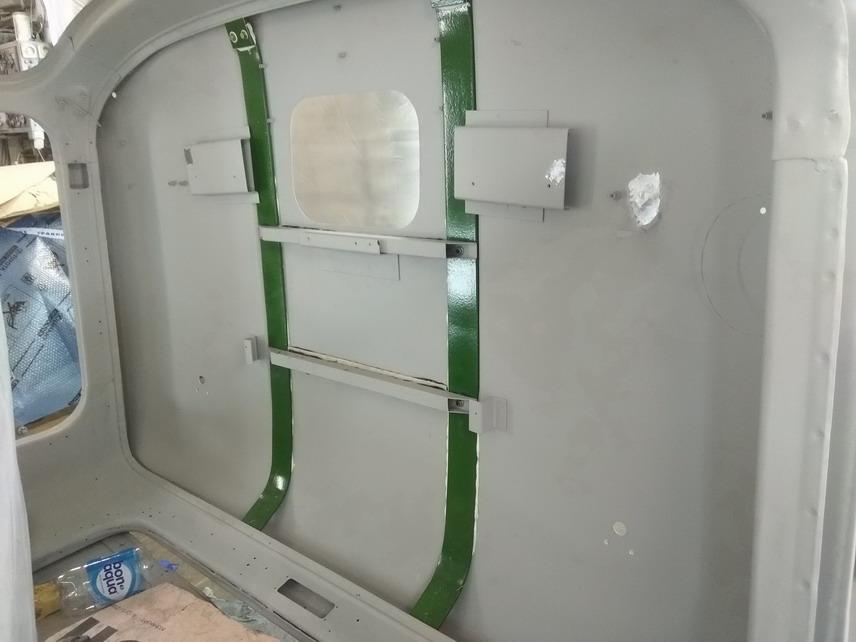
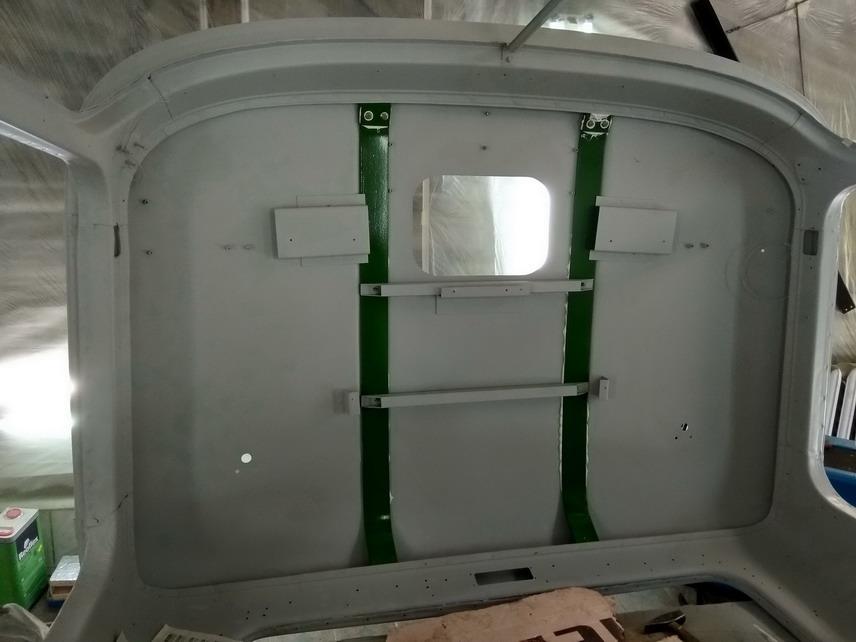
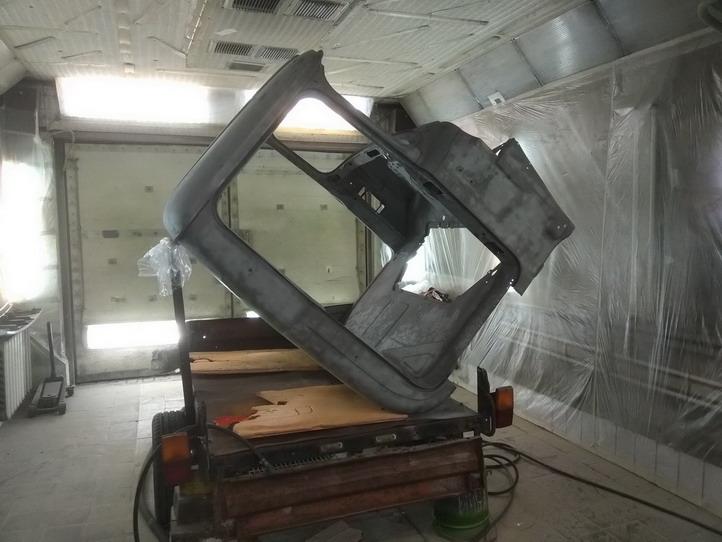
One more part of the story. Had to hang up the cab in horizontal position to temporary remove the sleeper entrance inserts for blast and paint and kept it hanging for a few days that way since the rear wall was not reinforsed without. When the inserts got paint (they turned out green because they came to the paint shop together with some chassis parts) I cleaned and etch-primed the areas they would be installed. Than applied polyurethane body sealer, put the inserts in place and attached them with pulling rivets installed into the holes drilled earlier. Had to be quick with riveting and wiping the excess of the sealer off because it was becoming set up really fast. The rivets I bought were made of steel not aluminium to be friendly with cab sheet metal. So not easy to work with especially when in rush. -

first drive of the season
Vladislav replied to davehummell's topic in Antique and Classic Mack Trucks General Discussion
One nice looking B! Ran out of likes, sorry. -

first drive of the season
Vladislav replied to davehummell's topic in Antique and Classic Mack Trucks General Discussion
As said above !!! -

4 Door B Model Pick up 4x4
Vladislav replied to 41chevy's topic in Antique and Classic Mack Trucks General Discussion
More looks like a firetruck to me than a 4x4. Nice look anyway and a clean job. -

R-model cab resto report
Vladislav replied to Vladislav's topic in Exterior, Cab, Accessories and Detailing
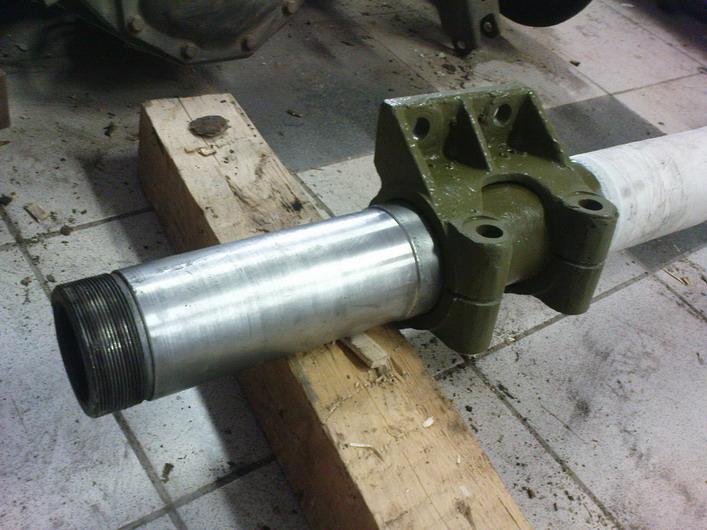
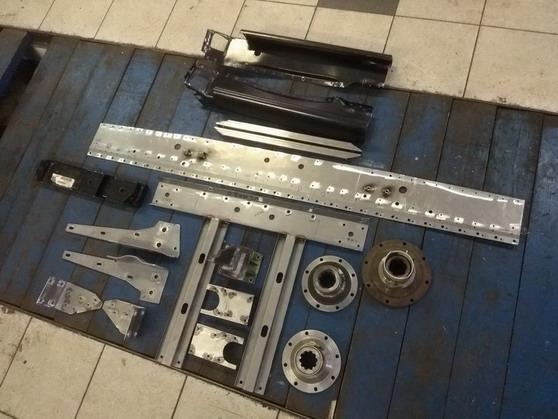
Prepaired a lot of parts to blast and paint before the time to put them on the cab. The spline flanges were for my military Mack transmission, just happened to paint them in the same lot.
BigMackTrucks.com
BigMackTrucks.com is a support forum for antique, classic and modern Mack Trucks! The forum is owned and maintained by Watt's Truck Center, Inc. an independent, full service Mack dealer. The forums are not affiliated with Mack Trucks, Inc.
Our Vendors and Advertisers
Thank you for your support!


