-
Posts
12,753 -
Joined
-
Last visited
-
Days Won
175
Content Type
Profiles
Forums
Gallery
Events
Blogs
BMT Wiki
Collections
Store
Everything posted by Rob
-
Why the Fuck would I want to get rid of one of my trucks? They are the only things in this life that like me and don't wield a butcher knife. We are getting a few spammers on here lately aren't we? Rob
-
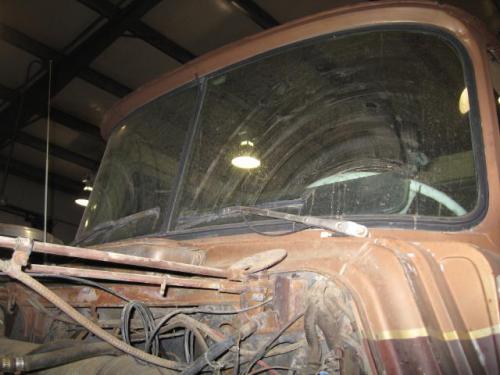
You would be best to pop the glass out of the rubber, remove the rubber from the cab and clean up any rust that may be present. This is usually the cause of windshield leaks in an R model. The rubber seal is not that expensive and depending on the condition of yours, worthy of replacement. If it is not soft and supple it very well may be the cause of your leak. Rob
-
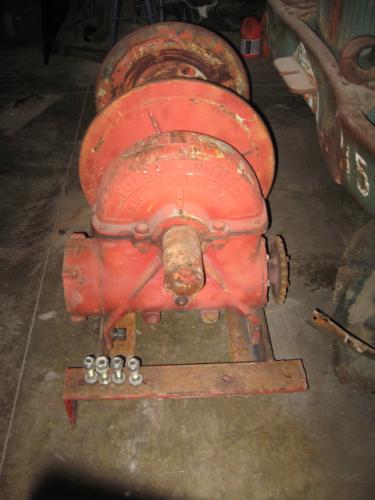
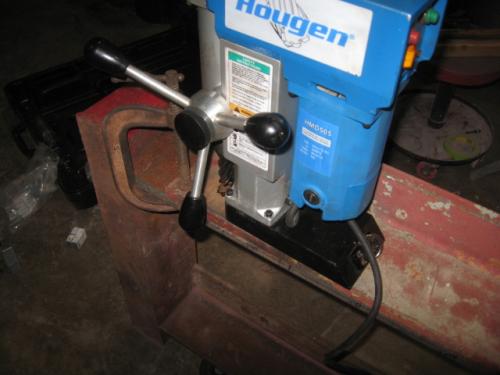
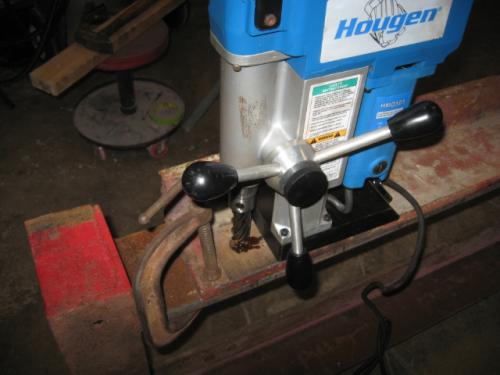
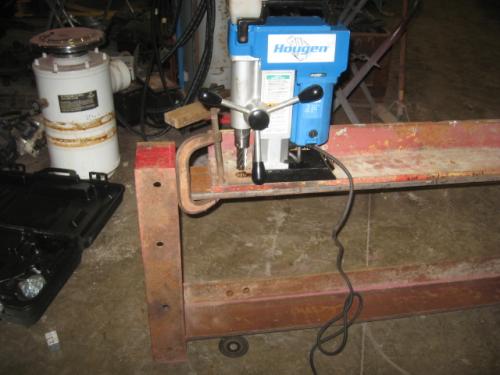
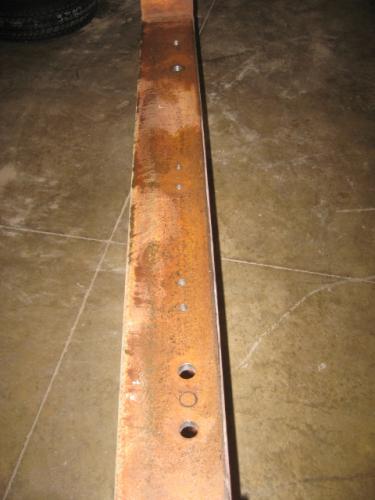
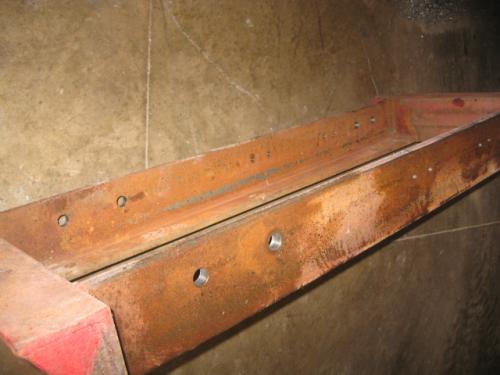
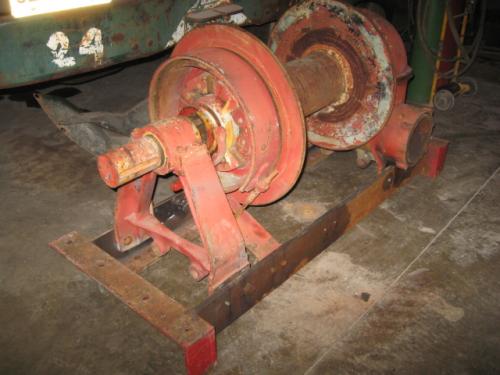
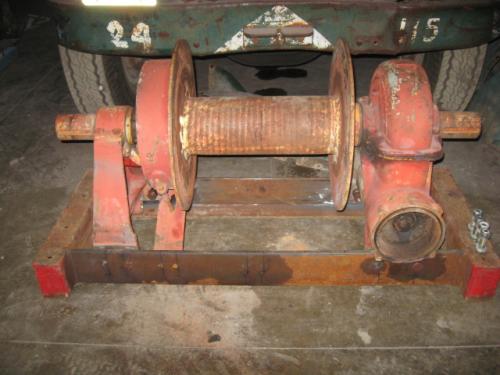
I made the weldment to support the winch last fall and moved to another project. After setting it outside, I forgot about it. Needed something small to do last evening, I grabbed the frame, old winch mounting rails, new drill, and annular cutters. It takes about 1.5 minutes to bore a 1" diameter hole through 3/4" stock, and about the same for 1/2 holes through the same material. The holes are very close in dimension with only about .005 out of round. I could probably adjust the gibs on the drill to close this up also. The new weldment fits to the frame of the truck and the headrack bolts to the horizontal flanges. I like working with good tools. Rob
-
Yes Doug, they are quite common around here for the breeders of animals. Rob
-
That my friend is a nice story. Also welcome to the site. Plenty of help to be had here along with just a tad bit of bullshit for fun. Rob
-
Did you remove the seam sealer before starting to drill? Those hollow cutters always dig, take off different directions, and snap with you usually sporting a bandage and pain afterward. I used to purchase them by the box until the other type came out from the same company, (Blair). Never have went back and I've used prolly all of the tools over the years available. Rob
-
Just think of the economics of the thing: Better pricing on semen samples due to bulk purchasing power now that the samples can be stored at home. Less raw and natural resources used to get back and forth from the sperm bank to make withdrawls. For some of the guys, less pain and frustration. Less chance for arthritic flare ups of the elbow and wrist. The list goes on and on...... Rob
-
They finished up with this root canal on my tooth today. Don't think I've ever felt this kind of pain before.
-

Trouble With A/c On 99 Ch613
Rob replied to haus4350's topic in Modern Mack Truck General Discussion
I think the system is too low on refrigerant myself. I would disconnect the batteries for about a minute, then reconnect with gauges and refrigerant plumbed into the system ready to start the charge cycle. What I typically do is connect my charging apparatus, turn on the refrigerant source until I see about 75psi on the low side gauge via the high side using liquid refrigerant through the charge port. After letting the liquid "flash" to gas for about a minute, I enable the a/c system and finish charge with gas through the low side suction port. Typically I look for about a 33-35 degree evaporator temperature, (by the charging gauges as I don't look for pressure) and about a 51-55 degree discharge air temperature from the duct nearest the evaporator inside the truck for a properly sized system. As the outside ambient temperature increases, so does head pressure so I don't rely solely on pressure other than a reference. Do try to stay under 275psi on the head pressure however as it is easy to overcharge and if lucky and safetys are working correctly the binary switch on the high side will cut out. Besides the engine mounted fan, I use a large box fan to keep air moving across the heat exchanger, (condensor) to remove the heat of absorbtion, and compression/operation. Rob -

Trouble With A/c On 99 Ch613
Rob replied to haus4350's topic in Modern Mack Truck General Discussion
Depends on the calibration of the cutout switch. What you referred to as a "binary" switch. This simply means on or off. I think you know the direction to follow at this point. Rob -
Actually a shipping container for the new radar site. The kind that freight is shipped in overseas. They make great storage buildings. Rob
-

Trouble With A/c On 99 Ch613
Rob replied to haus4350's topic in Modern Mack Truck General Discussion
I don't know about your truck but in automobiles the a/c clutch is actually pulled in by the engine ECM. If the truck is like cars, you will either need to flash the ECM, or disconnect the batteries for about 30 seconds to dissolve the latched fault code. The a/c system is prolly low on refrigerant and this caused it to be locked out as a precaution. I would not external power the clutch until you know the system has no other faults. If it is low on charge, it can't oil itself and if forced to run, destruction of parts soon follows. Rob -
Take the doublesided cutter kit back. Get the kit that has the mandrel, and a single cutter edge with four cutting flutes. Those double sided ones break and you always get cut. Here is what you want: http://www.autobodyt...?keywords=blair Rob
-
A "Rotobroach" kit is about $50.00, (www.autobodytoolmart.com) and I use the 3/8ths size. You will probably use two of the three included in the kit. I'm surprised the sheet metal is that reasonable. I think the last one was about that a few years ago. The gutter is easy to replace once the skin is off, in fact it has to be off to install the new. I'd wait until the skin is removed and go from there unless the dealer will take back what you don't use. Most do not because they do not stock it. RustFire, or RustFree are not the same as POR-15. These are both liquid wax, (sort of) to flow into and seal up crevices. POR-15 is more like a paint. Body shop suppliers should have the stuff. Rob
-
Don't worry Mike, I'll LOAN you the money so you don't miss out on the purchase!! Rob
-
Here ya go. A semen stowage vessel used for frozen samples!! Be the first on your block with one of these things!! Be the talk of the neighborhood!! Somebody has just got to have this for their collection. Rob http://cgi.ebay.com/...=item2ea035e731
-
It's always better that once the decision is made to do the job, Do it right. Lot less headaches in the future that way. Rob
-
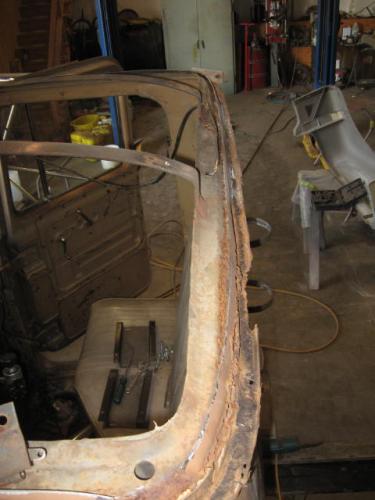
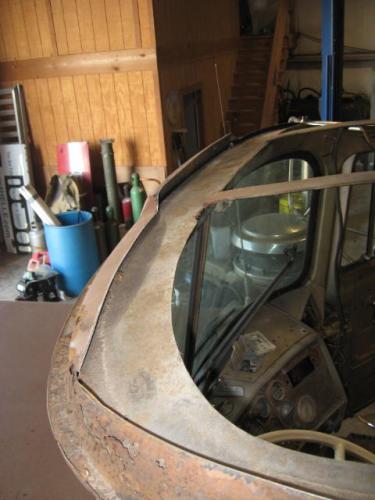
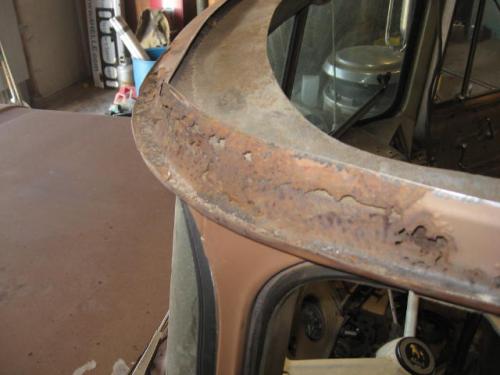
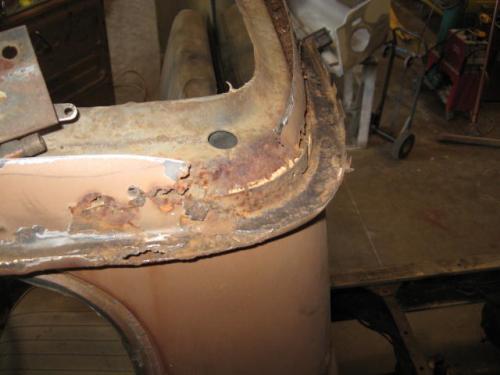
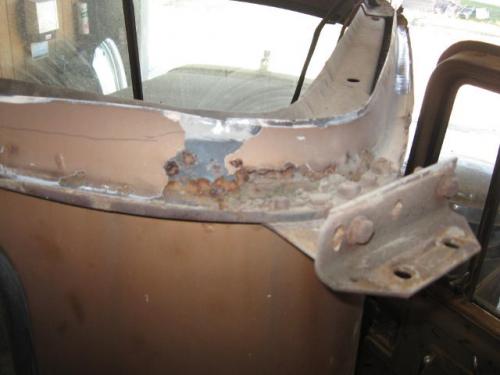
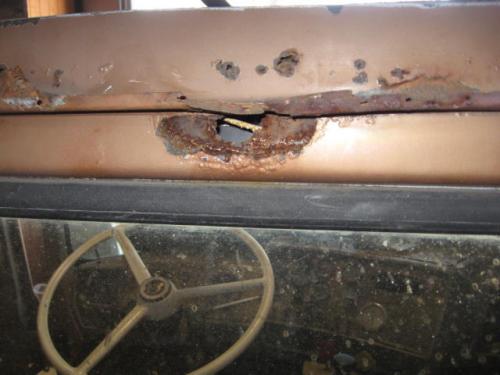
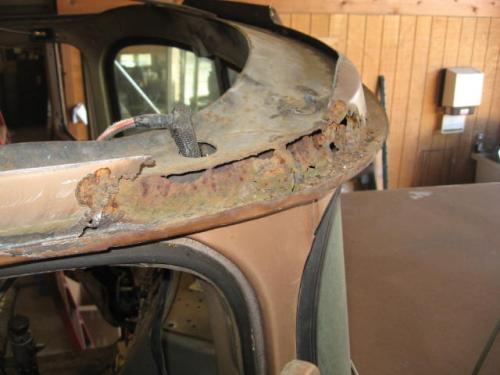
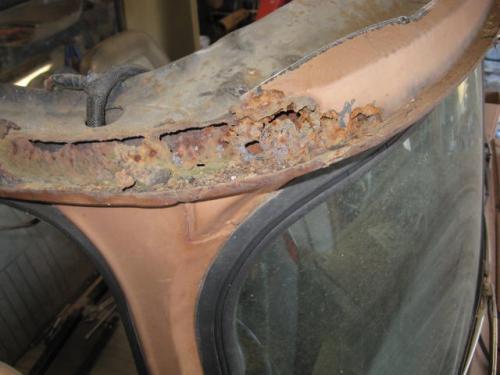
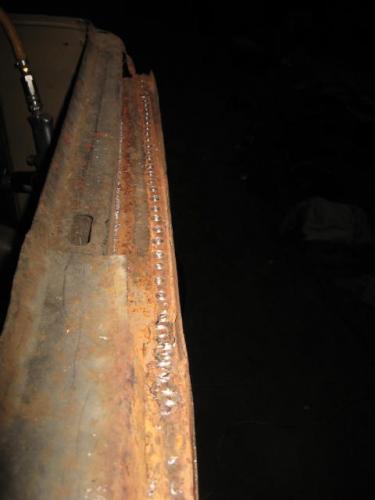
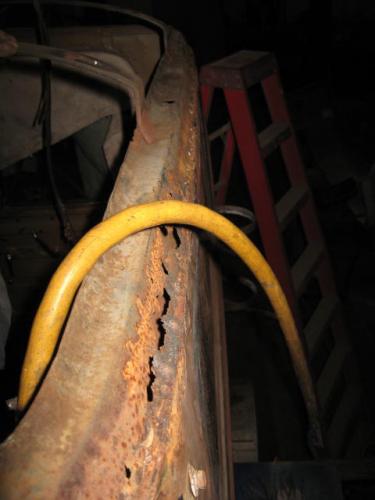
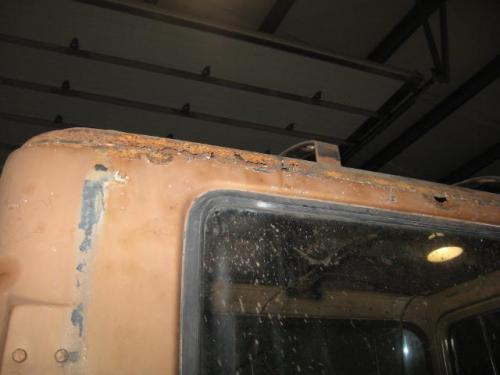
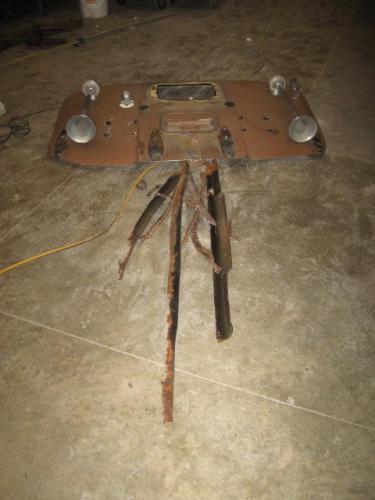
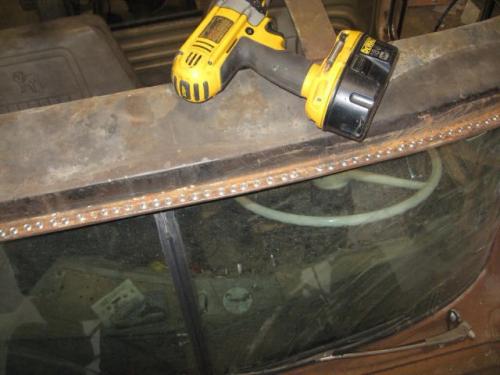
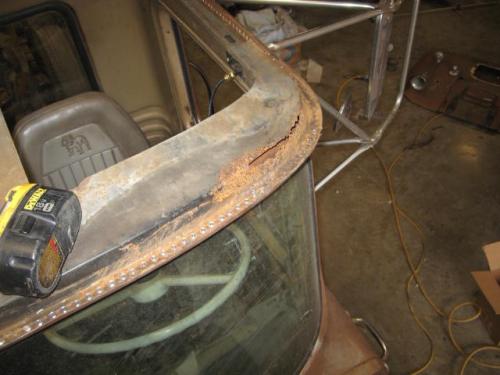
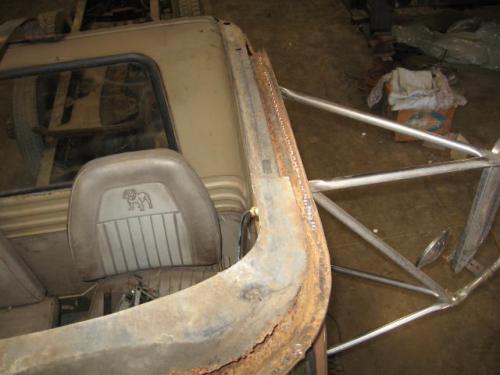
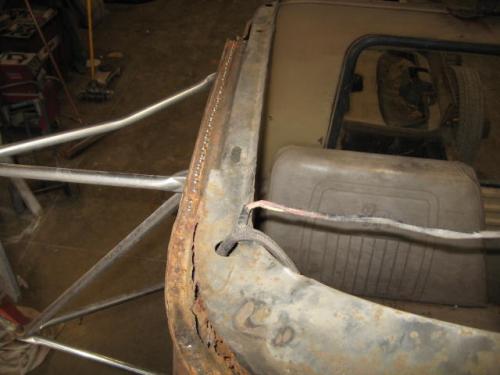
I always cut the center loose from the perimeter of a panel as it is much easier and faster to handle small pieces rather than large. Yes, all the roofs have the holes punched into them. What is kinda funny is they are punched for the old style marker lamps such is on a B model. If I remember correctly you need to drill the rear hole for the newer style lampholder such as were on the Superliners. The dual airhorn holes are there also. The threaded inserts you refer to are called "Rivetnuts", or "Rivnuts", and they are not in the holes, neither are the braces to hold the interior overhead console. It is just an empty stamping. There is rust in the front also, you just can't see it yet. If it's rusted in the rear, it's rusted in the front too. I'd bet with 80 grit on a DA sanding the corners you'd see slight discoloration to the metal and would be able to push a screwdriver through it easily. This is just from what I've experienced, your's could be an exception. Sure would hate to not check into it closely and need to redo in six months however. Rob
-
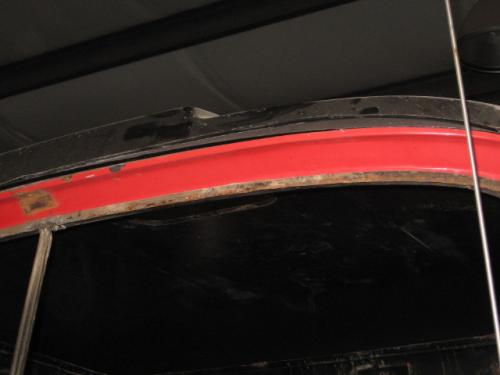
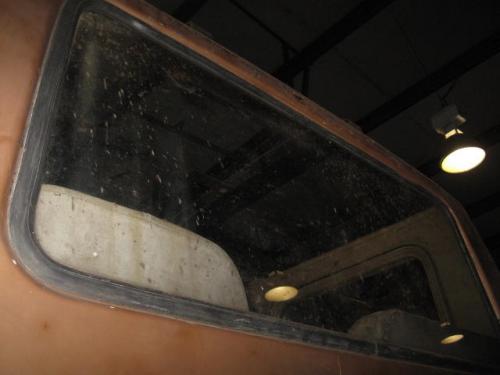
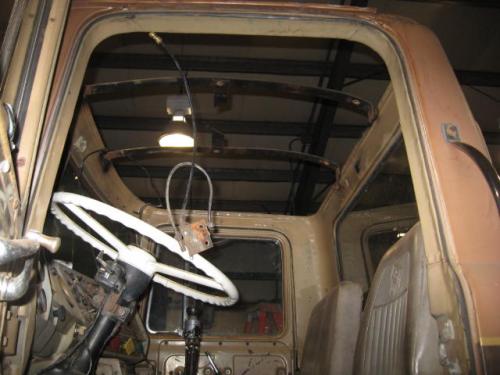
Always a good idea to remove the interior. There is a lot of welding, then dressing of those welds for a good job to be had. You can see in a couple of photos the shape of the backlight in the brown cab from someone welding, or grinding in close proximity to the glass as it is destroyed. It is by no shape, nor form a "cake walk" to perform. A novice will find it intimidating, (and they should) although it is not hard. A lot of planning and thinking is in order prior to a satisfactory repair. I've done this shit for far too many years to not be comfortable, but there are still times when I have to think how to make a repair as I don't know it all, contrary to popular belief. Rob
-
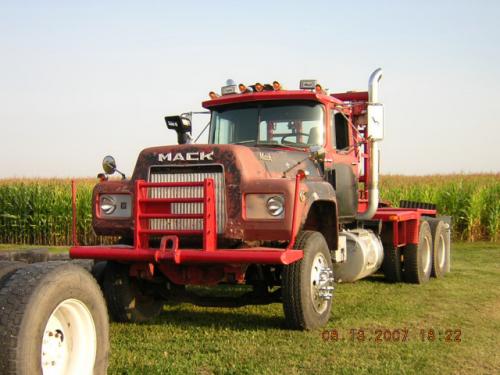
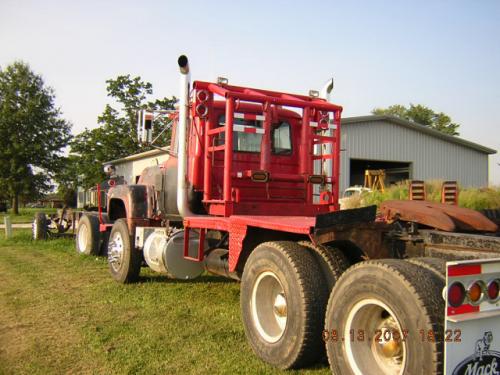
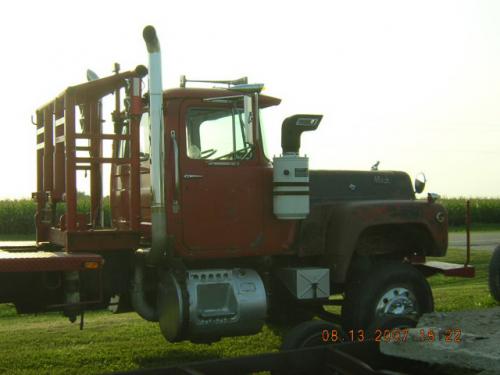
Here is you some entertainment value. The red truck is my RL755L, the brown one my RL797L. The red cab will be replaced as it is too far gone up top to work with, but you can see how things fit together. Rob
-
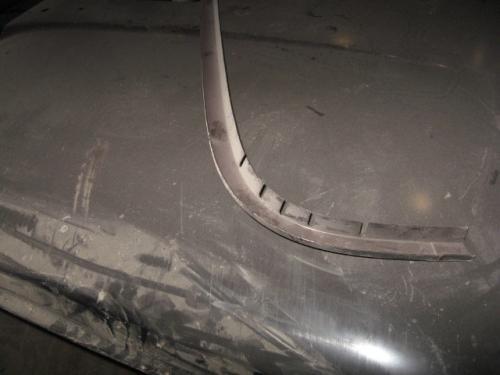
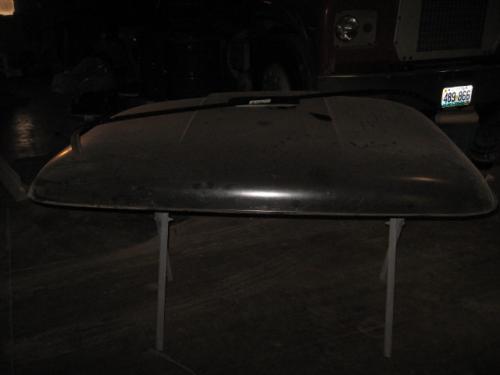
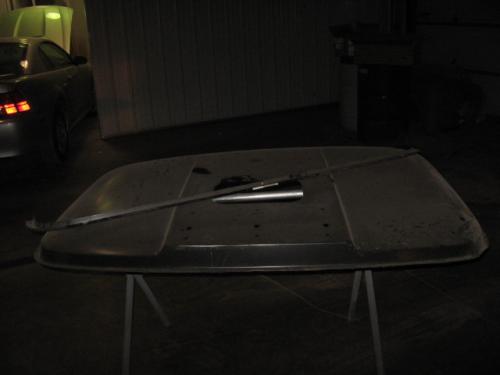
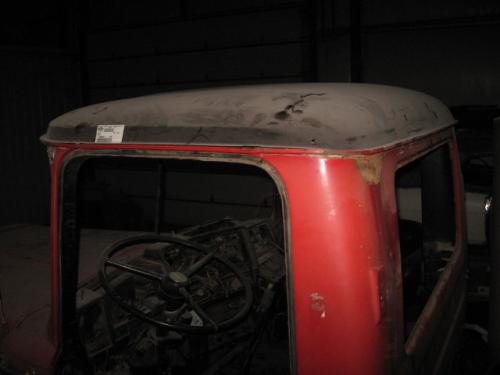
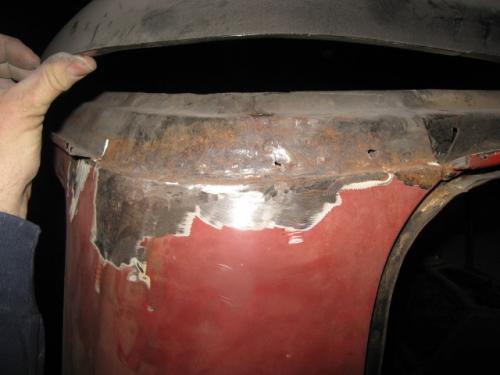
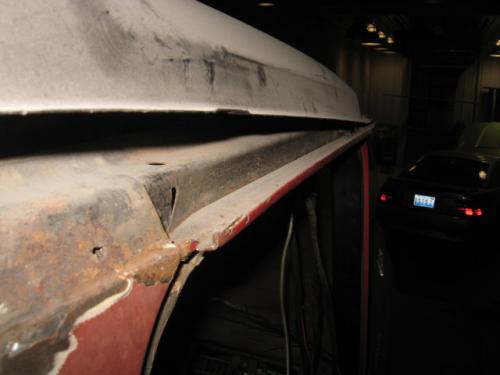
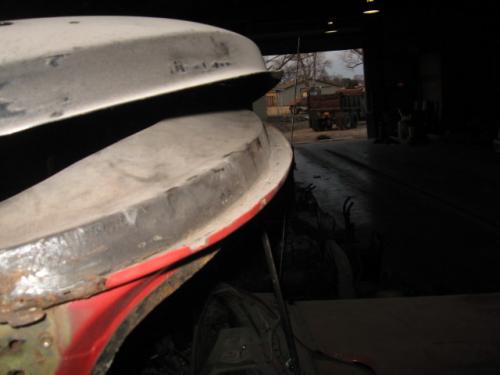
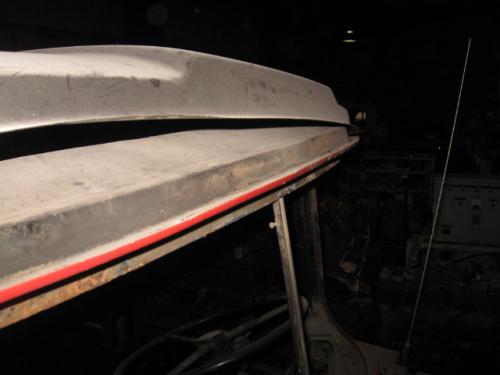
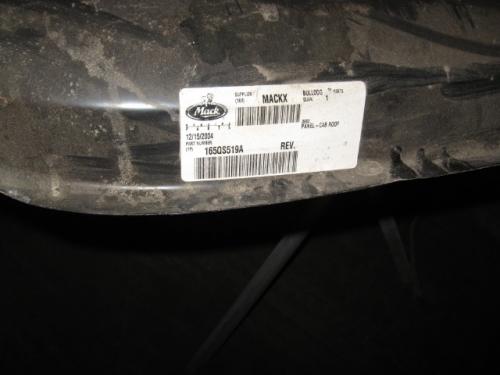
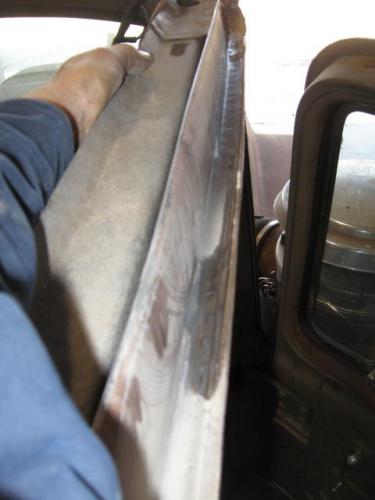
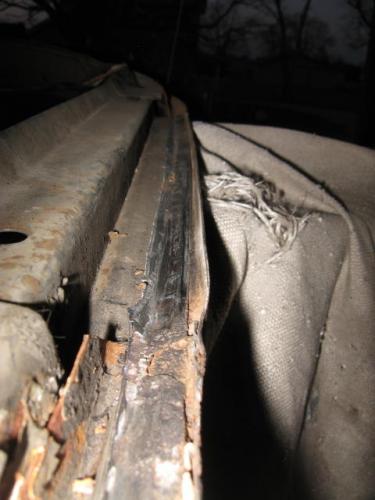
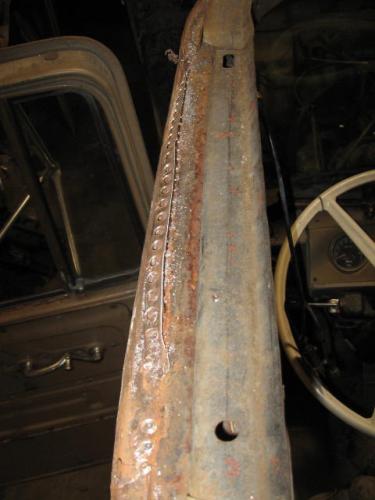
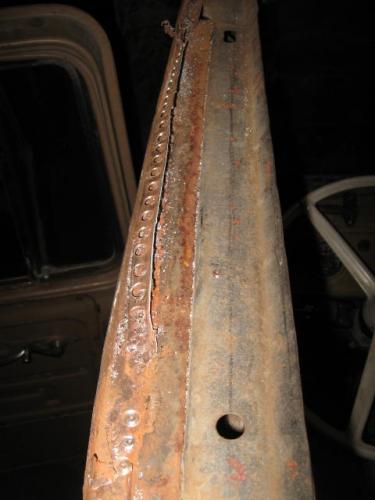
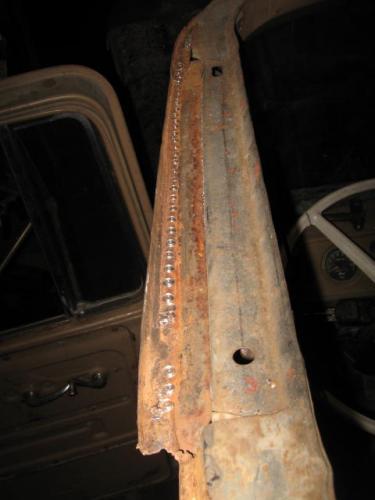
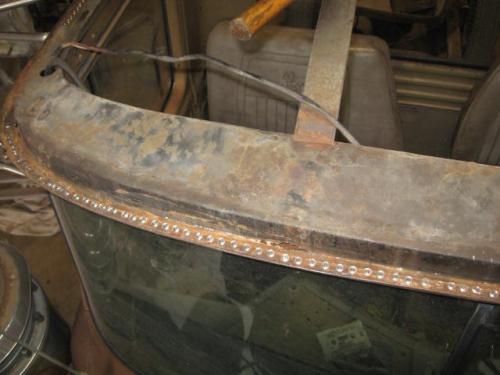
Trent: Back in May of last year I posted a series of photos of the removal of the roof skin on one of my R700's. You will be able to see the number of spot welds that will need drilled to remove the panel. It is excess of 150 but I don't remember the exact number. There is no second skin, only the cab outer shell the skin, and rain gutter attach to. Buy yourself a good set of "Rotobroach" spot weld cutters, and the job is much easier. I have a new roof panel for the truck but have not installed it yet. I still need to make the gutter and perimeter parts as when I ran into title problems with the truck, it took a back seat to other things. A new skin will set you back prolly $600.00 nowadays. The rain gutter is cost prohibitive for me and the front gutter is actually the windshield frame of the truck. I've done this prolly 10 times or better through the years and it takes about five manhours to replace the skin if no underlying repairs are needed. With the advent of the newer glues out there you could leave voids about one inch wide every 18 inches or so for a sheet metal screw to run through the new roof skin flange and rain gutter to pull the skin and gutter together. When the glue is dry, remove the screws, rotobroach a hole through the flange and plug weld the hole. Good and strong that way and the glue doesn't crack near as bad. I still plug weld and don't use the glue myself. I've seen too many cars return as you could see the glue lines in the summer due to different expansion and contraction rates of the materials. I've also seen the glue type repairs crack from severe vibration and there is plenty of it in a road truck. Rob
-
He just comes around to pick on me. Rob
-
Sheets are rubber with a drain tube to a bucket so I don't drown in my own pool of sweat. Rob
BigMackTrucks.com
BigMackTrucks.com is a support forum for antique, classic and modern Mack Trucks! The forum is owned and maintained by Watt's Truck Center, Inc. an independent, full service Mack dealer. The forums are not affiliated with Mack Trucks, Inc.
Our Vendors and Advertisers
Thank you for your support!


