-
Posts
12,753 -
Joined
-
Last visited
-
Days Won
175
Content Type
Profiles
Forums
Gallery
Events
Blogs
BMT Wiki
Collections
Store
Everything posted by Rob
-
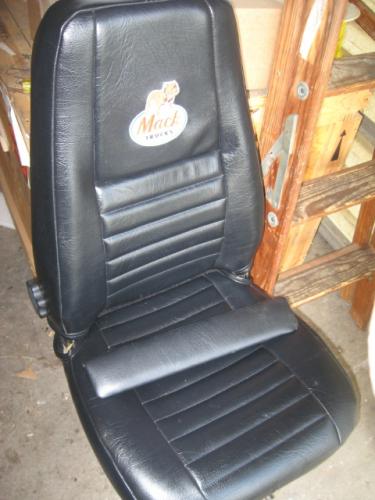
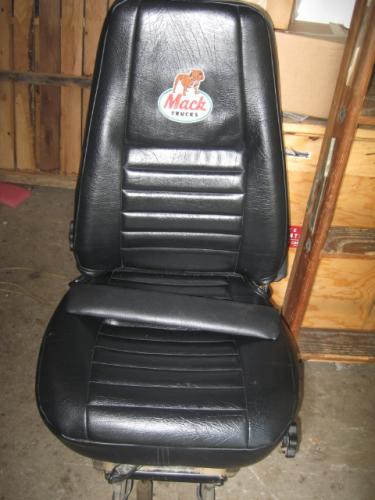
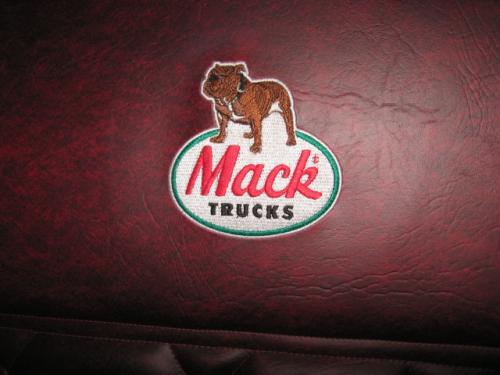
Here is my passenger seat and arm rest for Project R-12. The driver's seat looks the same with the exception of the dog faces left. Rob
-
Hi Dan, I don't know if "RD" rails are any different than standard "R" model rails or not. I did have PG Adams quote two bare 80ksi 21' rails, 5/16ths thick, and 10" tall for my R795 and they were $1870.00 delivered to my shop. Are "RD" rails straight, flared, or fishbellied? Of course these were straight and undrilled which would require some time to make right. Rob
-
Hi Mark, the backer is what is called in some places, "Oil board" and other places, "cowl board". It is made for this purpose and waterproof. I have several friends that are into street rods and this is where the idea came to me from. A household machine will not hold up to this. You need an industrial machine with a high punch force. I can't remember what size needle I was using as I went through so many and these are a couple of months old but I'll find out. The machine is a "Bradshaw" and came from a guy that retired from building interiors and convertible tops for years. It is all metal and very heavy. Also, completely manual in operation. The embroidery actually started out as a decal. I have this decal that is about 12" wide, and 18" tall the dealers used to put on their front doors a lot. I had it digitized and my friend had it converted to a format his embroidery machines use. I have the dog facing left, and right. I have the seats for Project R-12 finished but I didn't do them. Another friend that does upholstery work actually made the seat covers after I had the material embroiderd over a year ago. I had a hell of a time getting the seats back. Unbeknownst to me, he wasn't paying his bills and a judgement went against his business, property, and everything in it!! I went to court three times to get my seats back!! With that behind me, I got to thinking that maybe I could do this myself so the saga started........ It has actually been fun spending time with my daughter and actually learning something. Rob
-
Thanks Dan, it really did take a lot of patience. I've never sewn anything before and it took some scrap "projects" to get a place to start. Went through a few needles too. I may not use these but rather some I make later. These look alright, but have a couple of flaws in them I now know how to work around. Rob
-
Seen these on Craigslist. They seem a little high priced to me. Rob http://nh.craigslist.org/pts/1760906999.html
-
You wouldn't believe the amount of use I get from a 3/8ths inch wide tape measure when straightening a car too. Rob
-
The "patches" are not iron on. They are embroidered through the material. It took five runs altering thread counts each time to not "buckle" the material during the process. Rob
-
Glad to hear it went well. I spoke with far too much experience in such matters there........... Carefull talking of "purrs like a kitten" cause it may just come bite you in the ass!! Rob
-
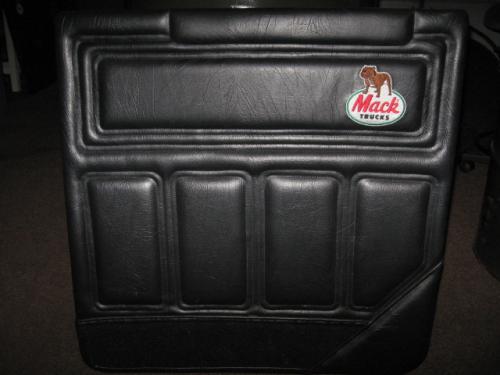
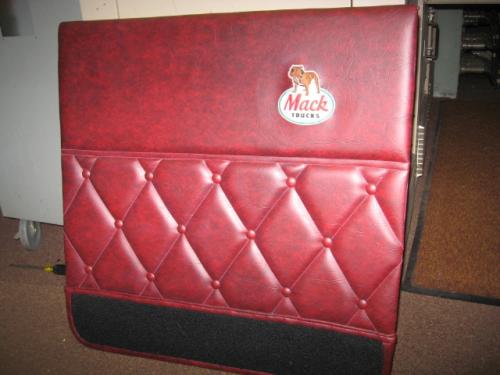
Since having back problems and basically being "laid up". I've decided to take up a bit of a new hobby; sewing. With a used sewing machine, some thread, a friends button maker, some carpet remnants, with another friends expertise who is pretty good at embroidery, and the help of a fabric store, this is what I've come up with for one of my RL series trucks. The truck originally had red interior so I've elected to stay that way. I'm going to try to to do the cab back panel next. Both of the door cards are finished, but I'll probably remake the driver's door card as I got a little crooked in my stitching. I made it first as a trial run. Both of the bulldogs face forward when installed. I couldn't easily get the dogs embossed as original, so I went this route. The black card is for my Project R-12. It has the standard silver/gray color full interior of the mid 1980's and I'm going to straight black for the interior. I do have a lot of time in these and hopefully with a little experience, do faster in the future. I've never sewn before and my daughter is teaching me as she has time. Hope you like. Rob
-
Hi Mark, that one is a "Mo-Clamp" brand. It is extendable out to about 15 feet if you add the sections to it. They are a body shop staple and have been for years. I have a digital one also, but don't let it leave the frame rack area. Very expensive. The manual ones run upwards of $250.00 and are solid built. Both Mo-Clamp, and Arn-Wood are good brands. Have a look at www.autobodytoolmart.com as one supplier. All vehicles are built symetrical on jigs down the line. I mean if there is a hole at one point on/in a vehicle, there is a corresponding hole on the other side. These are key measurement points when correcting damage as you must have the same dimension, or distance between and across from each other to these points. This is where the measuring comes into play. With tolerances at +/- 1 millimeter in today's built cars, you gotta be dead on. It's no longer like the 70's when a car could be packed with shims to make things fit/align. Today's car parts either fit, or don't, with little room for error. The modern day computers and expensive measuring systems do no better than a guy that understands the pricipals behind the method, although they can be much faster. Some computer based measuring systems track movement and record as you pull so no remeasurement is needed to check for status. This is how they are faster. They also can cost in excess of $50.000 so I kept my "measuring stick" and centerline gauges. Rob
-
Hi Ernie, I purchased a dual tire dolly from ebay a couple months ago and have not used it yet. It is a chinese unit and of not really good quality. I am going to fashion a tilt for it as there is none. I really have a thing for not scratching newly painted rims/hubs, and these things may help alleviate that. Thanks, Rob
-
-
I think one could throw a Yamaha wheel like a discus compared to trucks. Rob
-
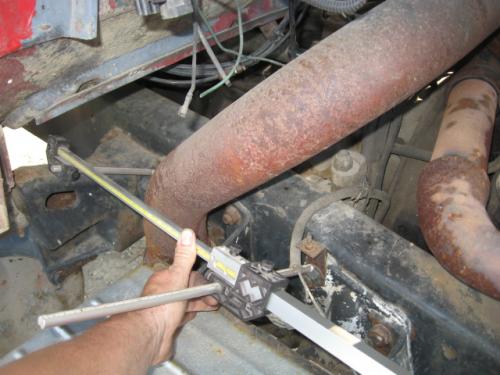
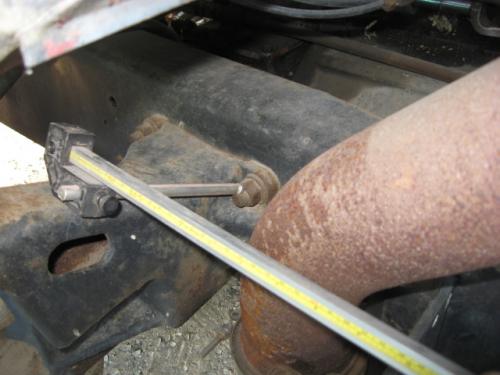
The "measuring stick" is a trammel gauge and is calibrated in both metric and inches. I've used that same gauge on automobile and truck frames for about 30 years. Wouldn't be without it. It is quite accurate with differing lengths of pointers to clear obstructions. Glad to hear the cab is mounted correctly. The hood gap between the back of the hood panel, and the cab front where it breaks over from the horizontal, to vertical plane is about 25 millimeters with the hood closed. Along the sides it is a bit wider and I've not measured the distance. None of my hoods protrude further than the front edges of the frame rails. I can't say for sure if a 600 series truck differs from a 700 series and I only have a single R700 model with a steel frame. The other two are aluminum frames and use the pivot pin type hinge instead of the tie rod ends for hood tilt. Rob
-
HI Grant, I do not but will stop to the shop before work in the morning and snap a few for you. Which side do you prefer? Rob
-
Hi Ernie, thanks for the information. Are these things easy to use and set up? I haven't even seen one work except in advertisement and performed just a couple of brake jobs/seals on big trucks in the past. Always used a wide saddle shop jack and blocking to support the drums. Outboard drums are too new for me to have worked with. After pulling the six drums from the B67 last winter and discovering how unweildy these things can become spurned me to action on this dolly thing. I have all new C/R seals for this truck and don't want to scar or nick them during installation seeing that the front ones were $148.37 each!! Rob
-
Alright, serious for a bit here. As you guys know I hurt my back pretty bad just before Christmas and have been recovering since. Well Momma has had just about enough of me "milking" this for all it's worth, and is threatening to start whittling on my implant, so I need to get busy. I purchased a used OTC "Back Buddy" brake drum handler and it has three sets of adapters. One set is for inboard hubs, another set for outboard hubs, then another set. What other type of hub assembly is out there, or is the third set for Dayton style hubs? I've purchased it from an estate and it is in transit with an arrival scheduled on Thursday. I ain't about to wrench the back again. Was a painful lesson learned this time. After telling the physical therapist I see twice a week that I don't lift hardly anything any longer citing my improvement, and have bought several jacks for the shop to handle the weight he confidently replied, "You're smarter than you look". Without thinking I replied, "How many times you wager raising you, your mom wished she'd kept the baby, instead of the afterbirth"? After going silent for a few seconds he said; "I don't think I'll do that again because I never know whats going to come out of your mouth"!! We have been friends and each other's customers for years so no harm done. Rob
-
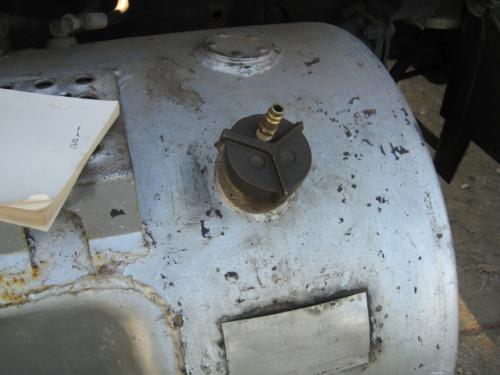
Ya see, that cap don't go on unless fuel proceeds it. Good way to remember to. I've actually made three of those caps for the different styles on the V8 trucks; You know, "Just in case". Rob
-
Never Lose Your Grandson! A heartwarming story. My small grandson got lost at the shopping mall.......... He approached a uniformed security guard and said, "I've lost my grandpa!" The guard asked, "What's his name?" "Grandpa" The guard smiled, then asked, "What's he like?" The little tyke hesitated for a moment and then replied, "Miller Lite and women with big tits."
-
Yup. You's guys have sent me home to "lick my wounds" so many times I've lost count!! Here is what I've come up with so I can do the job all by myself. Regulate the pressure down to about 50 psi at the gauge, and have never had problems. The engines usually start right up if they have a fuel supply. After the truck is running, I then install the regular fuel cap. Rob
-
Hi Paul, the 866 engines were 375hp and backed with a nine, or ten speed transmission, (if Mack) or more gears if a vendored transmission. They were Thermodyne series in response curves. The 865 engines were rated at 322hp, and 325hp, depending on year and calibration settings for fuel. These usually had either a five, or six speed transmission behind them. These were Maxidyne series in response curves. If you look on the cylinder block just ahead of the starter motor at the oil pan rail, the engine designation will be stamped into a flat pad. This is not saying the engine isn't rebuilt into something else, just what it was built as new. You'll get it going I'm sure!! Rob
-
Secondary fuel filter. Rob
-
-
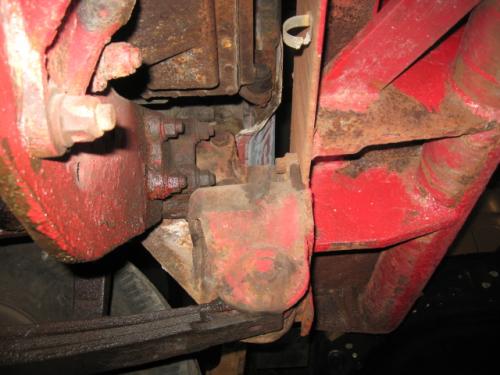
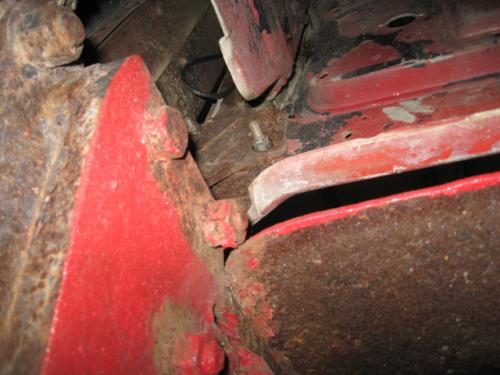
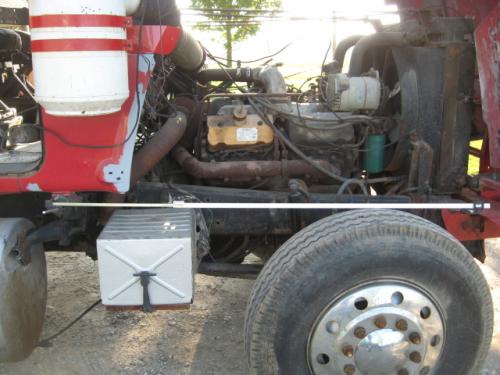
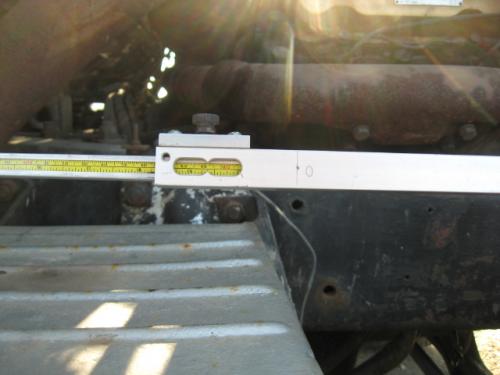
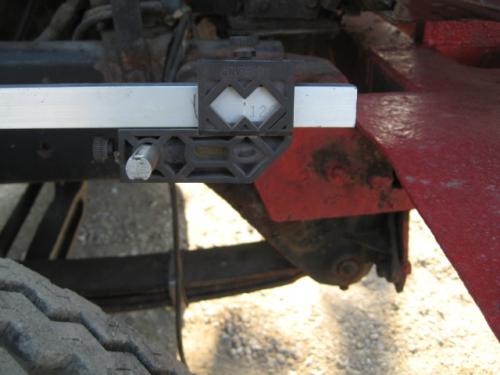
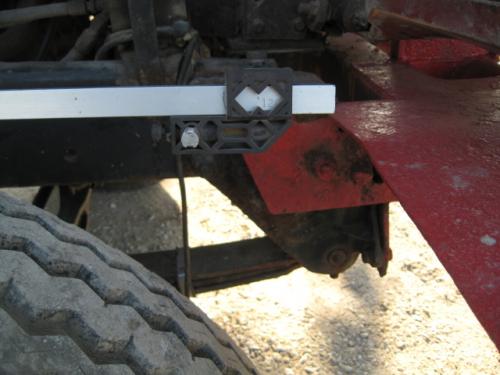
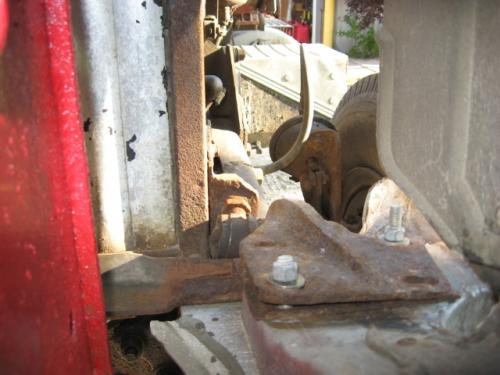
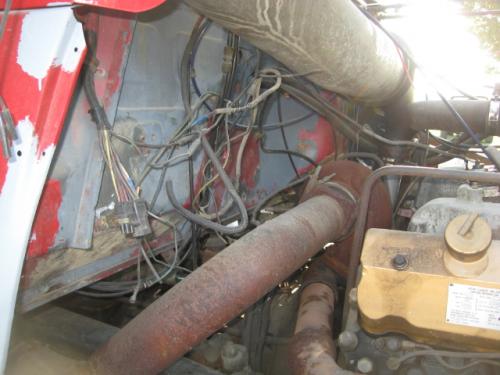
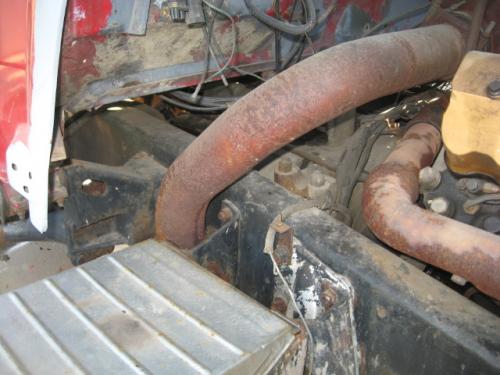
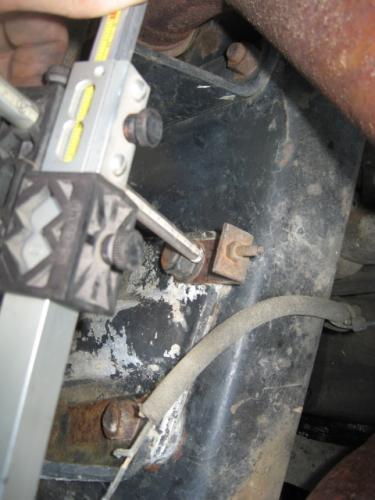
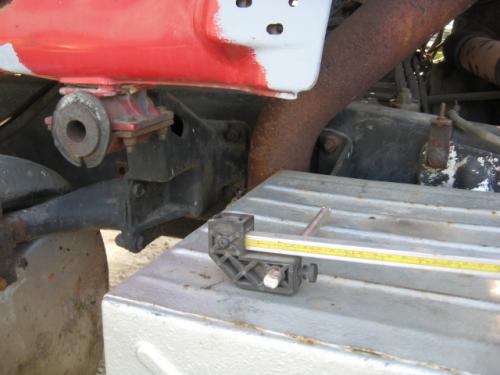
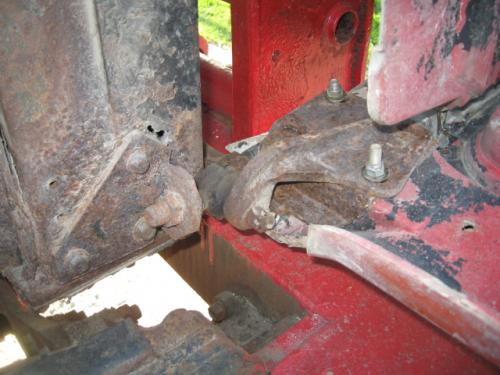
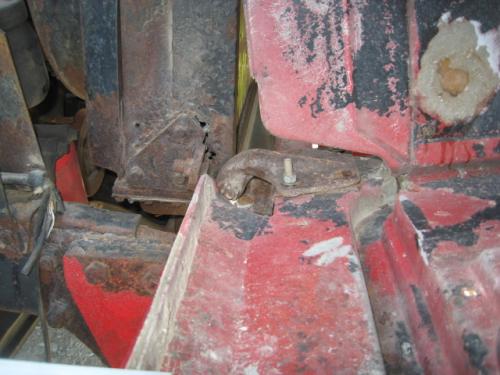
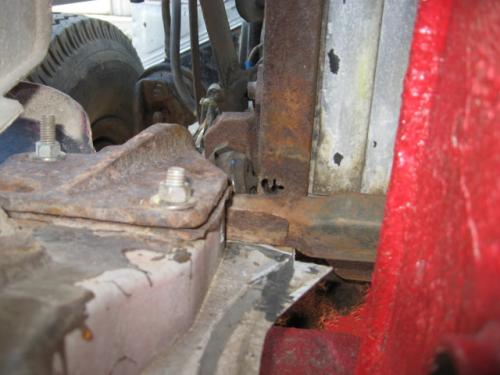
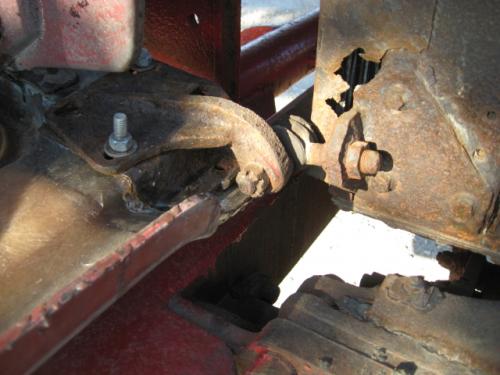
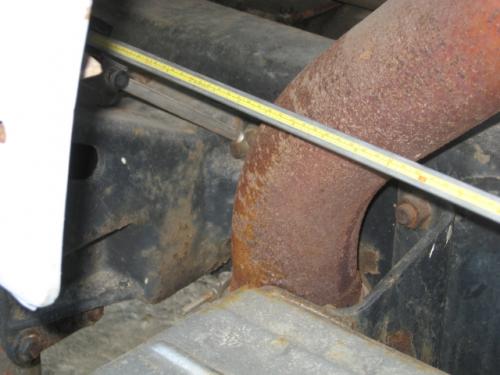
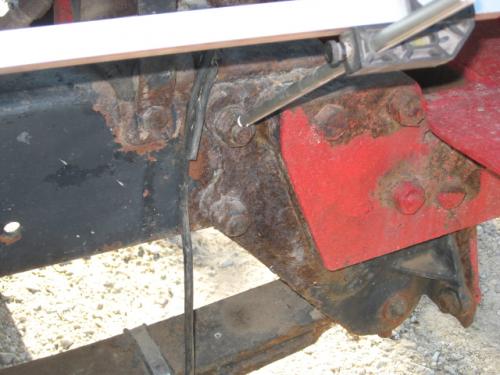
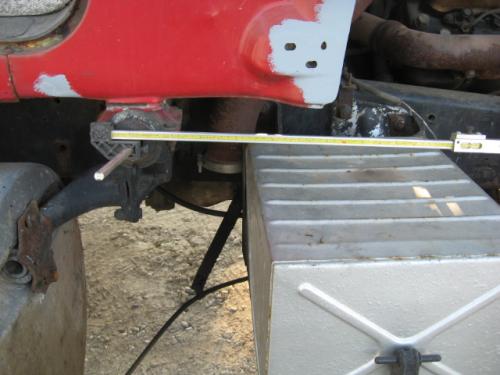
Hi Grant, the mounts for the hood tilt are off of the radiator side panels which are original and strengthened from other I've seen. Here are a few photos taken this evening that show where the measurements were taken from. You can see the tram gauge used which is calibrated in millimeters, and inches. I have over eight inches clearance from the turbocharger housing to the cab firewall in this installation which is the same as my other RL700 with a V8 Mack engine. Regards, Rob
-
Hi Grant, I took some measurments this afternoon for you. Because I don't know your units of measure I'm relaying millimeters in distance: From the rear upper front spring mount hole to the front upper cab mount hole on your driver's side of the truck, (right) equals 1654 millimeters in distance. From the front upper cab mount to the rear upper spring mount equals 357 millimeters in distance. From the centerline of the front cab mount pivot, to the rear upper front spring mount equals 1692 millimeters in distance. All distance measurements are taken from the centerline of the corresponding holes. I snapped photos but do not have the cable with me to download them. I will post them in the morning to ensure you know where the measurements were taken. Rob
BigMackTrucks.com
BigMackTrucks.com is a support forum for antique, classic and modern Mack Trucks! The forum is owned and maintained by Watt's Truck Center, Inc. an independent, full service Mack dealer. The forums are not affiliated with Mack Trucks, Inc.
Our Vendors and Advertisers
Thank you for your support!


